
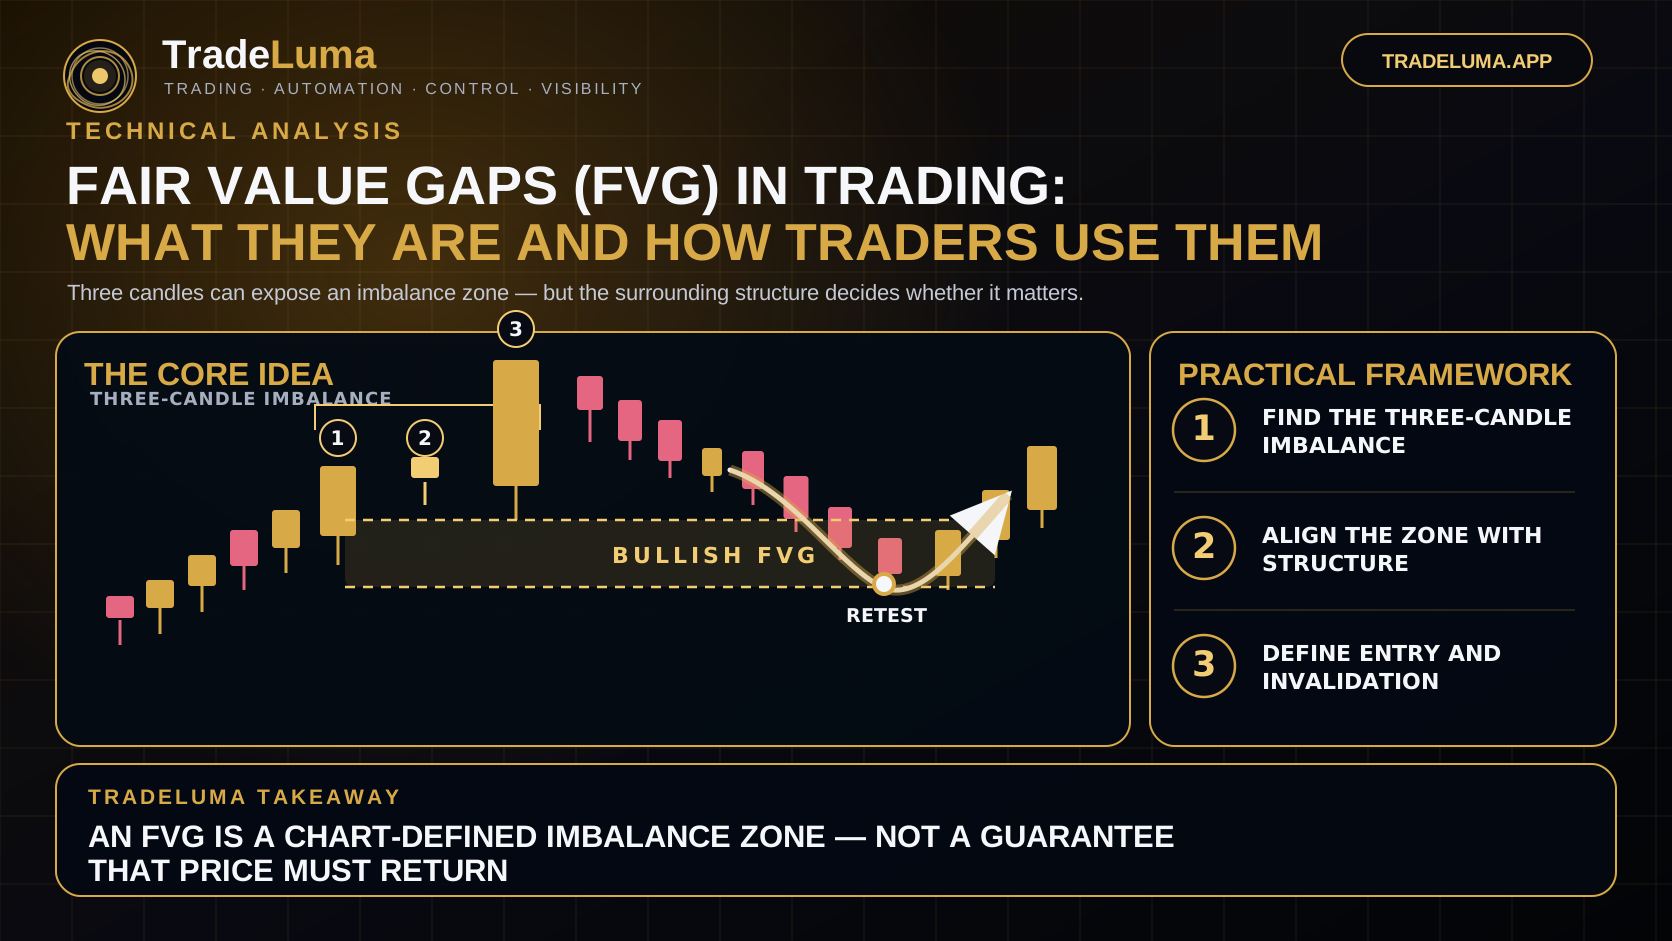
Technical Analysis·
Fair Value Gaps (FVG) in Trading: What They Are and How Traders Use Them
Learn what fair value gaps are, how traders identify bullish and bearish FVGs, and how imbalance zones are combined with structure and risk.
Risk management
Learn position sizing, stop-loss placement, risk-reward, leverage, drawdown, exposure limits, and practical risk-management techniques for traders.
Risk management defines how much a trading idea can hurt when it is wrong. It connects position size, stop distance, leverage, open exposure, and daily limits into one practical framework.
A strategy can have a real edge and still fail if the trader sizes positions inconsistently, allows losses to expand, or uses leverage without understanding the notional exposure.
Define cash risk before entry, use a logical invalidation point, size the position from that risk, and review drawdown and exposure across the whole account rather than one trade at a time.
Start here
Learn what fair value gaps are, how traders identify bullish and bearish FVGs, and how imbalance zones are combined with structure and risk.
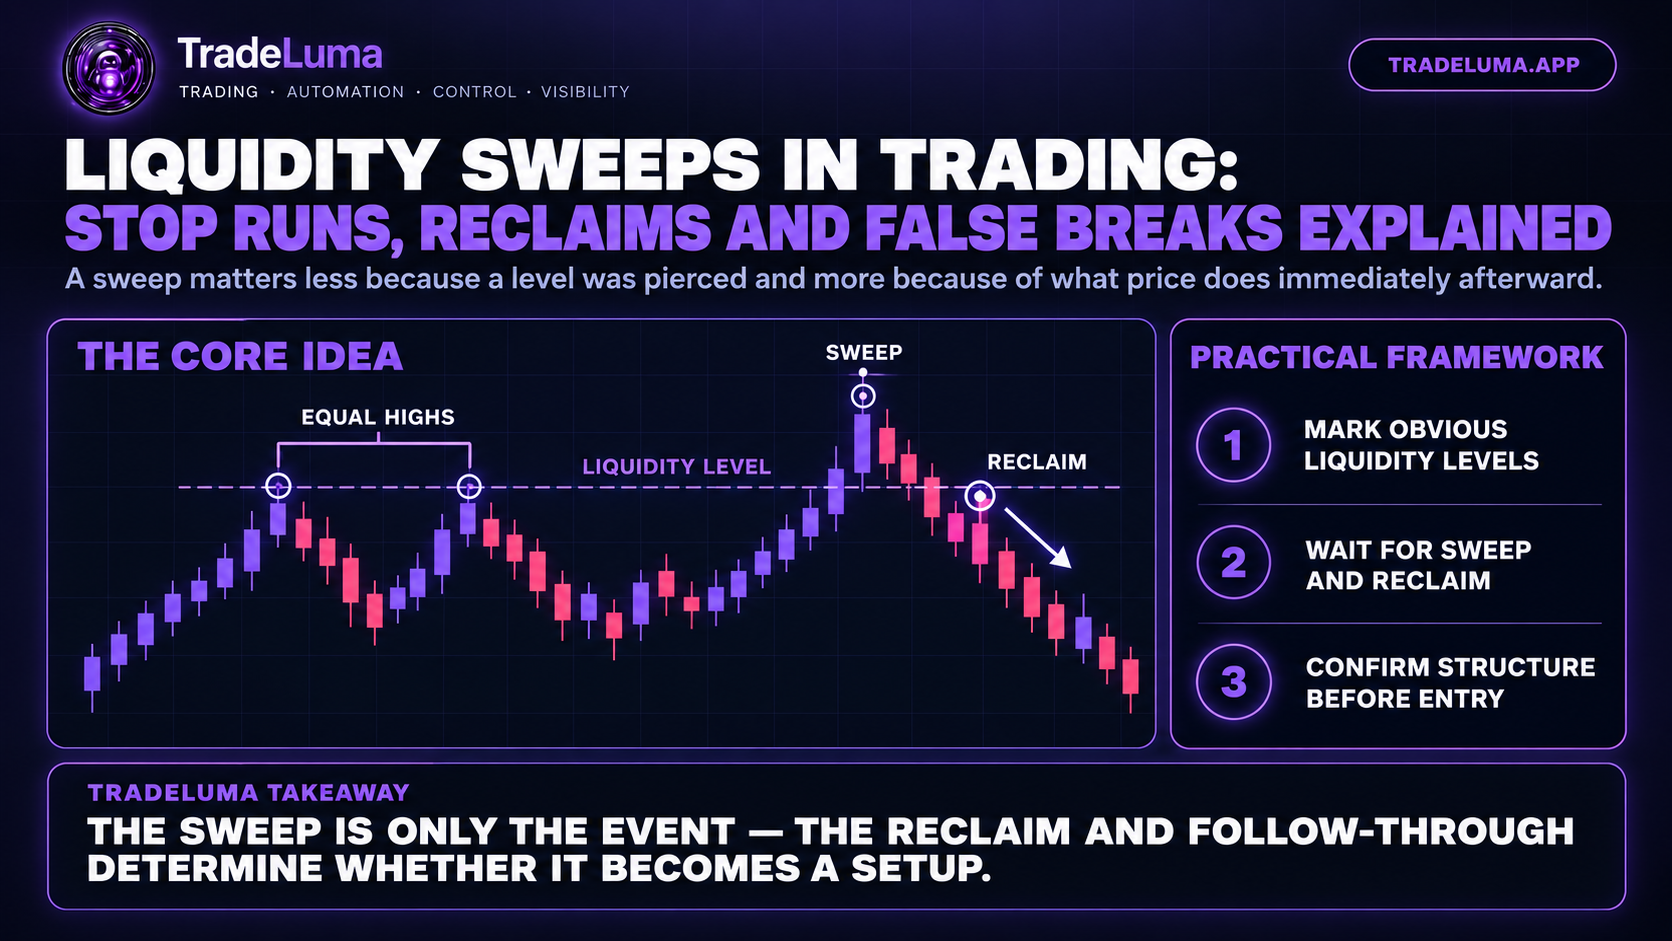
Learn how traders identify liquidity sweeps around obvious highs and lows, distinguish them from breakouts, and combine reclaims with structure and risk.
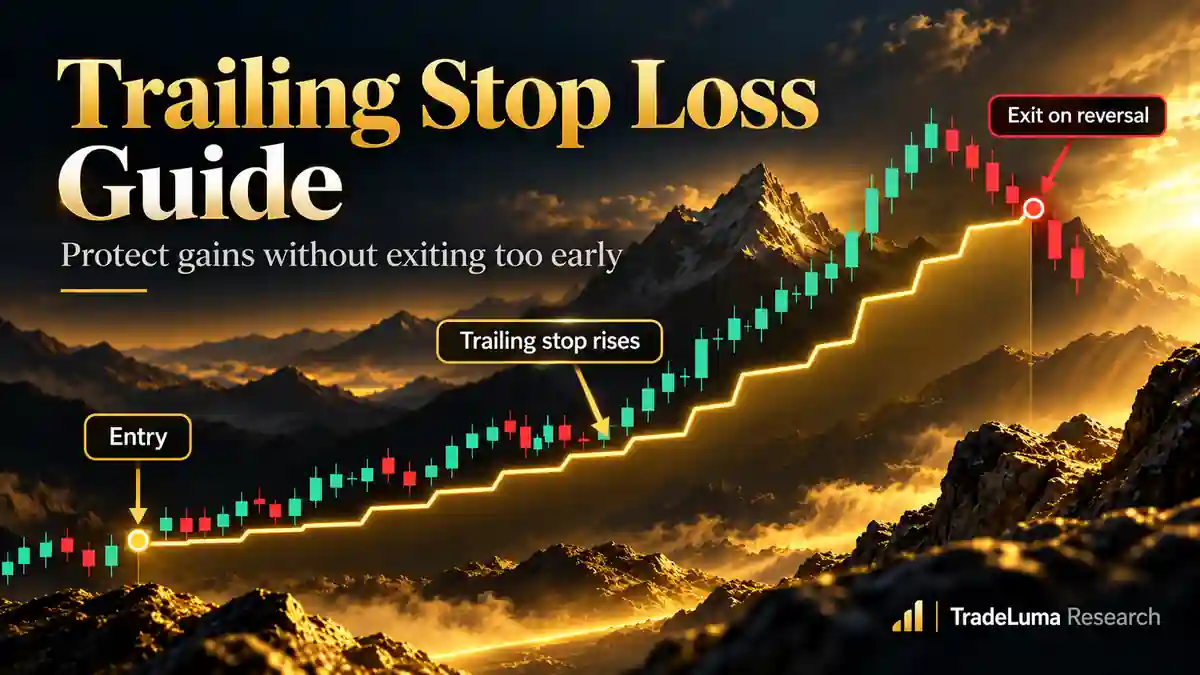
Learn what a trailing stop loss is, how it differs from a fixed stop, and how traders use it to balance protection with room for the trade to work.
Full library
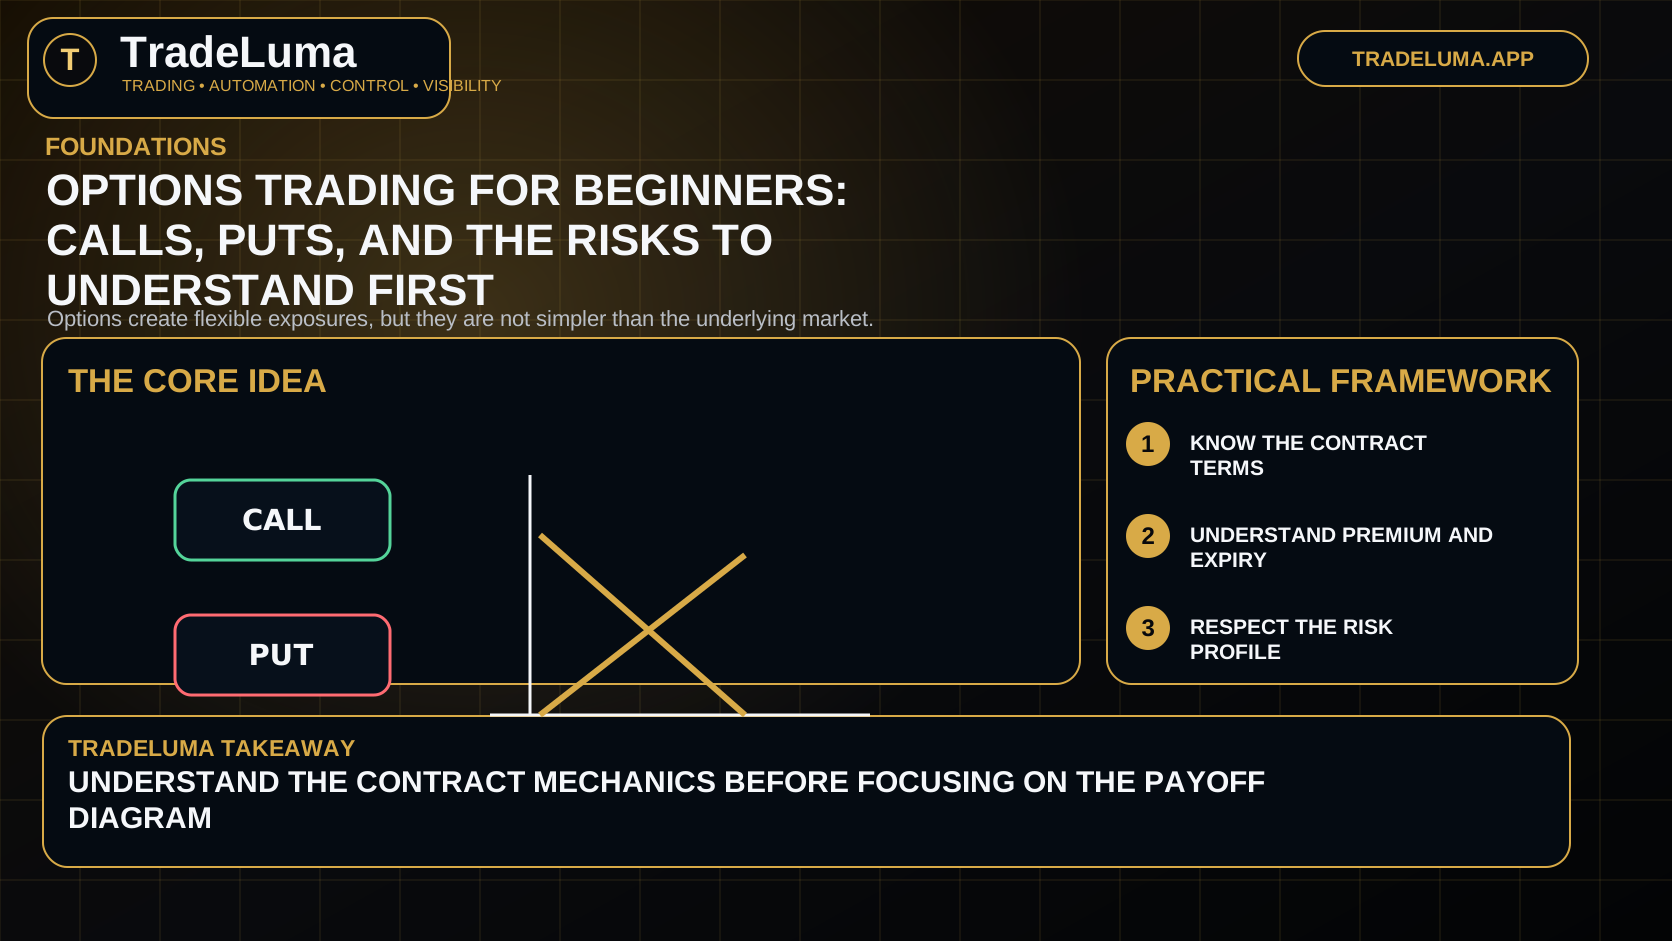
A beginner-friendly introduction to options trading, including calls, puts, premium, expiration, and why options behave differently from simple share or futures positions.
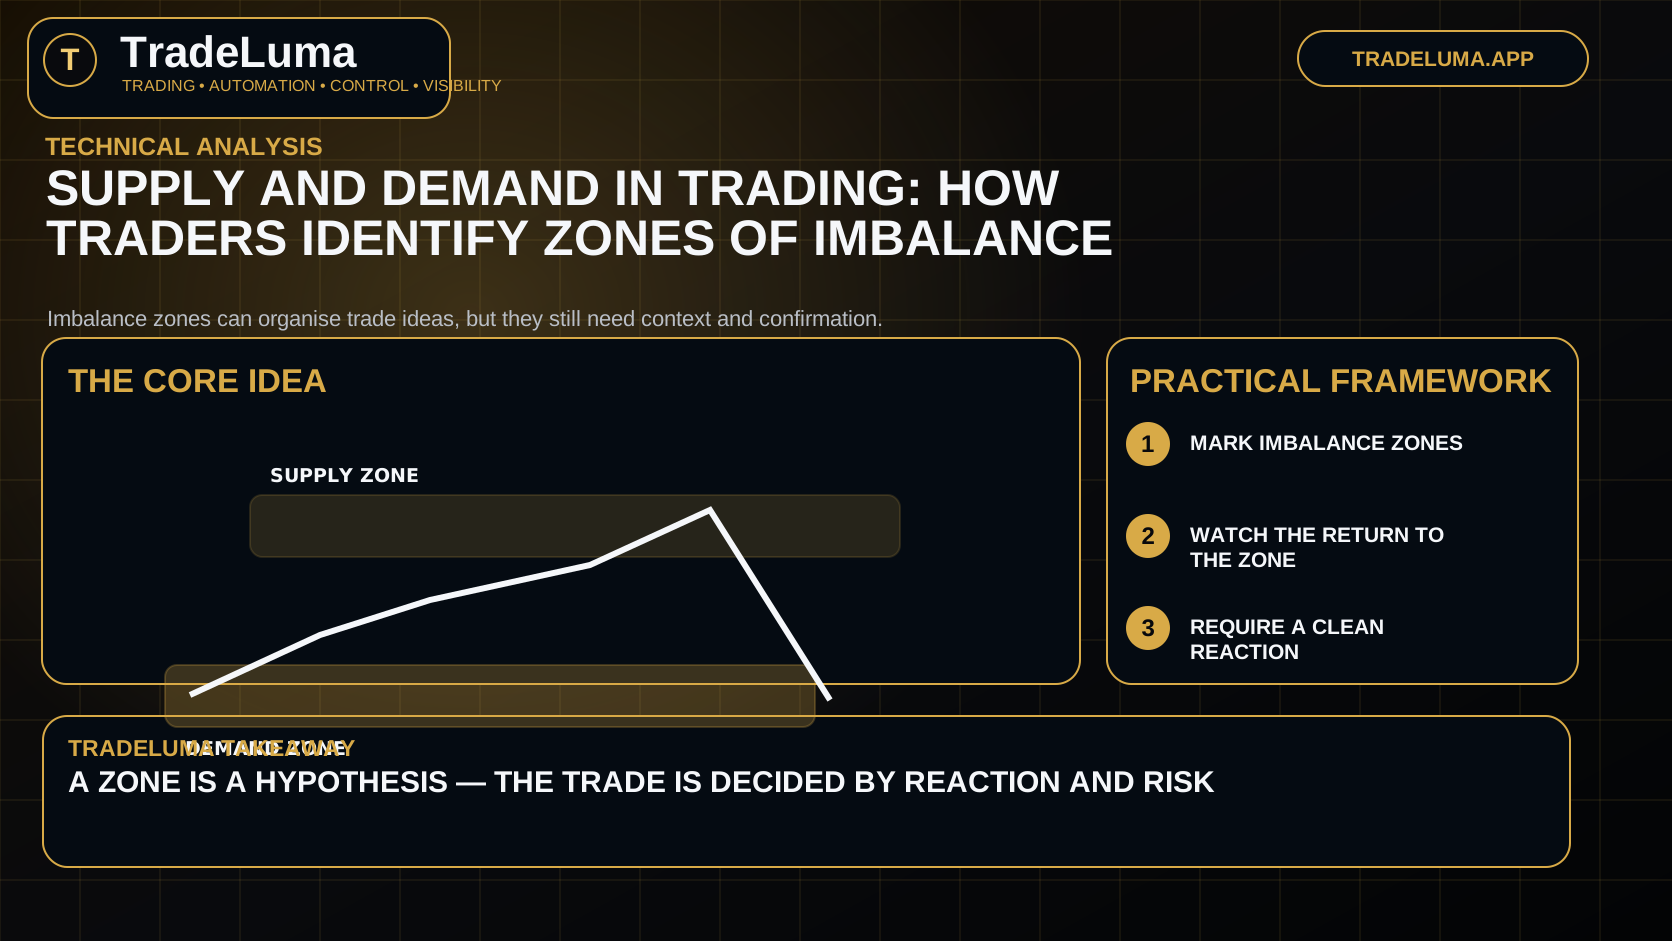
Learn what supply and demand zones are, how traders identify them, and how to use them alongside structure, timing, and risk control.
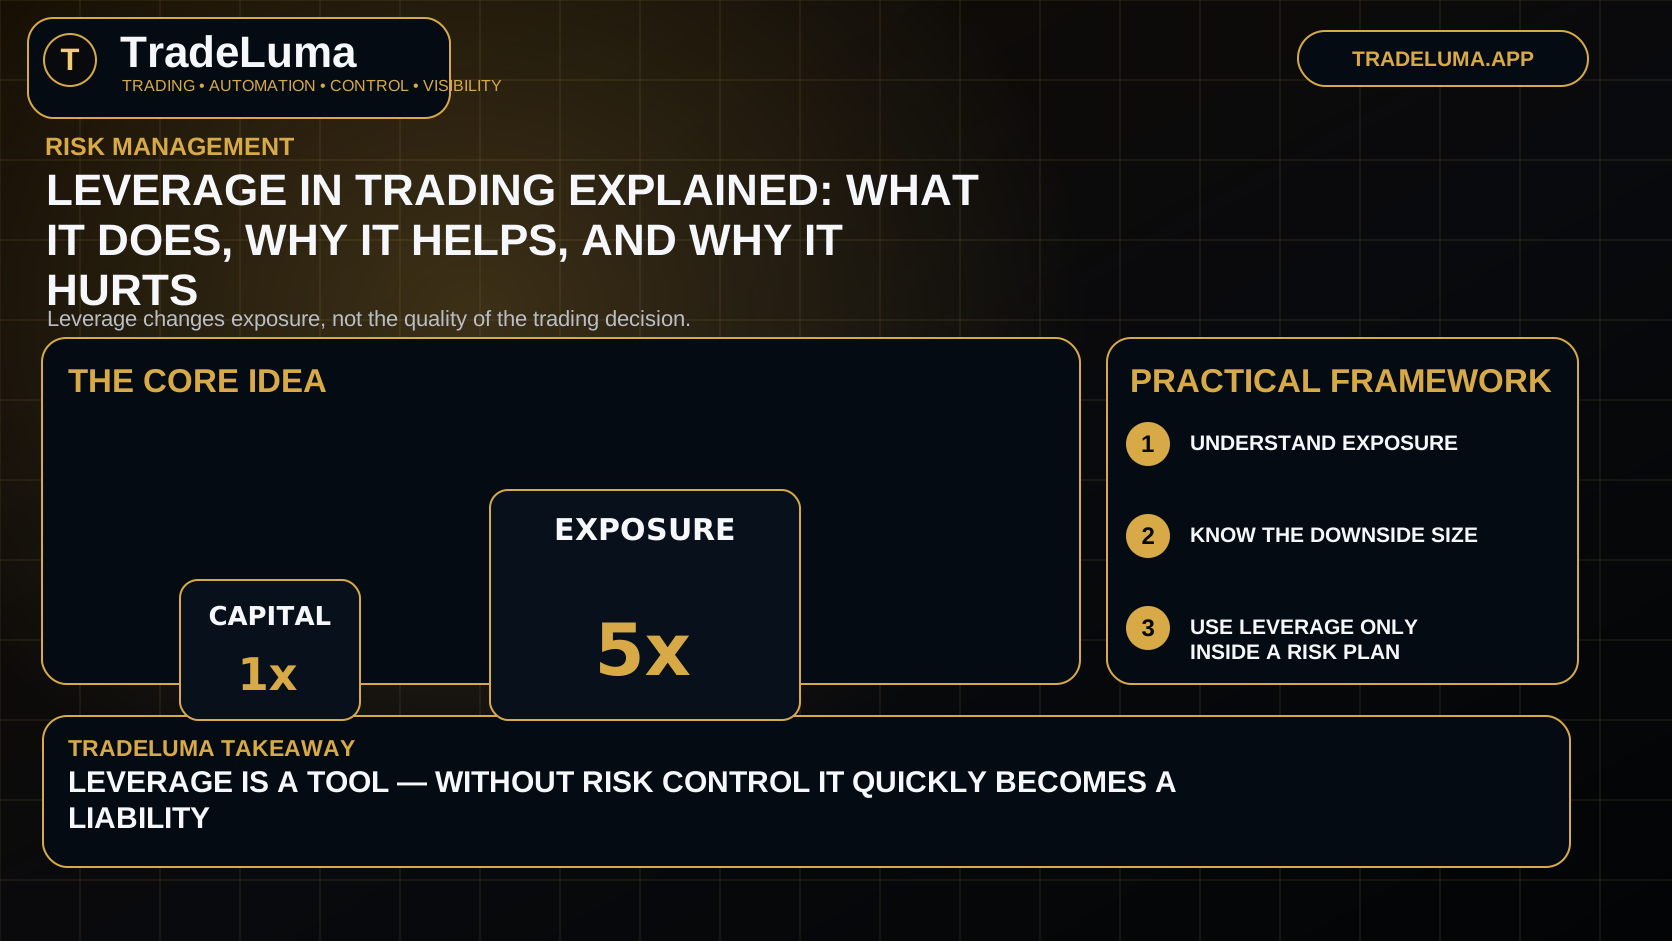
Understand how leverage works in trading, why it magnifies both returns and losses, and how to think about leverage responsibly.
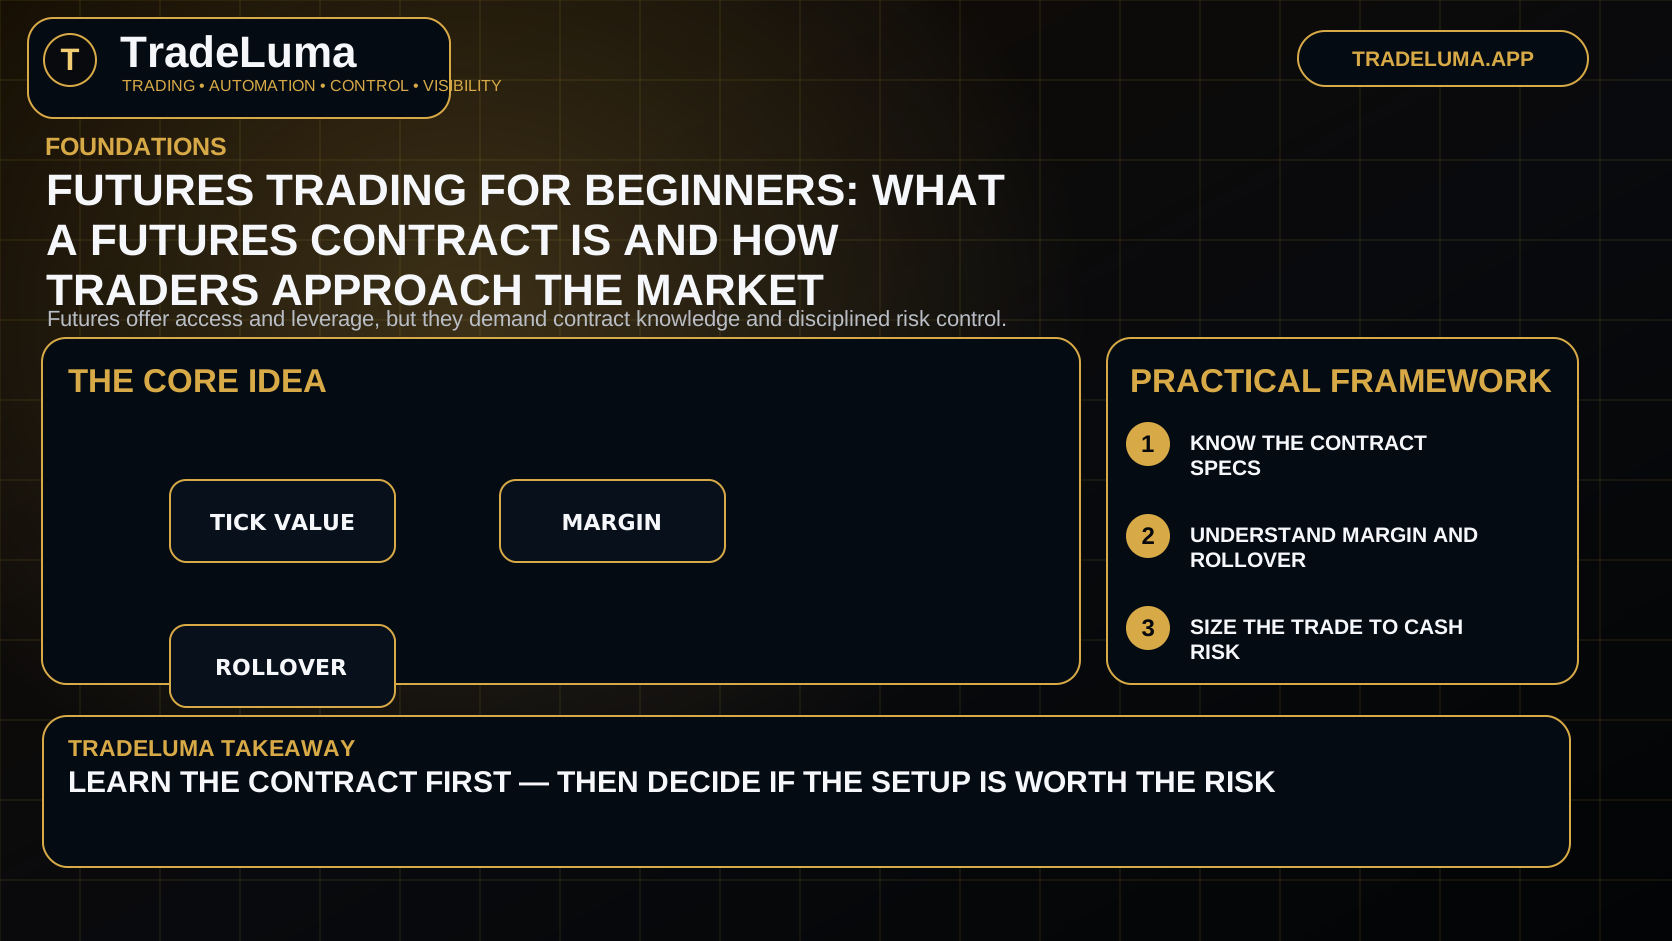
A beginner-friendly guide to futures trading, covering contract basics, margin, rollover, leverage, and practical risk considerations.
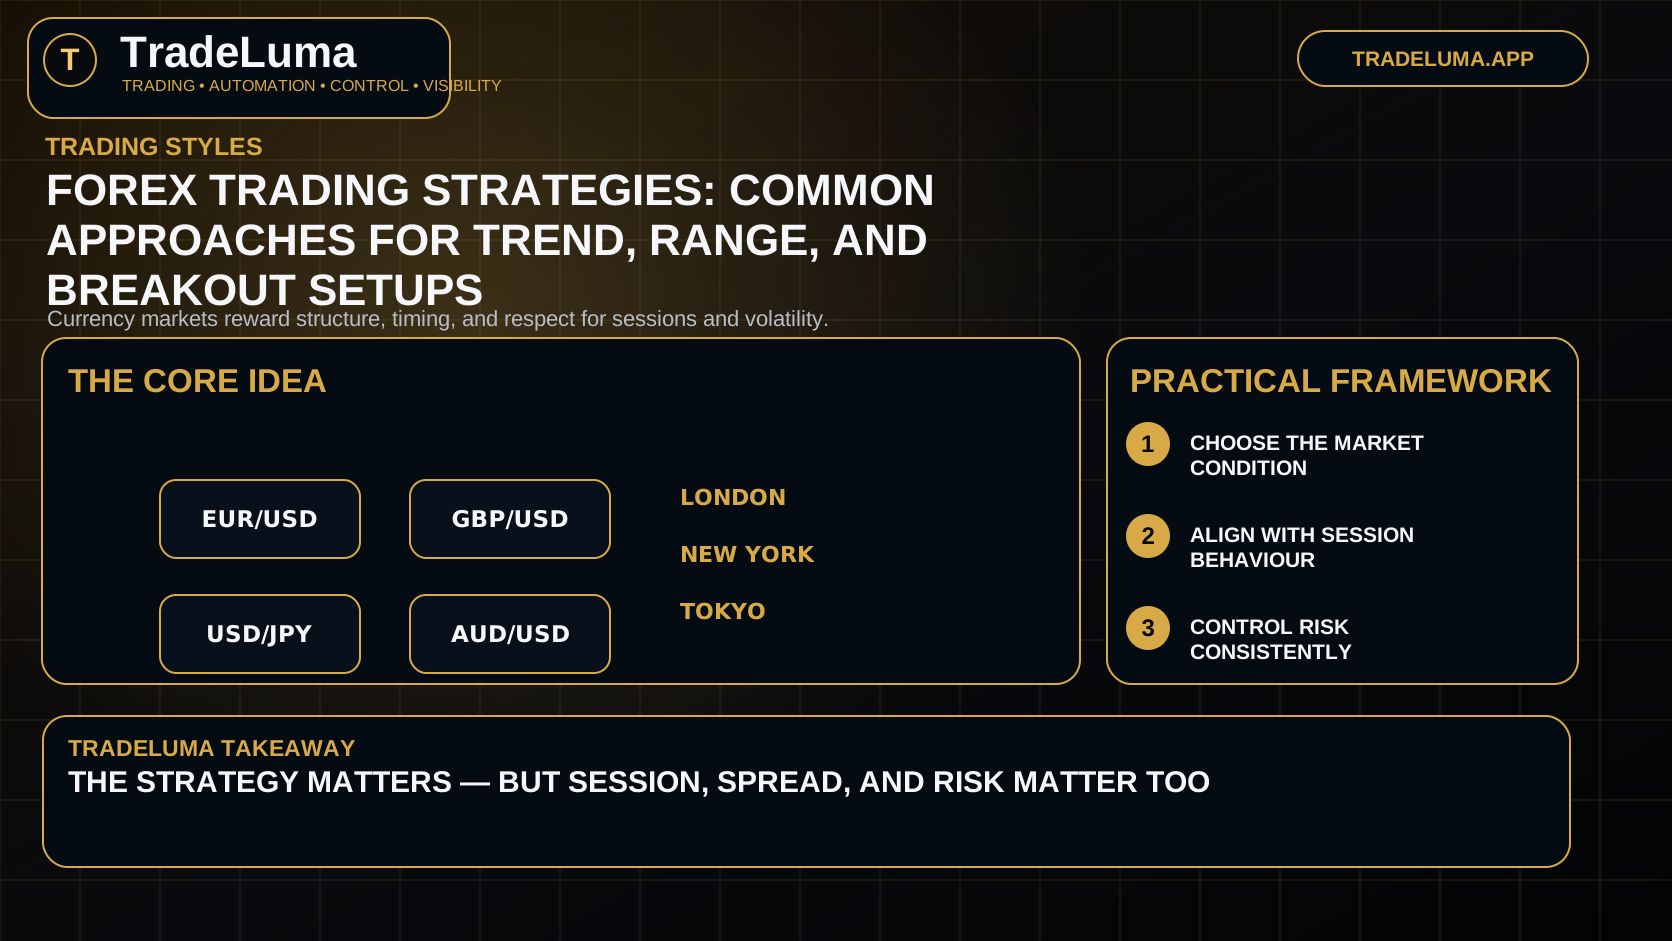
A practical guide to forex trading strategies, including trend following, range trading, breakouts, and the role of sessions, volatility, and risk control.
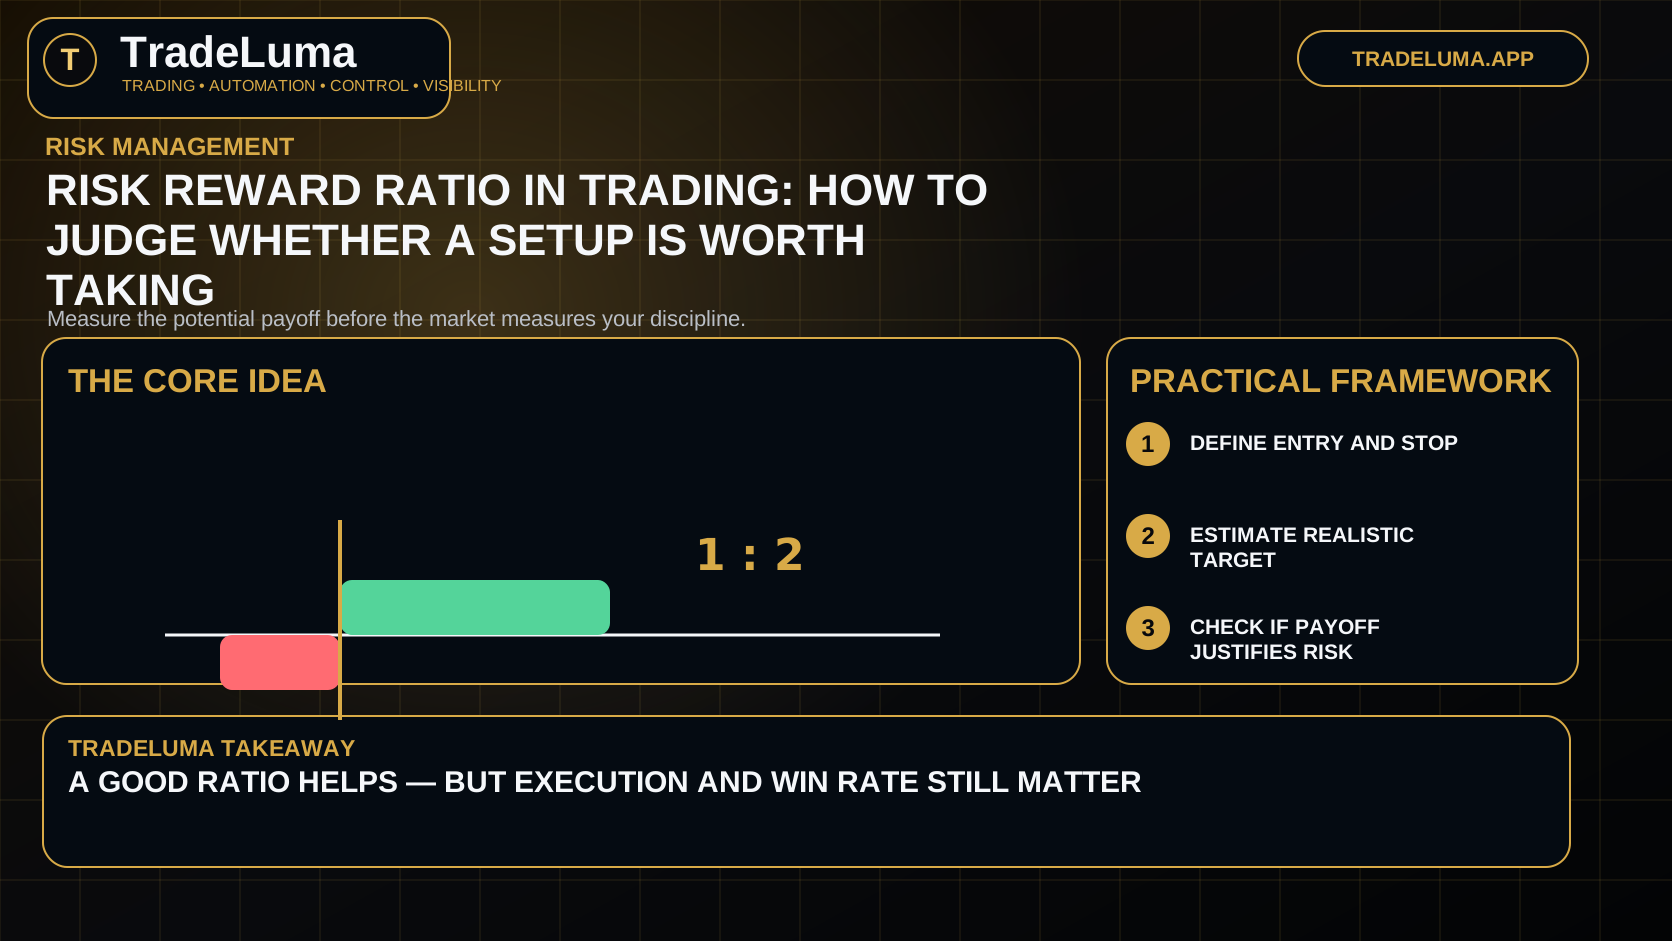
Understand risk reward ratio, how to calculate it, and why trade quality depends on both payoff structure and actual execution discipline.
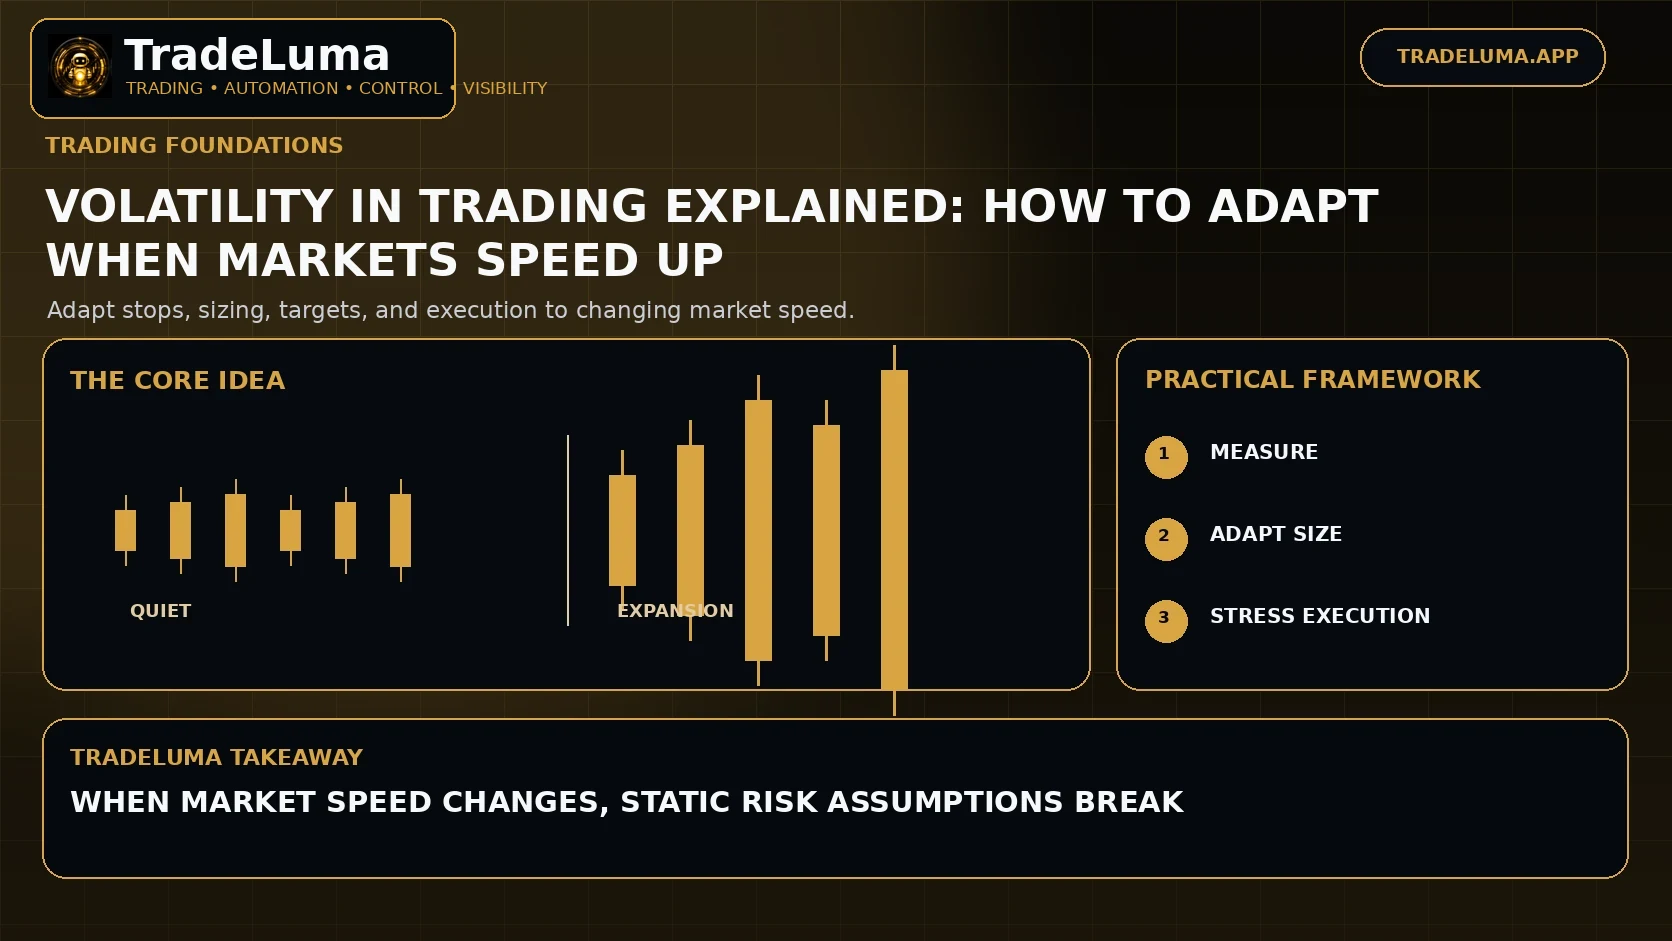
Learn what trading volatility means, how ATR and realised range measure it, and how volatility affects stops, position size, targets, and execution.
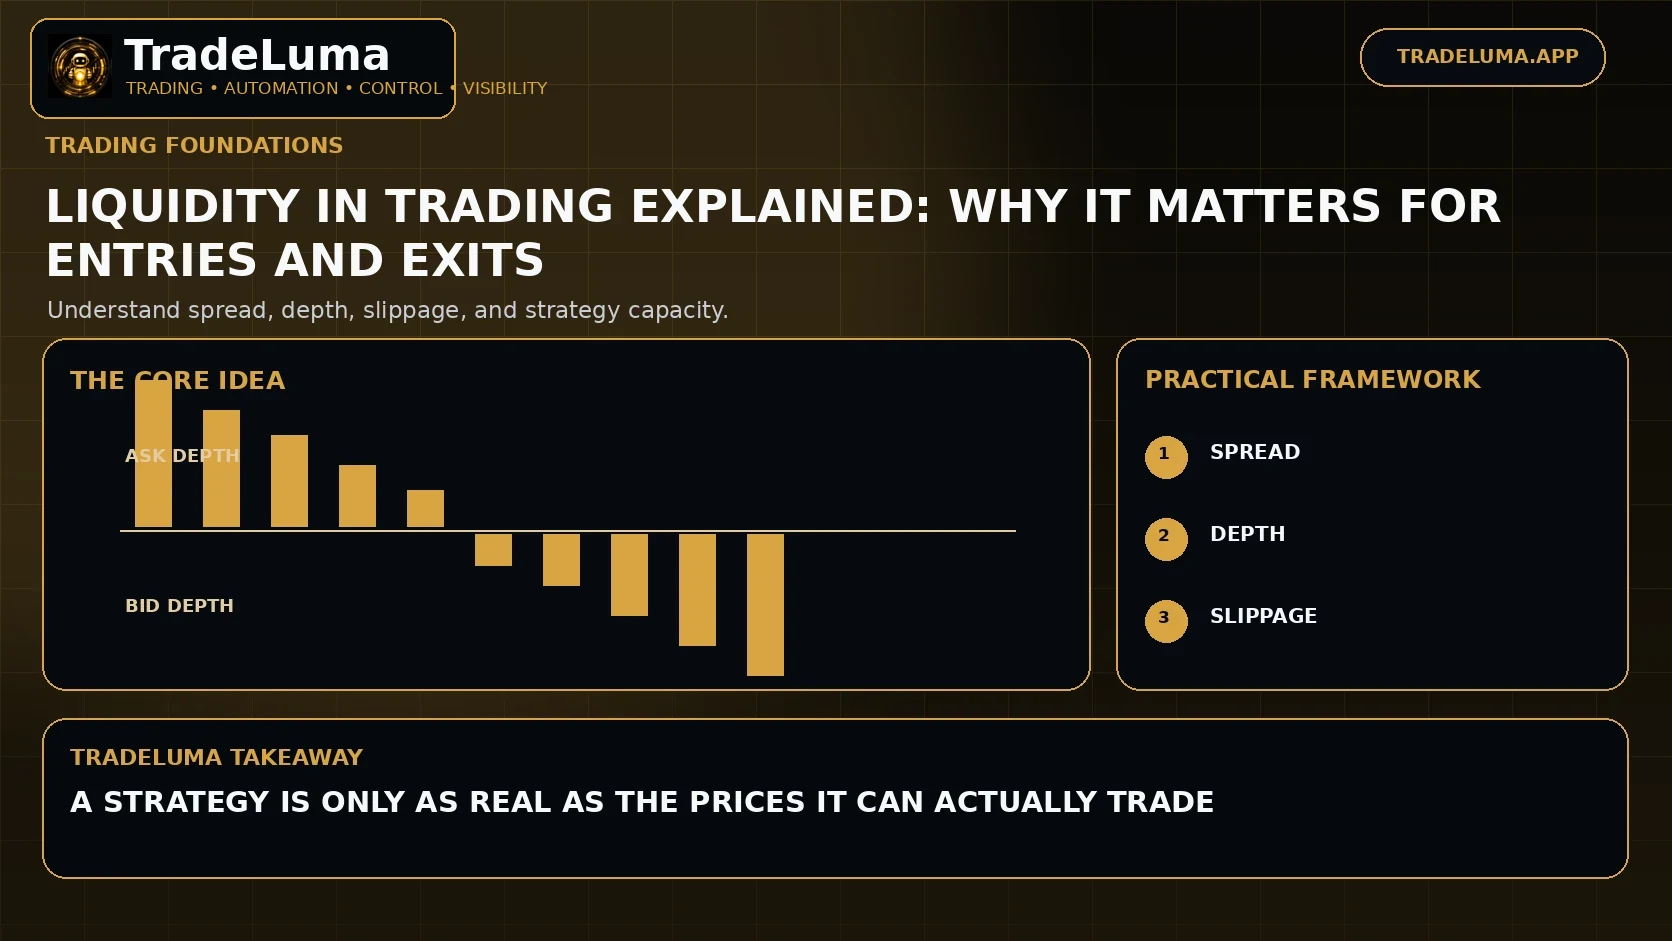
Learn what market liquidity means, how spread and order-book depth affect execution, and why thin markets can increase slippage and trading risk.
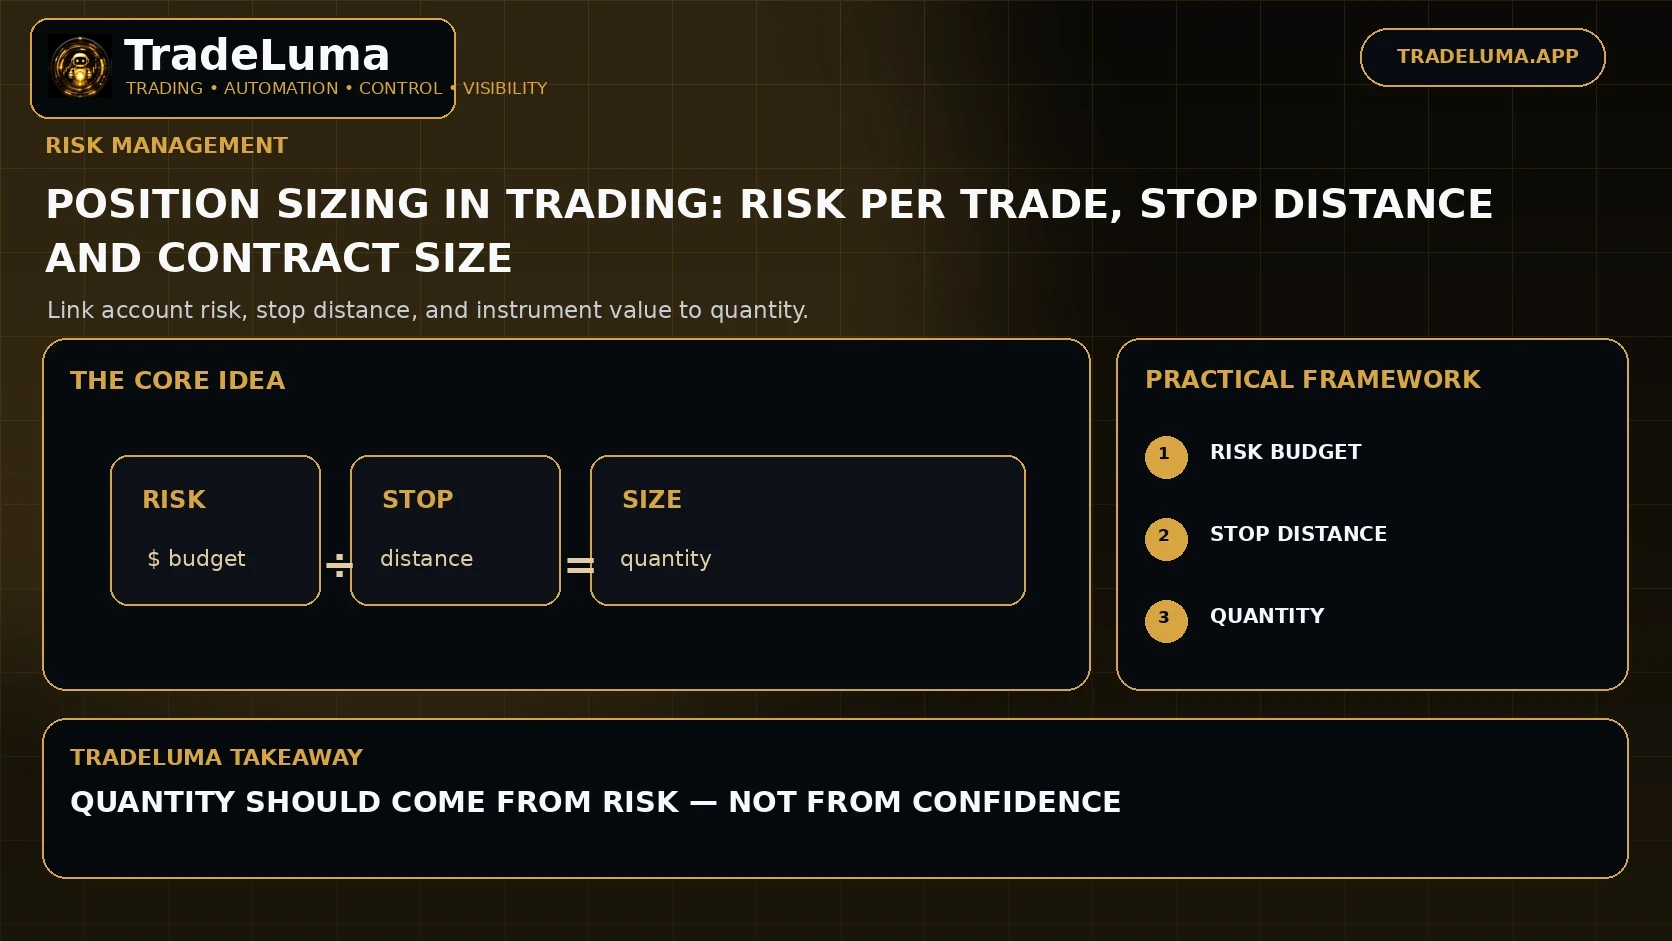
Learn how position sizing links account risk, stop distance, point value, leverage, and contract or share quantity into one repeatable risk process.
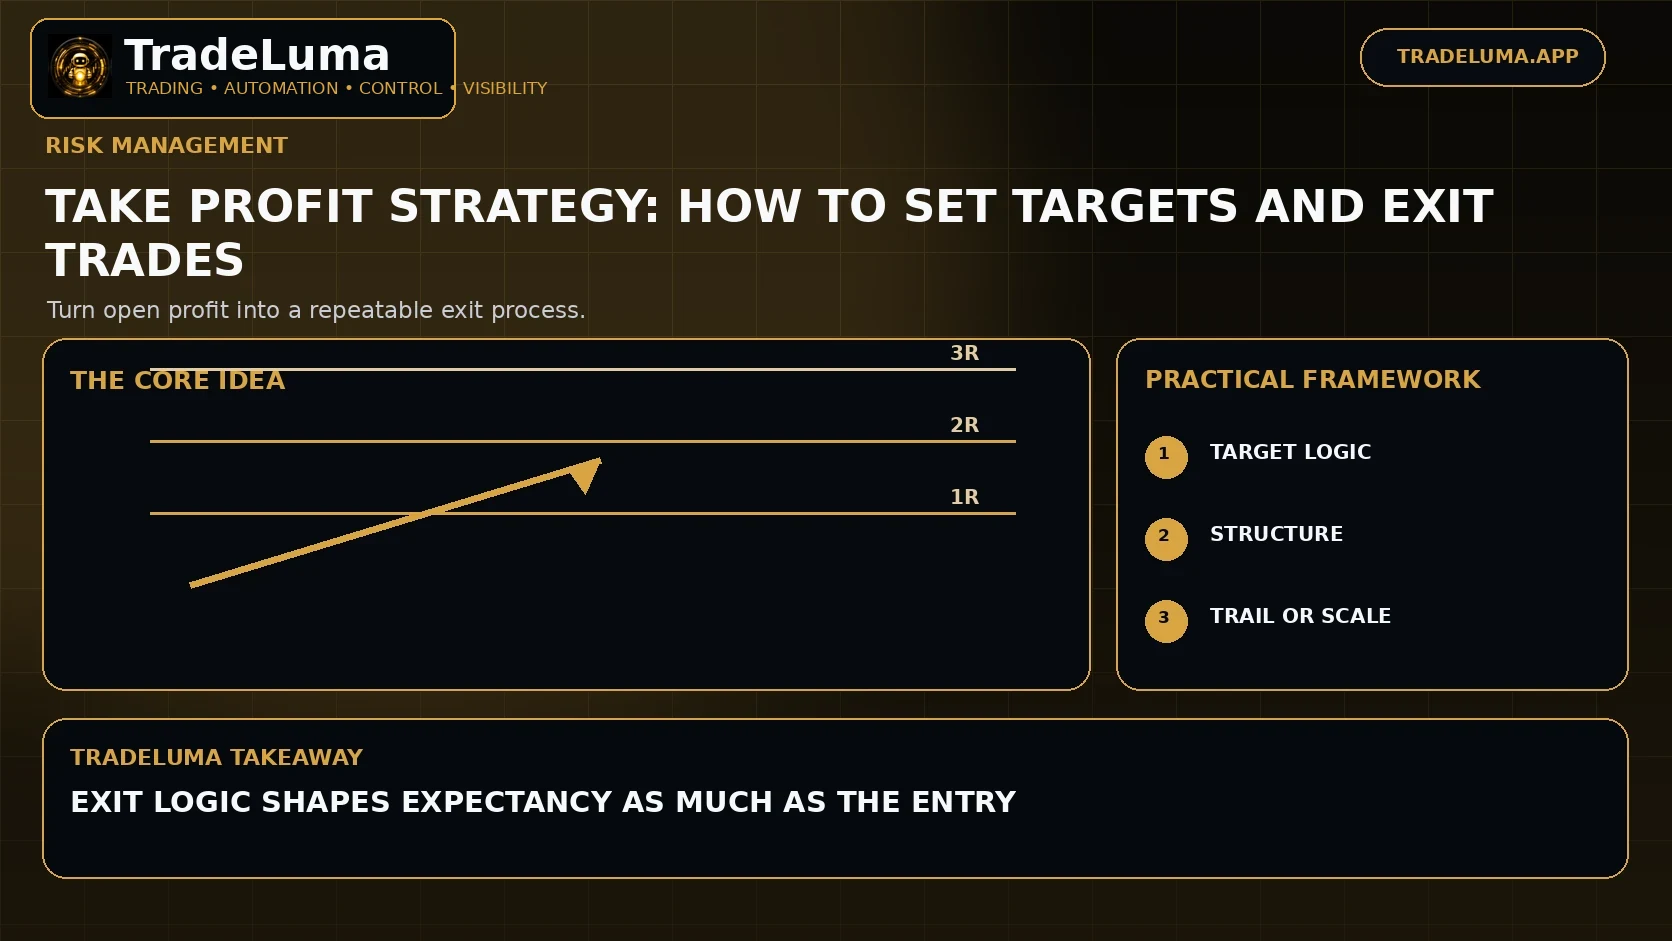
Learn how traders set take-profit targets using reward-to-risk, market structure, volatility, trailing exits, and partial profit-taking.
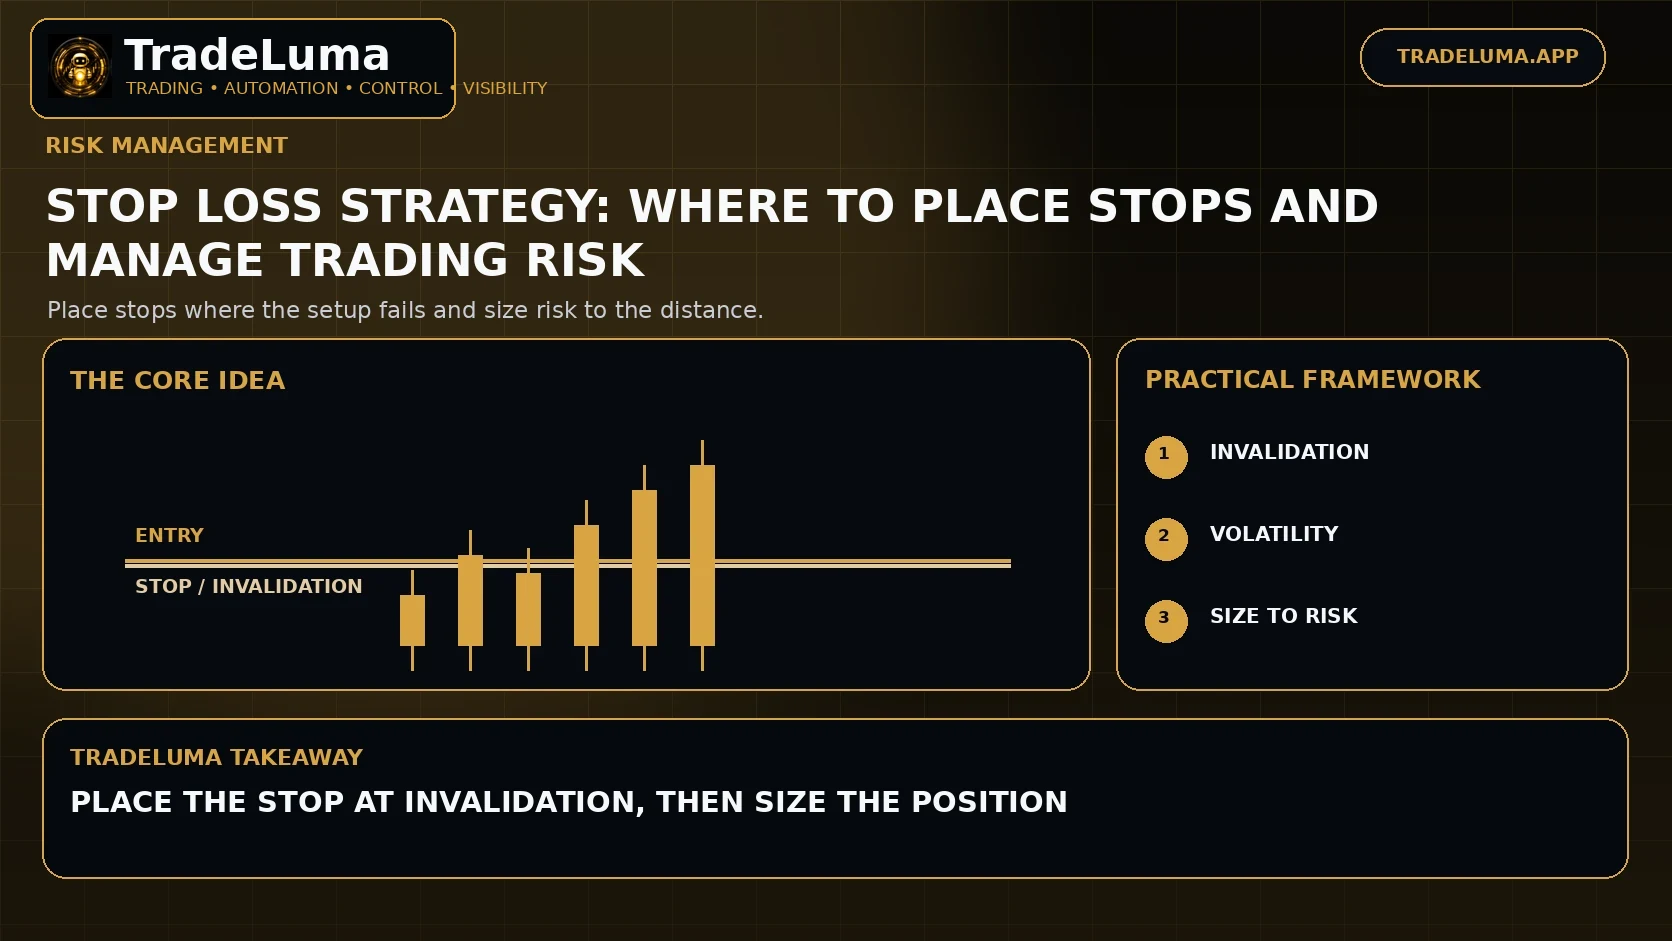
Learn how stop losses work, where traders place them, how volatility affects stop distance, and why position size should adapt to the invalidation point.
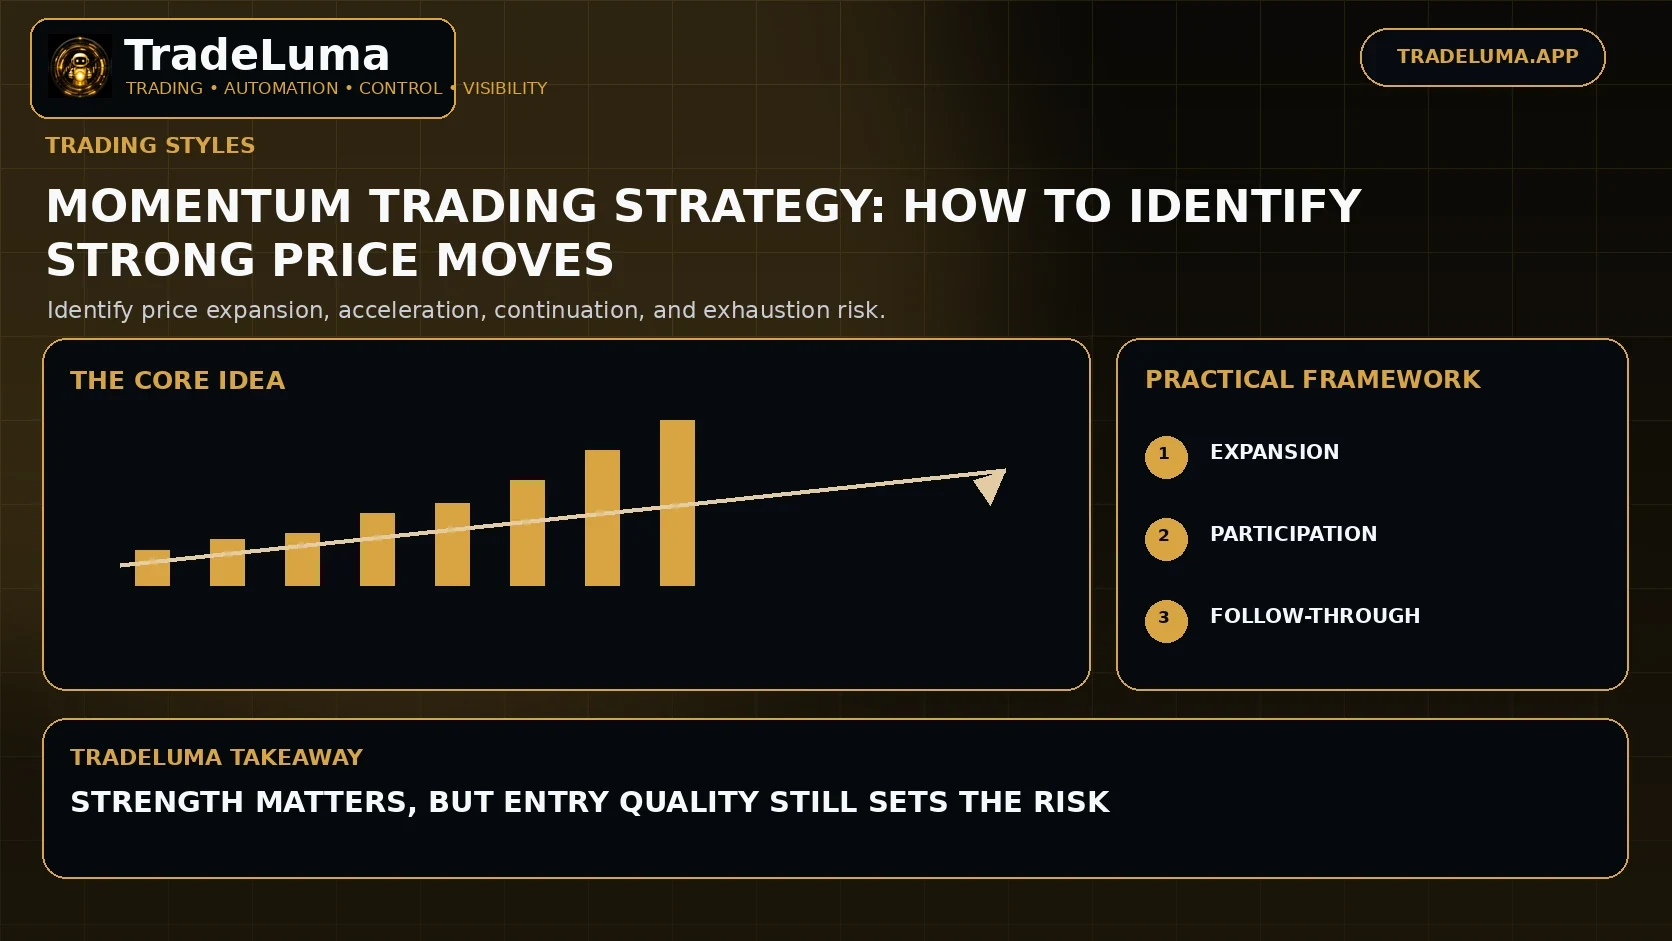
Learn how momentum trading works, how traders identify acceleration and continuation, and how to manage the risk of entering fast-moving markets.
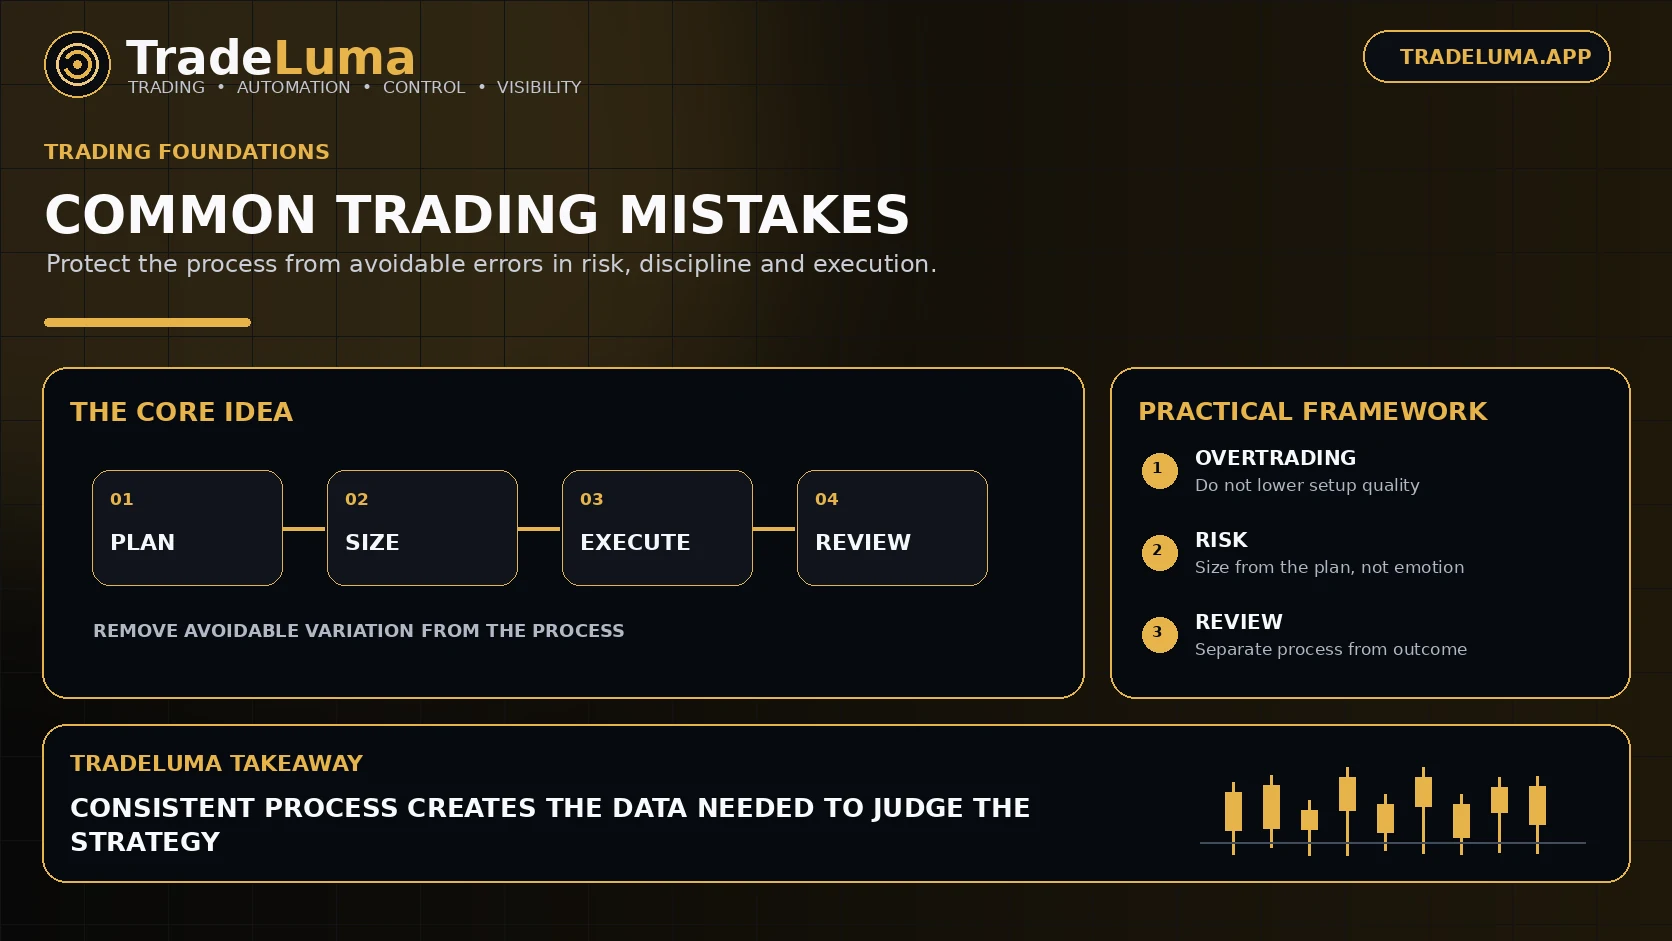
Review common trading mistakes including overtrading, revenge trading, oversized positions, moving stops, strategy hopping, poor testing, and ignoring costs.
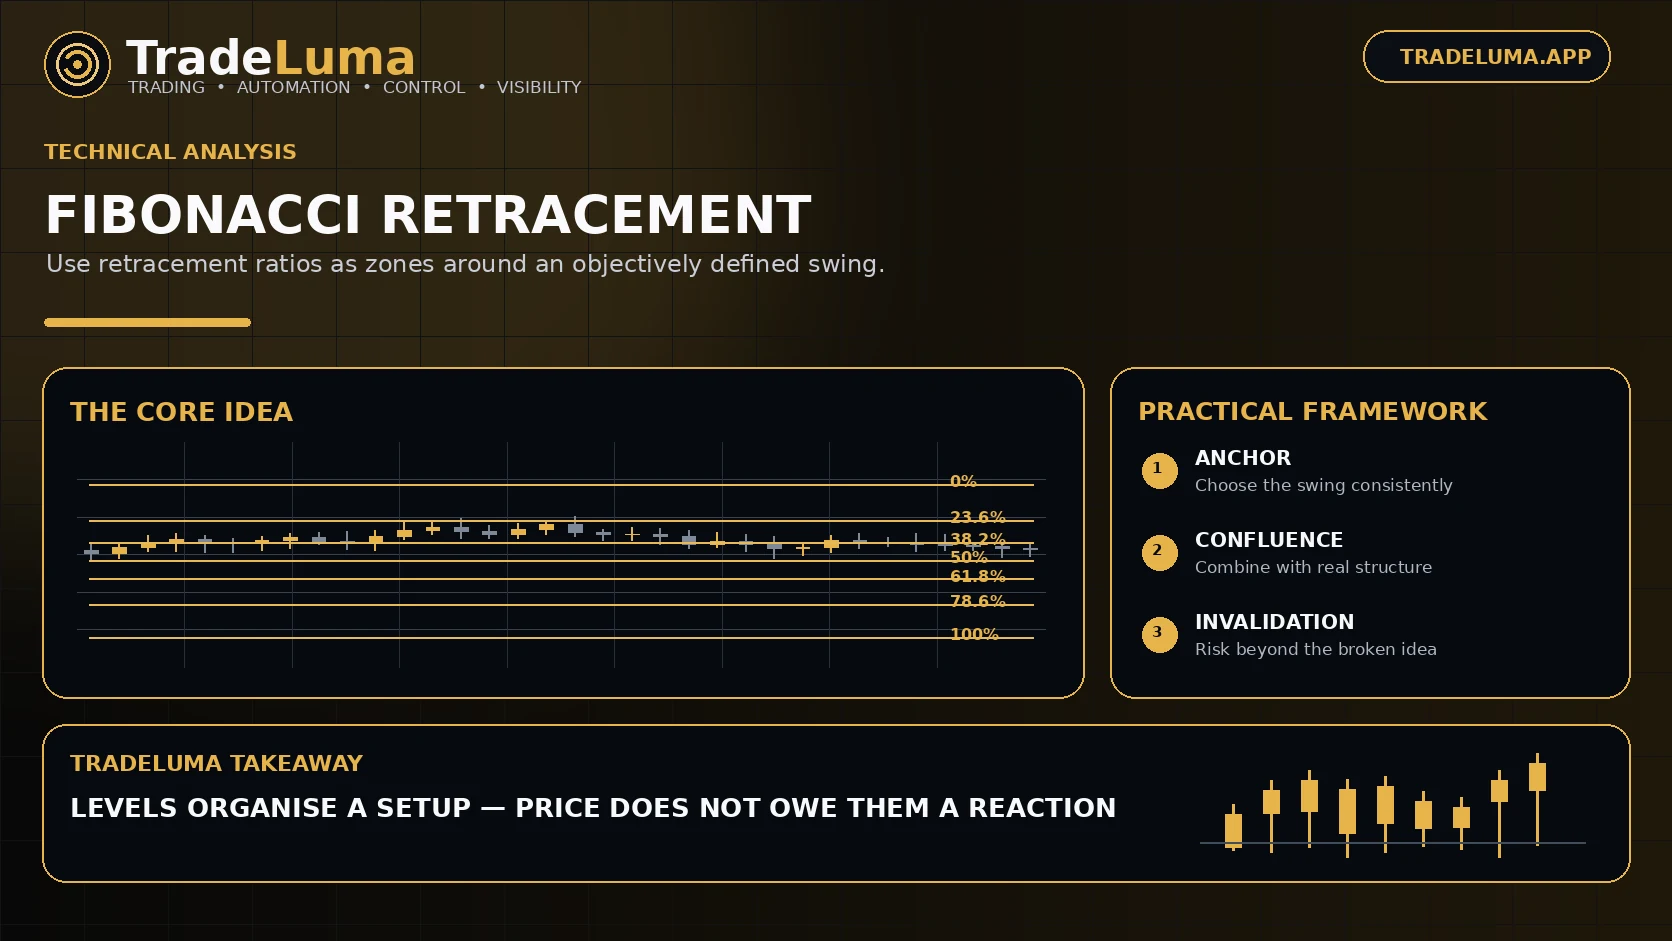
Learn what Fibonacci retracement levels are, how traders anchor them to market swings, and how to combine them with structure, trends, and risk rules.
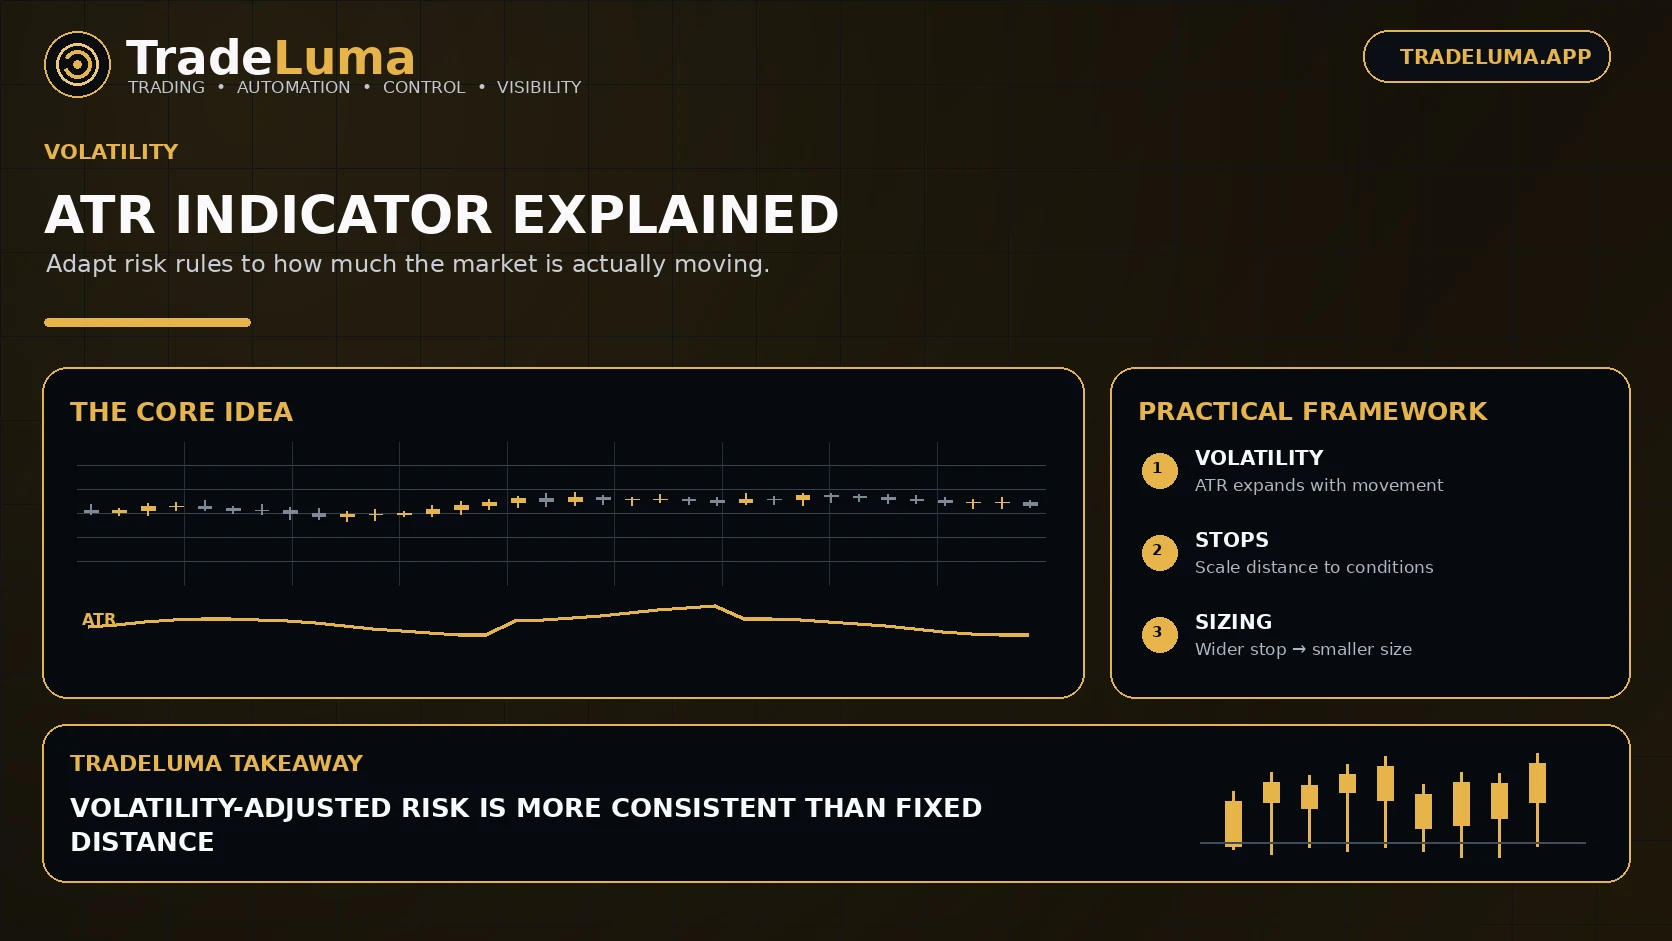
Understand Average True Range (ATR), how traders use it to measure volatility, adapt stop distances, compare market conditions, and support position sizing.
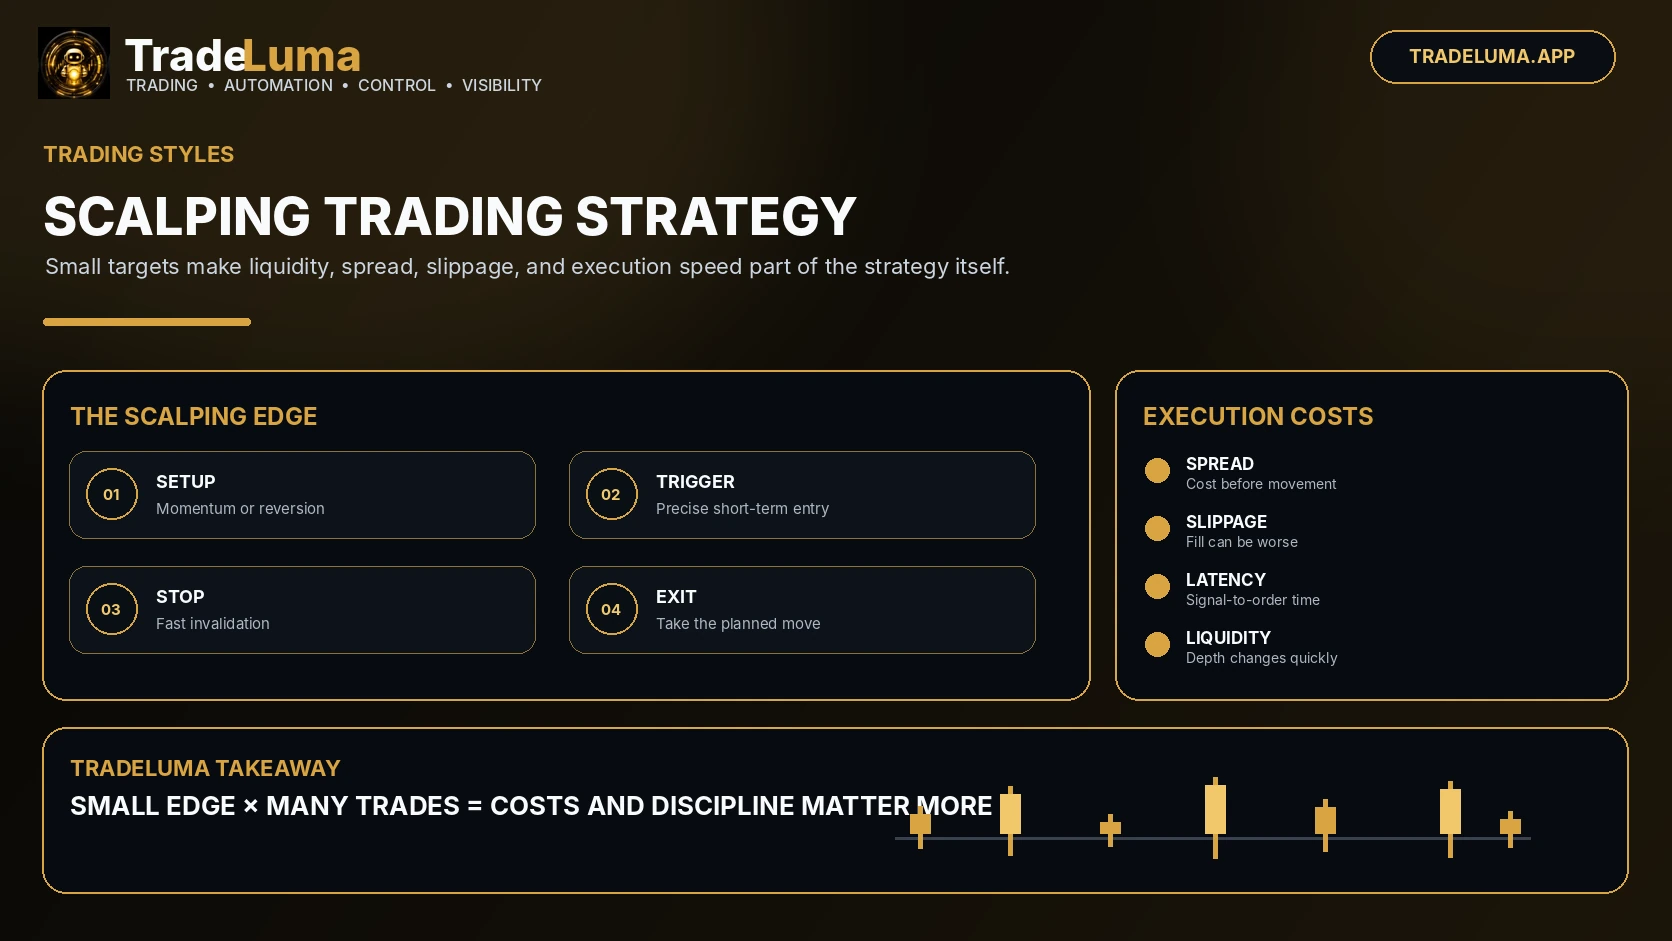
Learn how scalping works, including liquidity, spread, slippage, latency, momentum and mean-reversion setups, plus short-term risk controls.
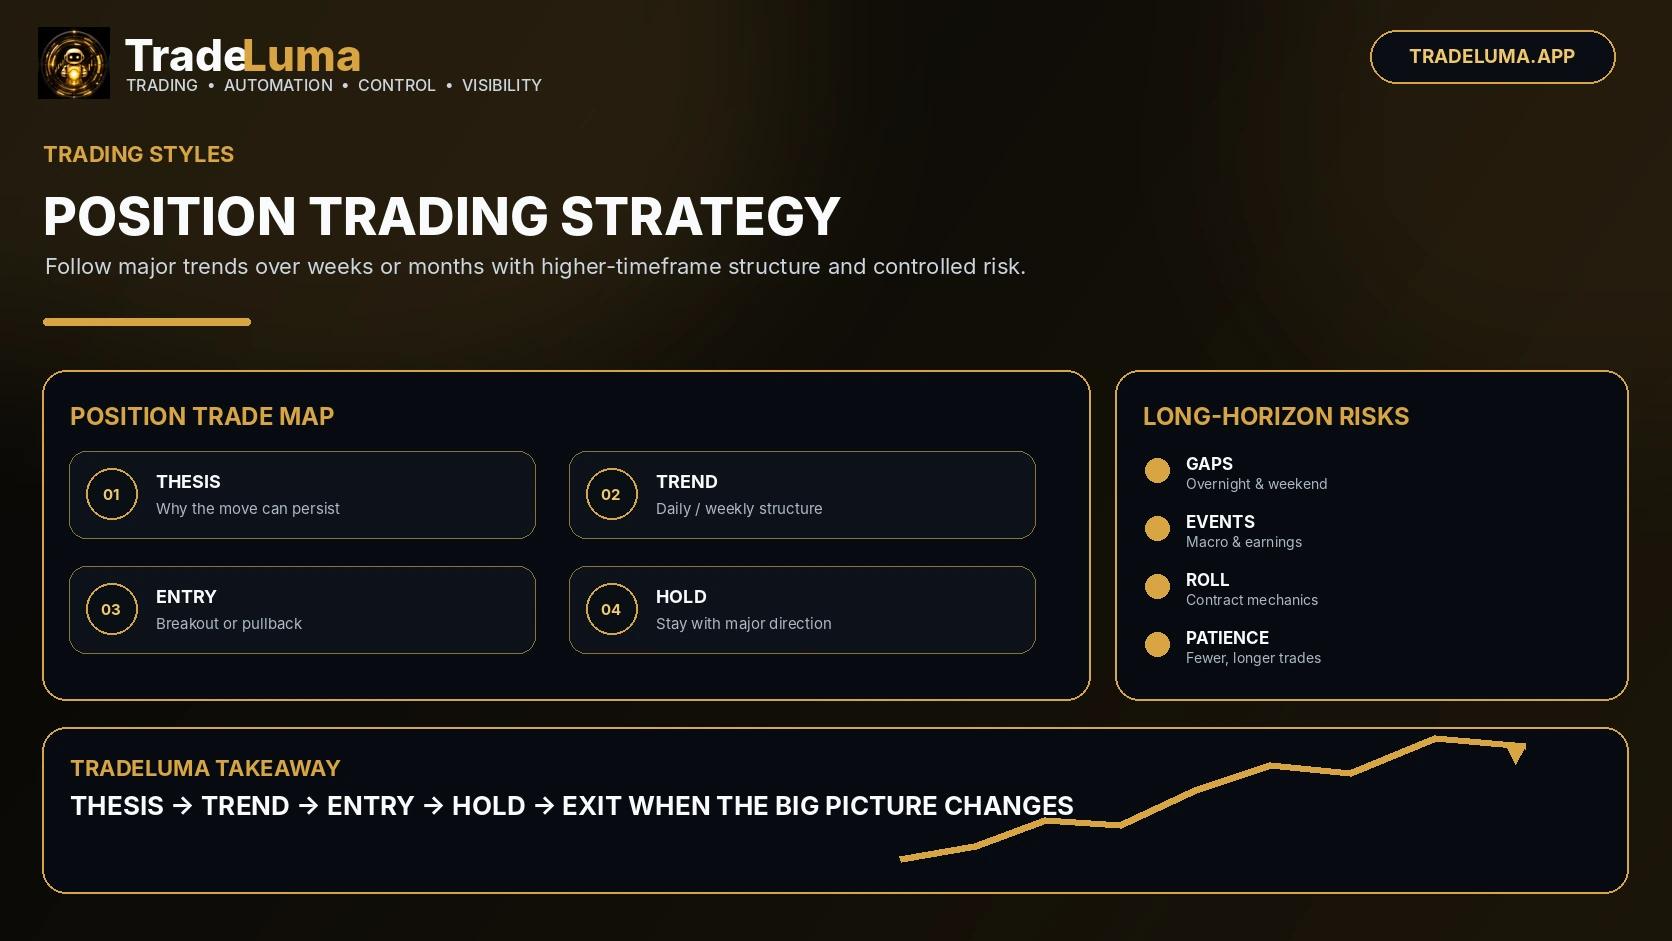
Learn how position trading uses daily and weekly trends, technical or fundamental context, wider stops, gap risk, and longer holding periods.
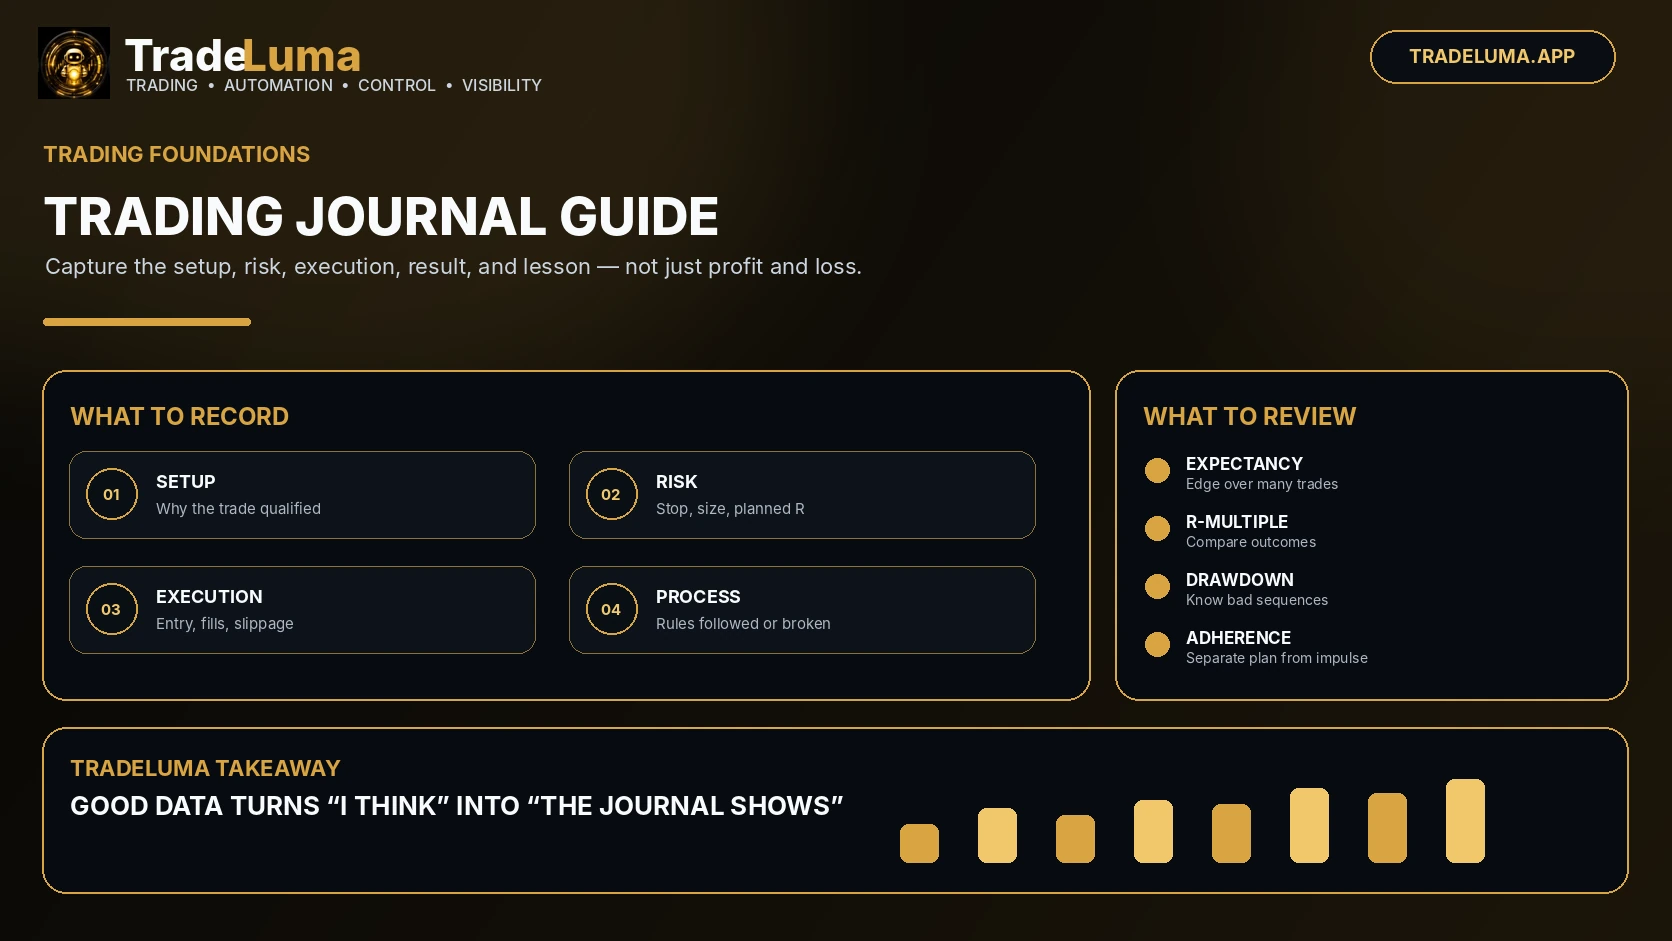
Learn what to record in a trading journal, which metrics to review, and how to turn setup, risk, execution, and trade history into better decisions.
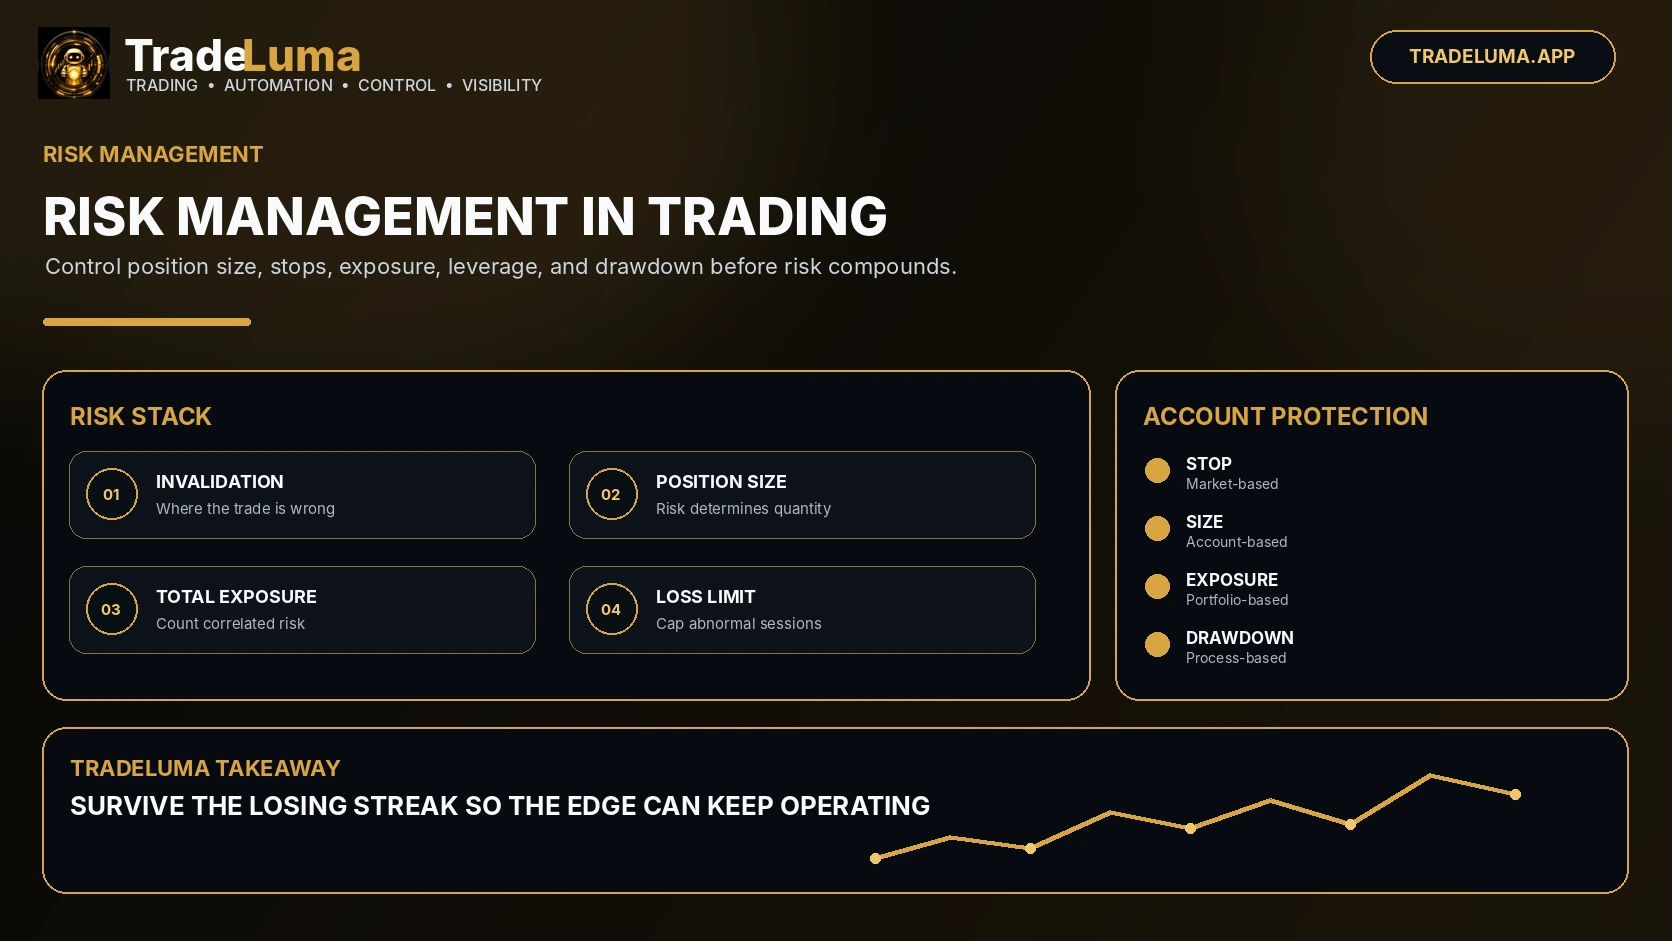
Learn trading risk management through position sizing, stop placement, portfolio exposure, drawdowns, losing streaks, leverage, and risk limits.
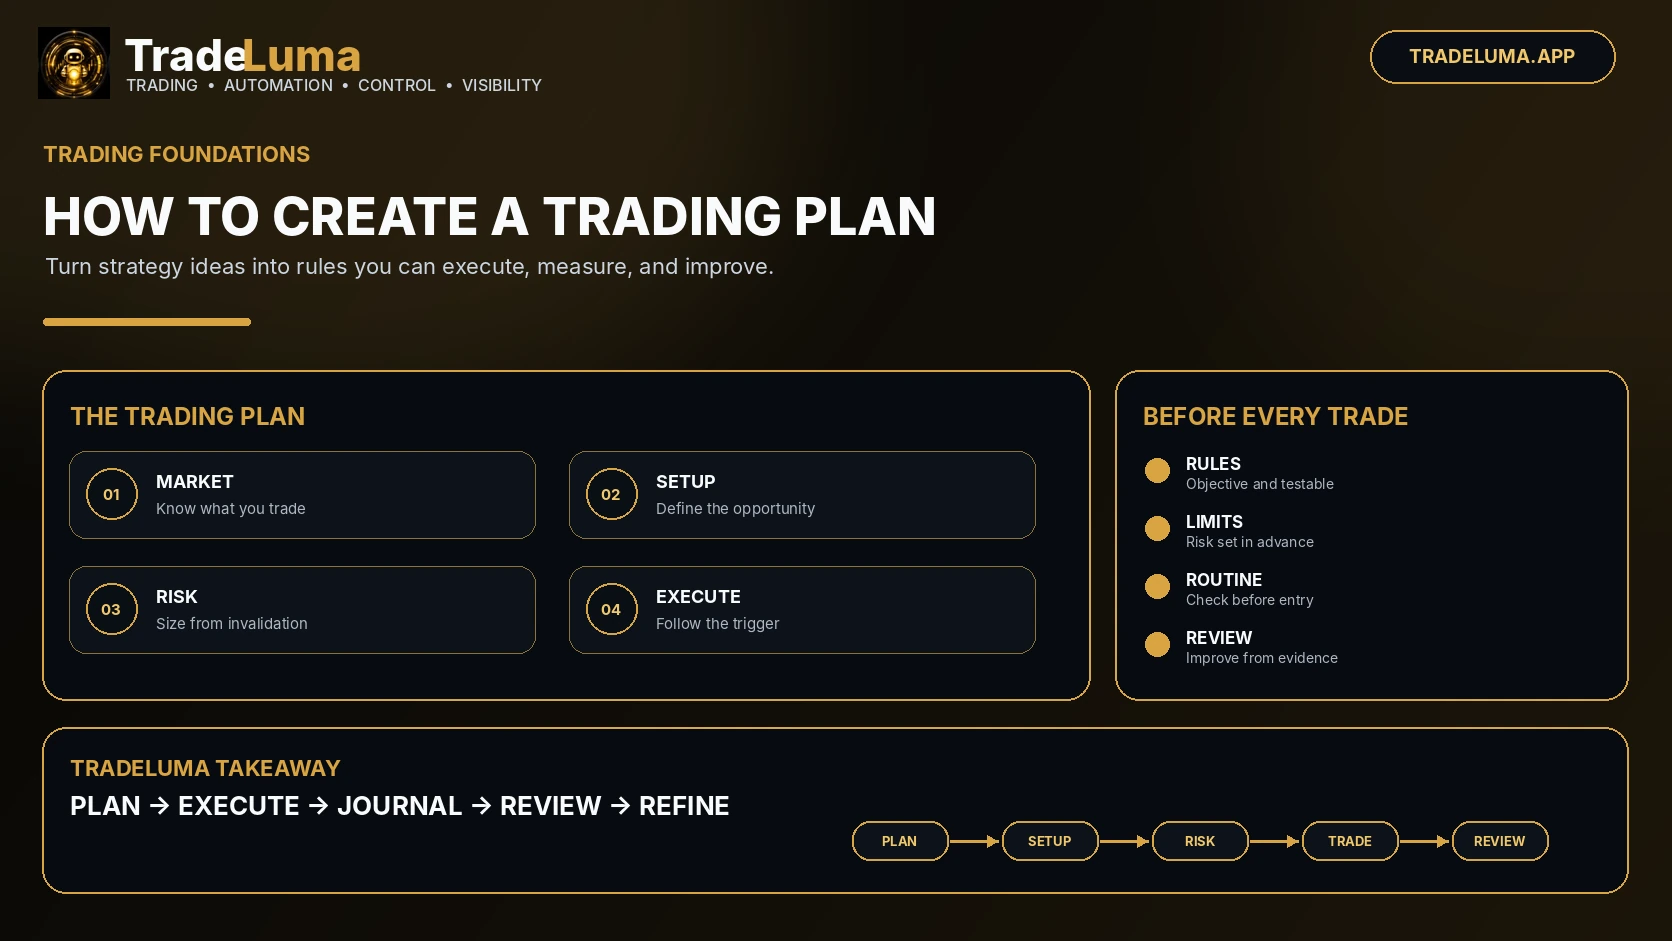
Learn how to create a trading plan with clear setup rules, risk limits, entry and exit criteria, daily routines, review steps, and a repeatable process.
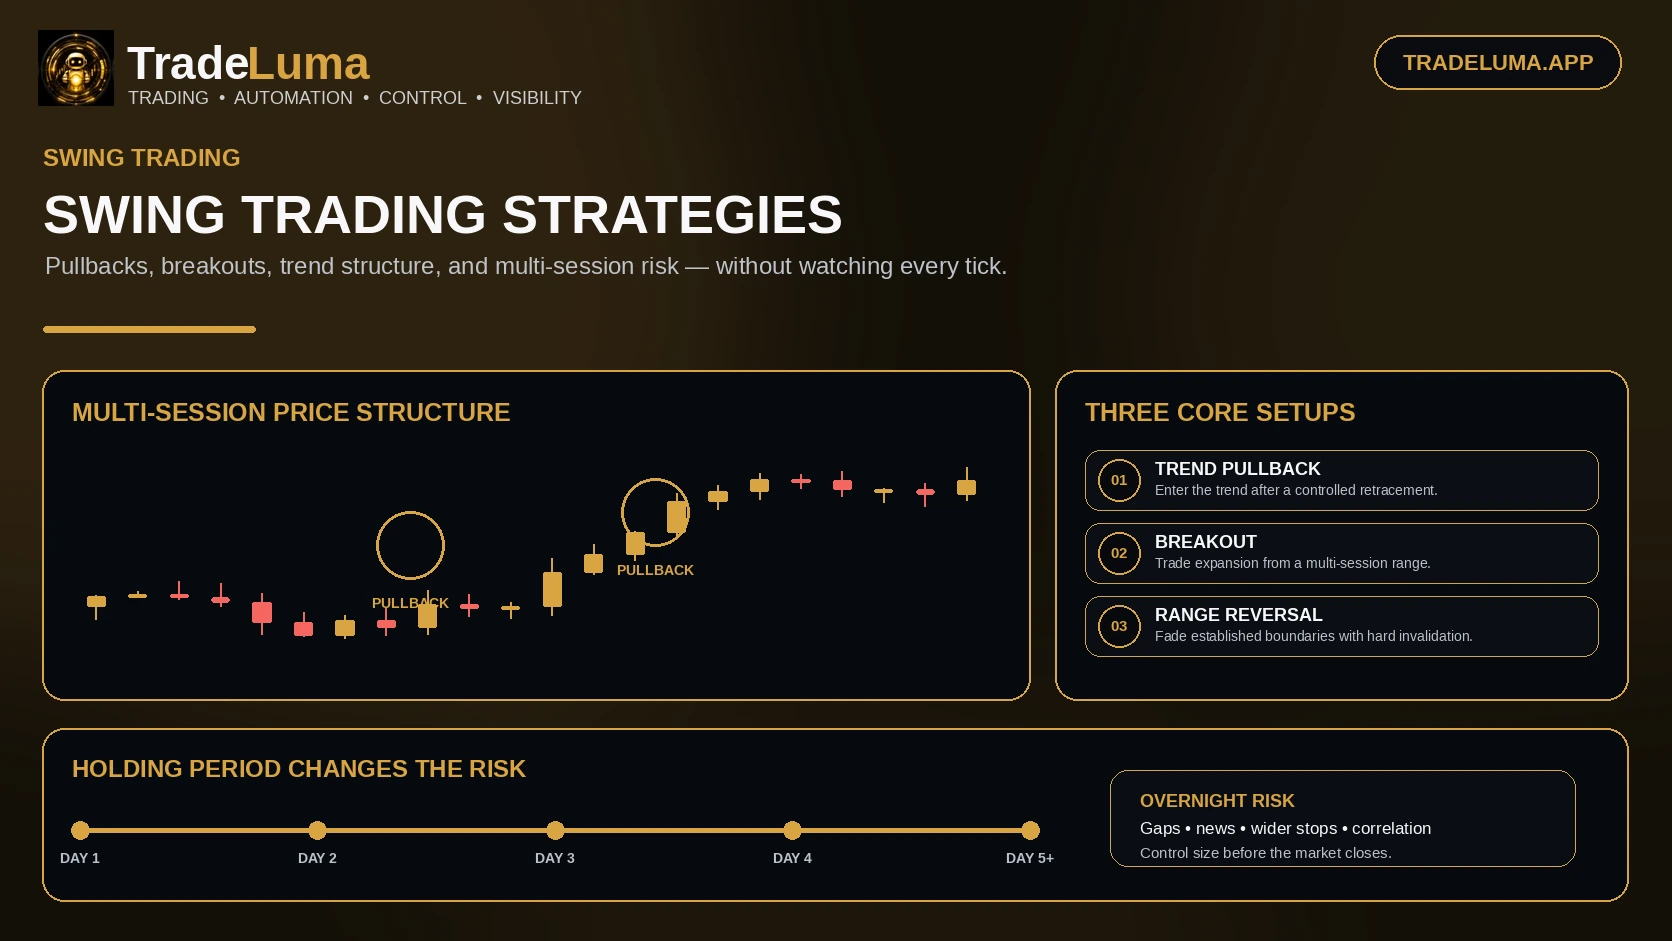
A practical guide to swing trading strategies, including trend pullbacks, breakouts, moving-average setups, range trades, stops, targets, and overnight risk.
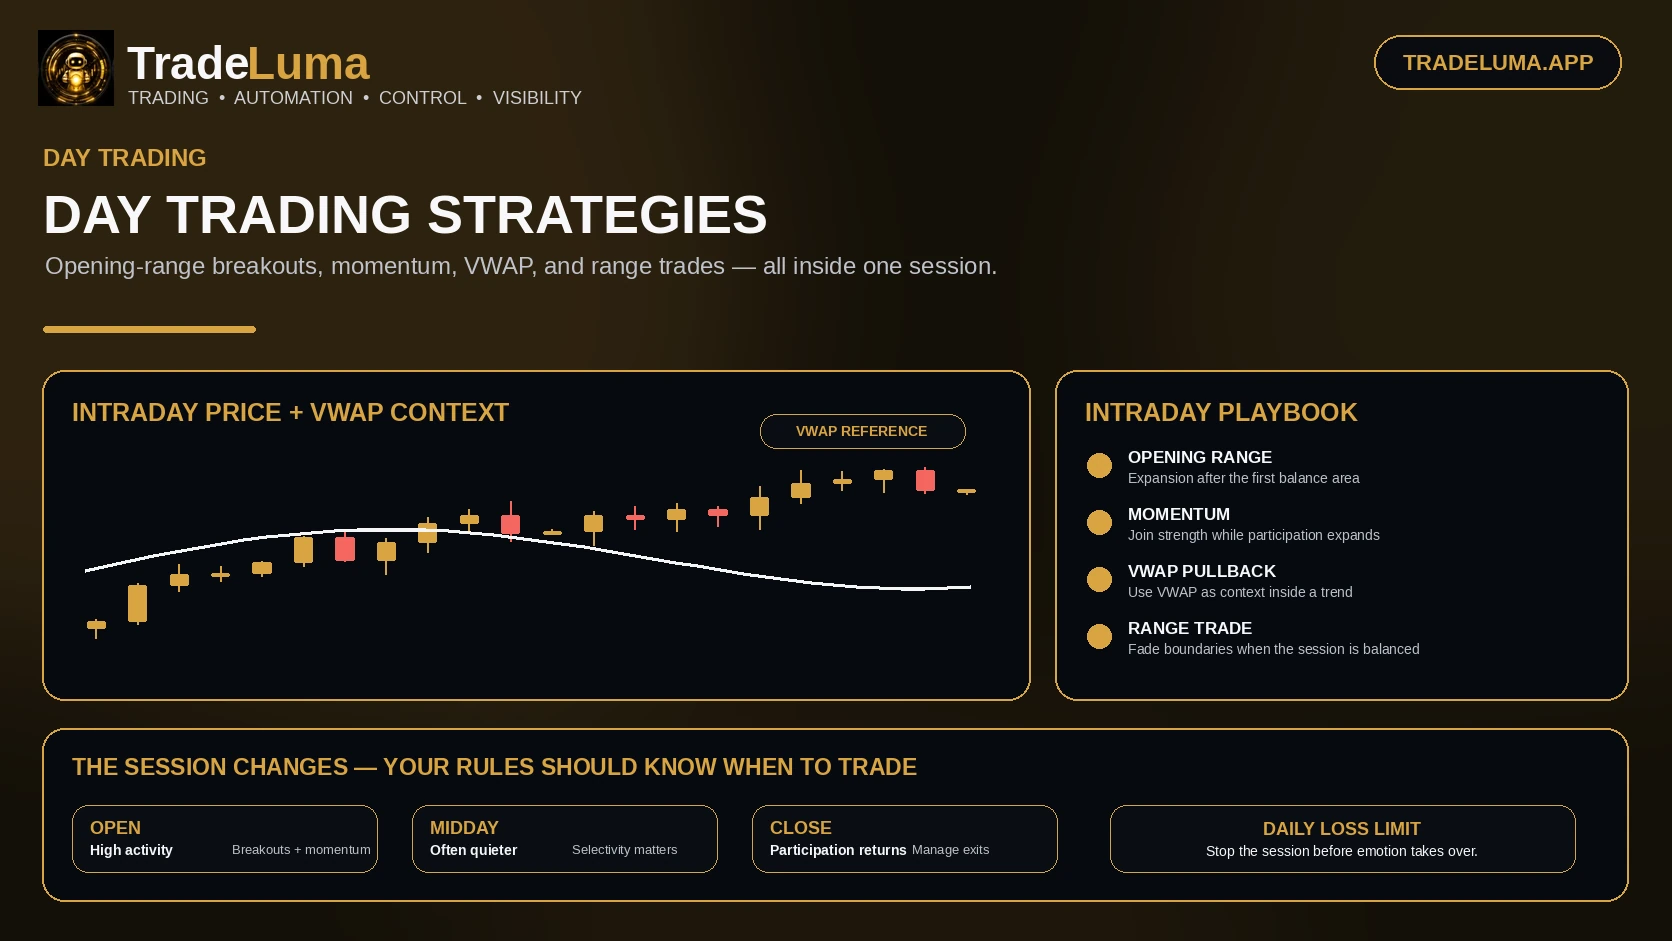
Explore practical day trading strategies including opening-range breakouts, momentum, VWAP pullbacks, range trades, risk controls, and intraday execution costs.
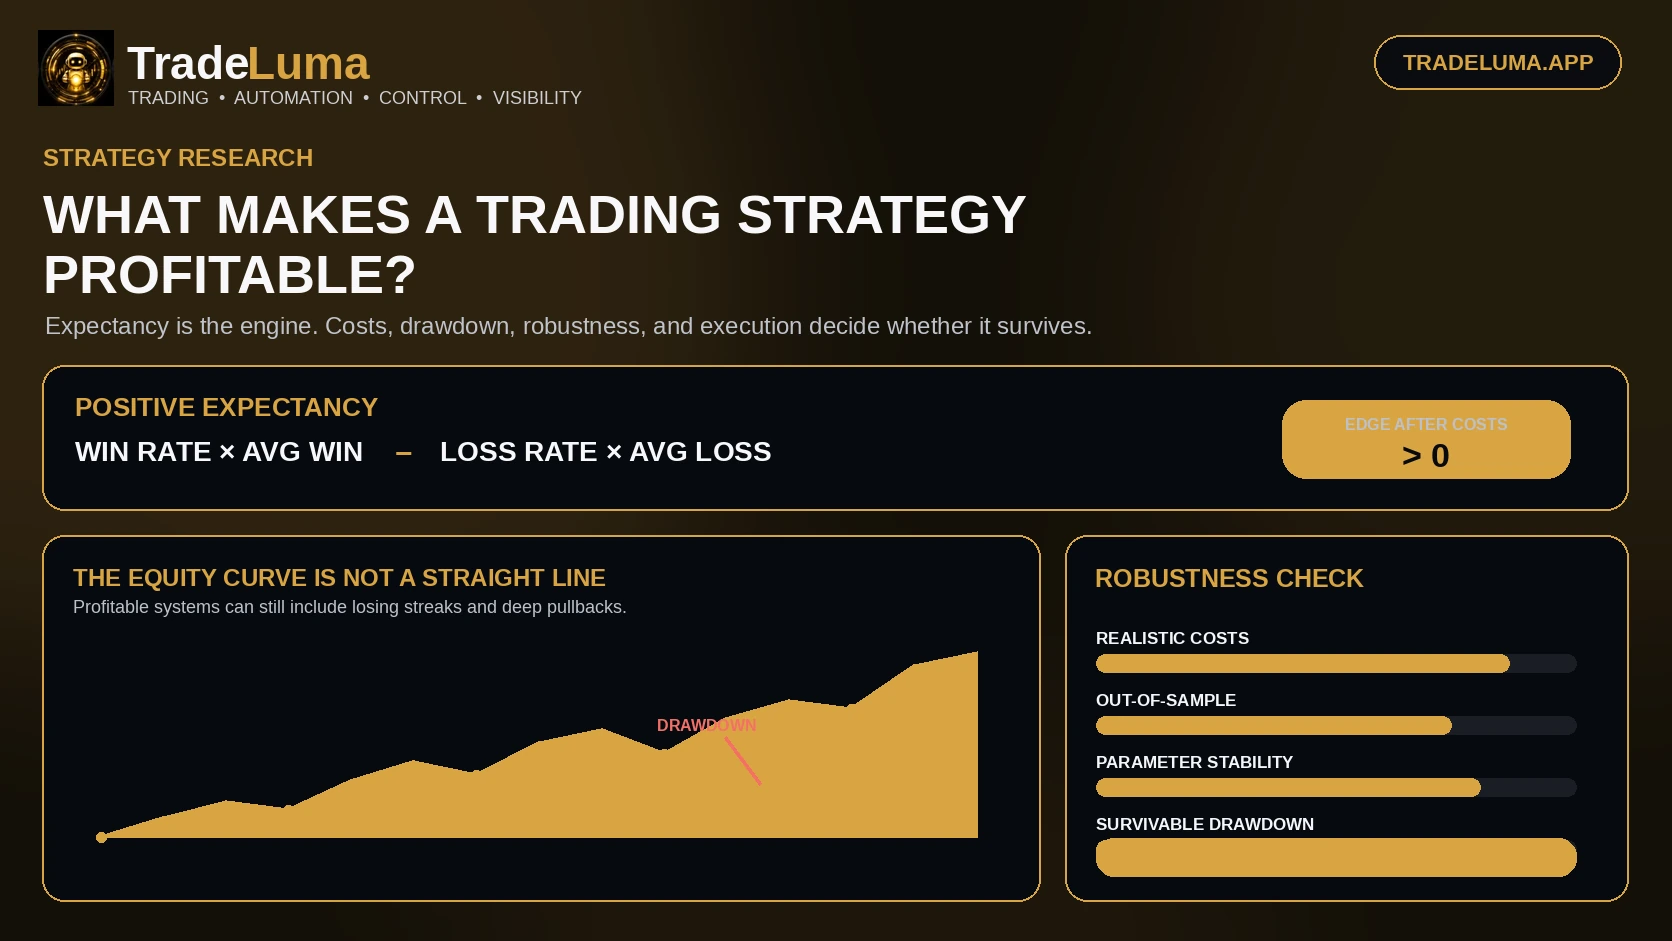
Learn what makes a trading strategy profitable, including expectancy, payoff ratio, trading costs, drawdown, robustness, and consistent risk management.
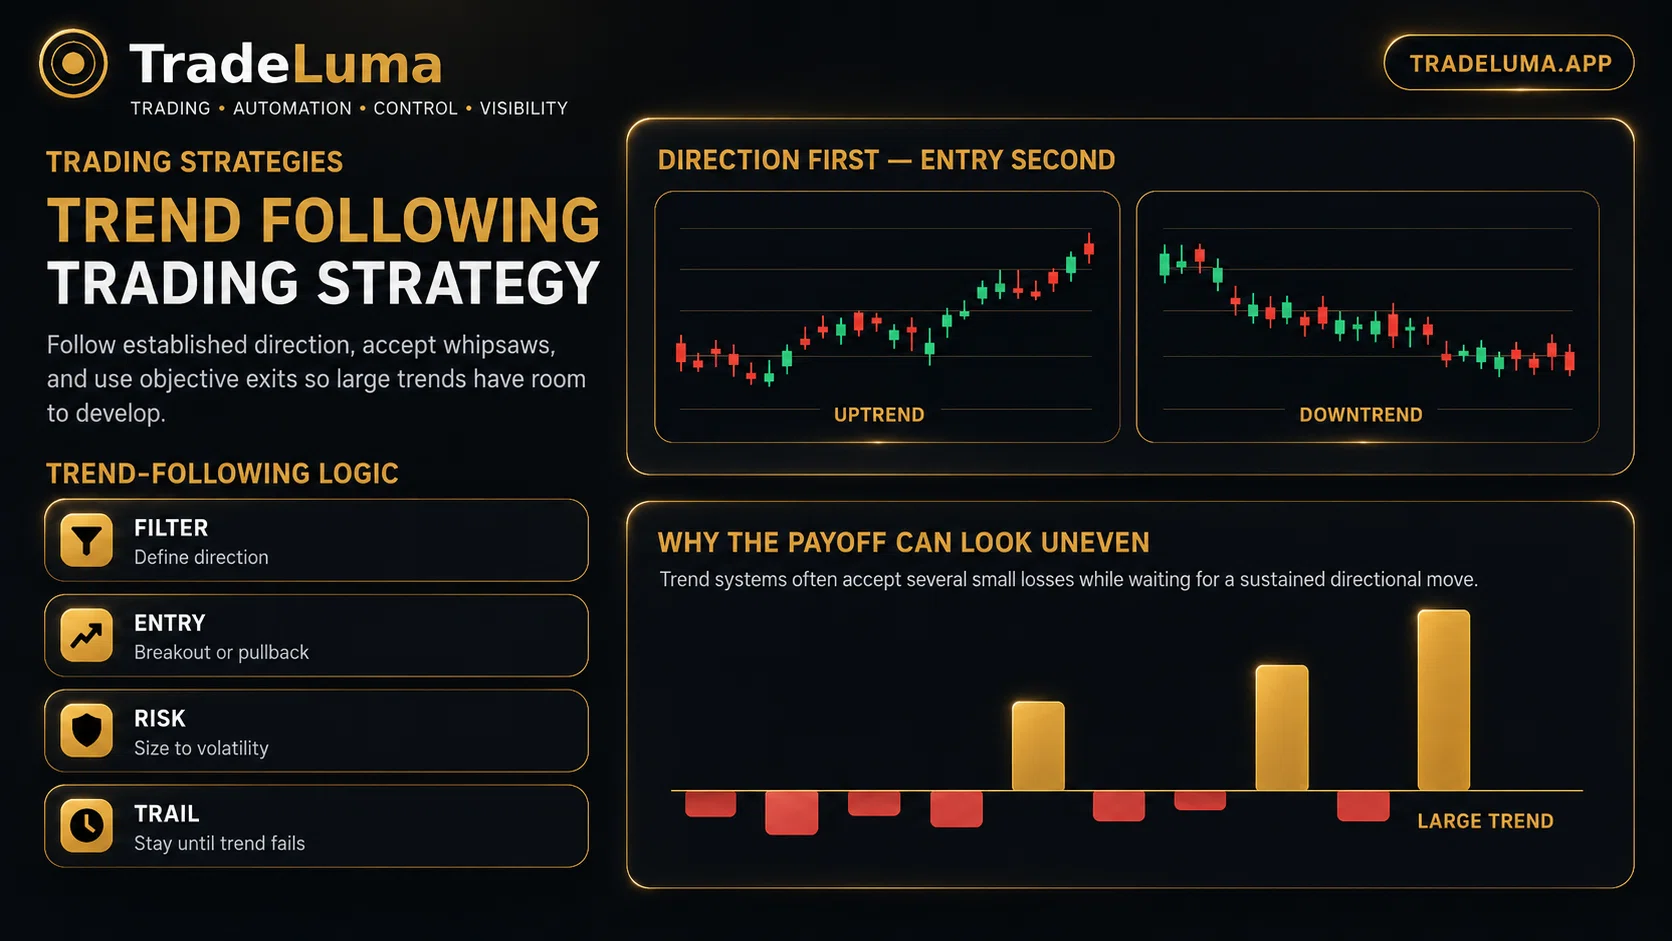
Learn how trend following strategies identify direction, enter pullbacks or breakouts, trail exits, manage whipsaws, and adapt risk to changing market conditions.
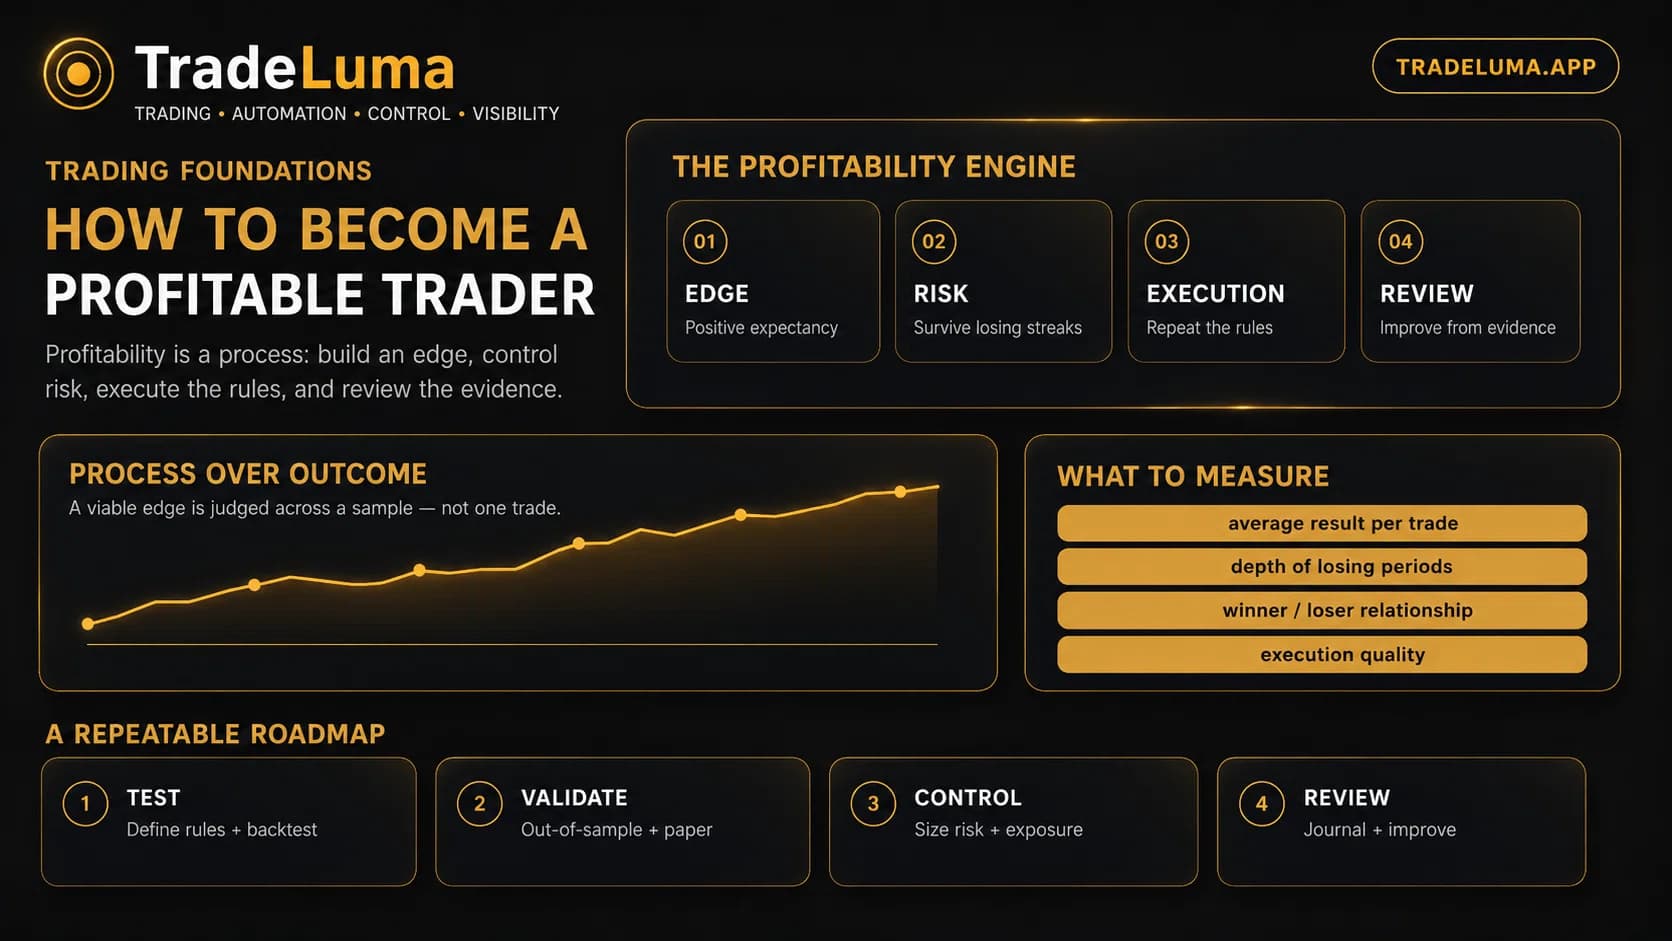
Learn what profitable trading actually requires: a tested edge, disciplined risk management, consistent execution, realistic expectations, and a repeatable review process.
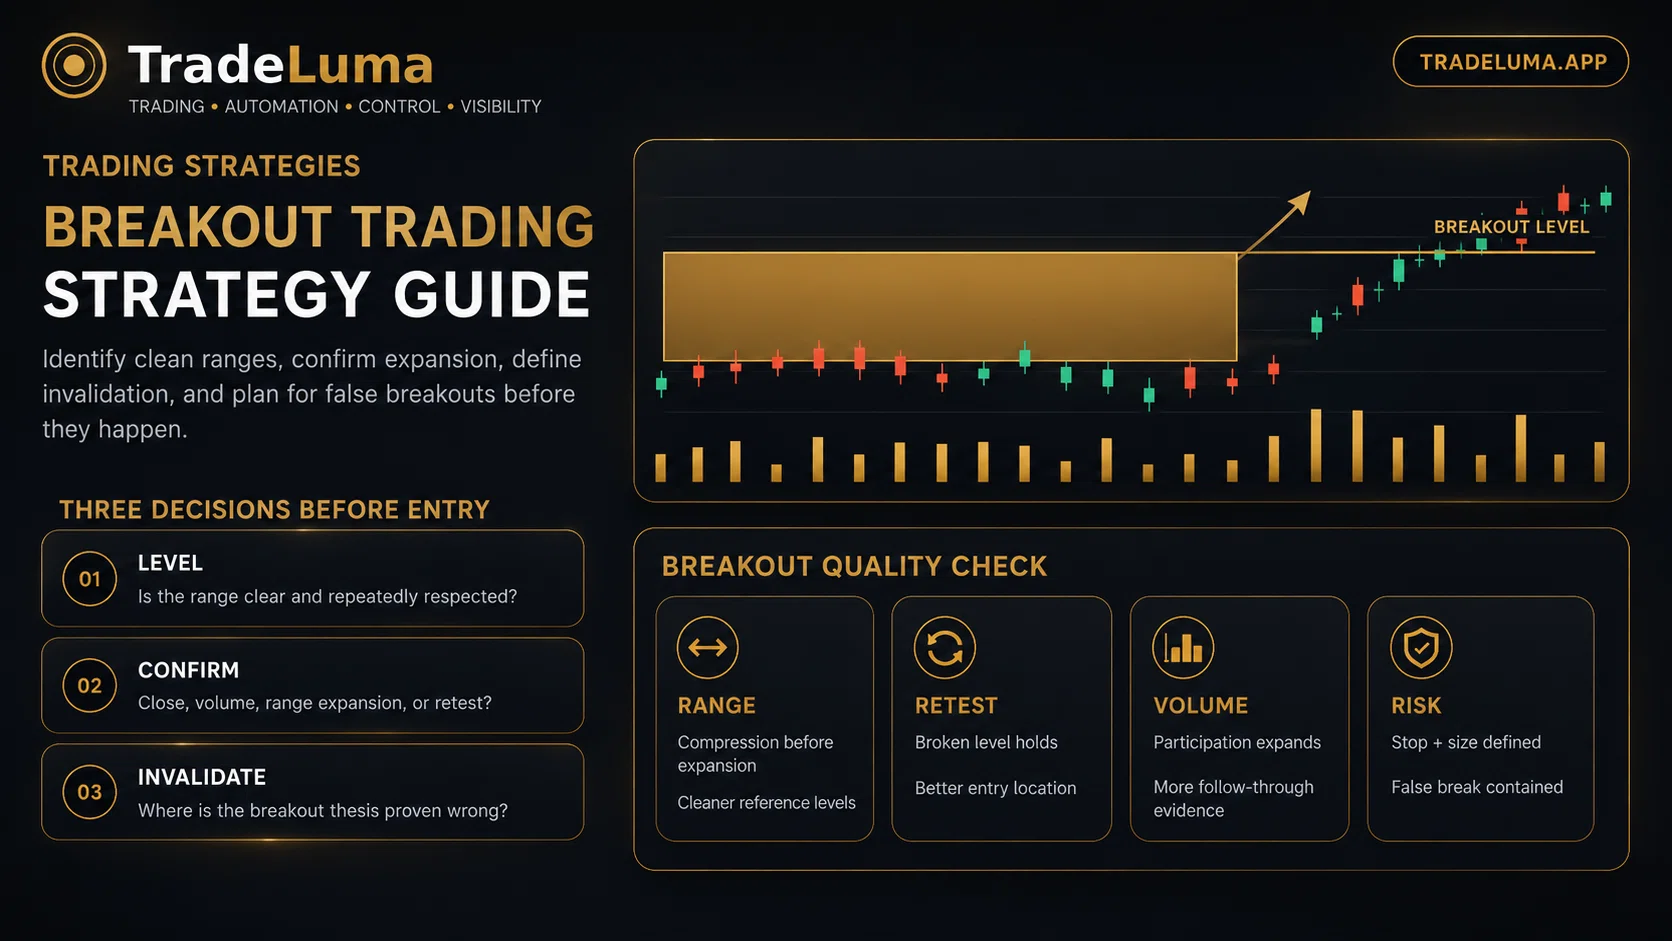
Learn how breakout trading works, how traders identify consolidation and key levels, and how confirmation, stops, volume, and risk controls can reduce false-breakout mistakes.
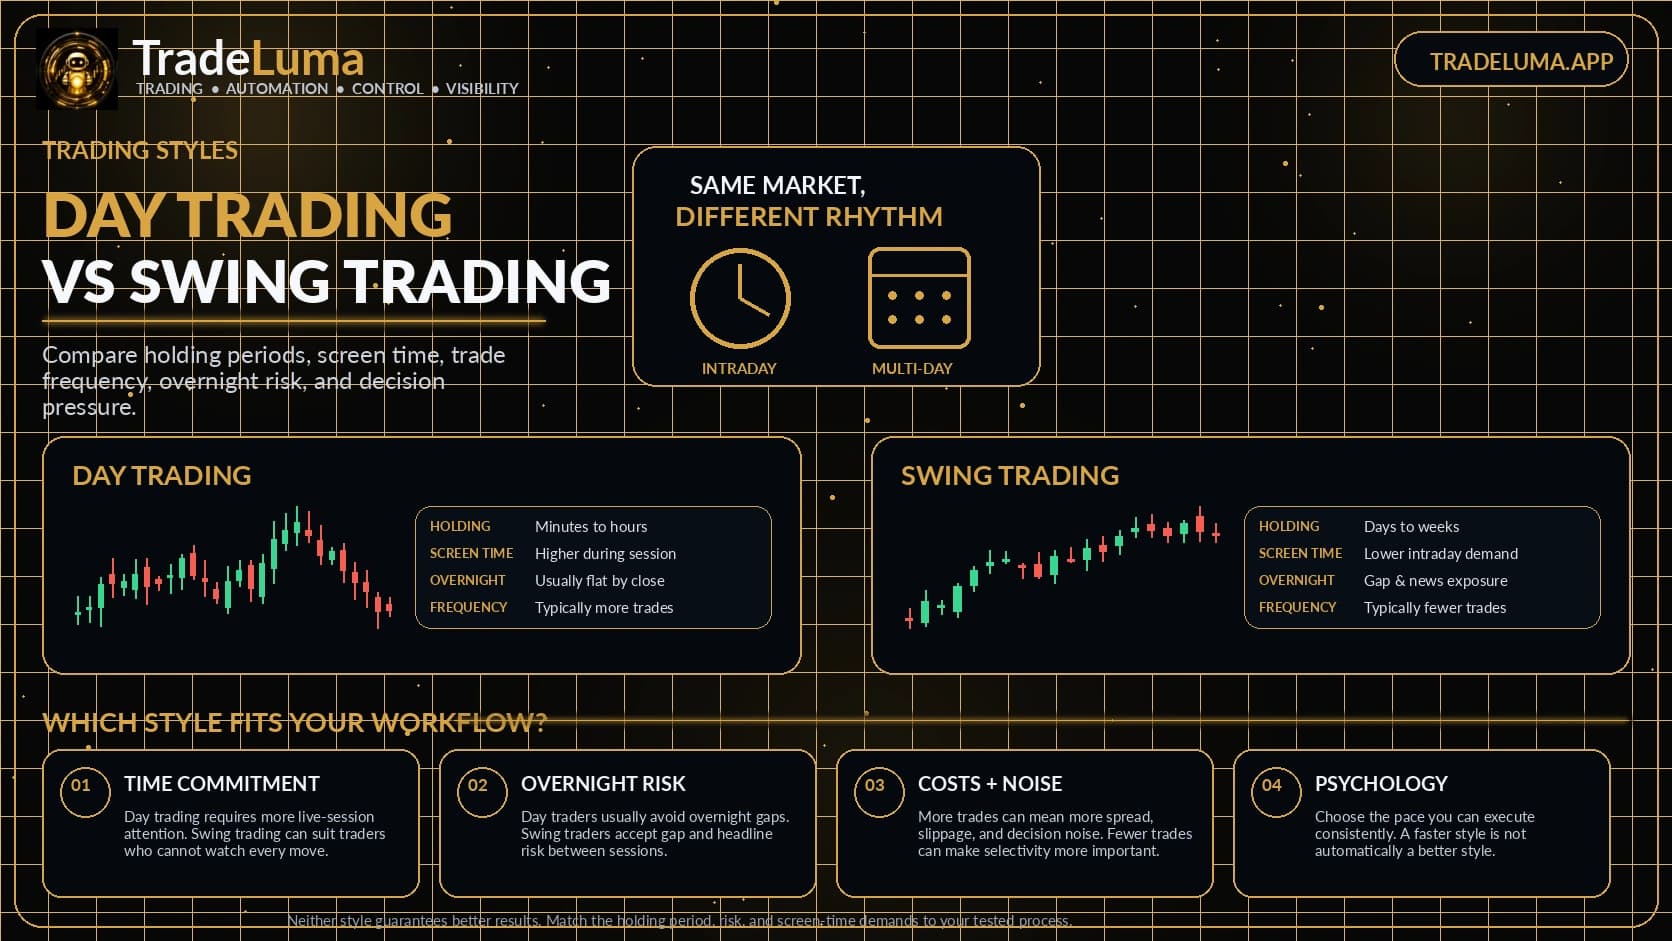
Compare day trading and swing trading by holding period, screen time, trade frequency, overnight risk, costs, psychology, and workflow demands.
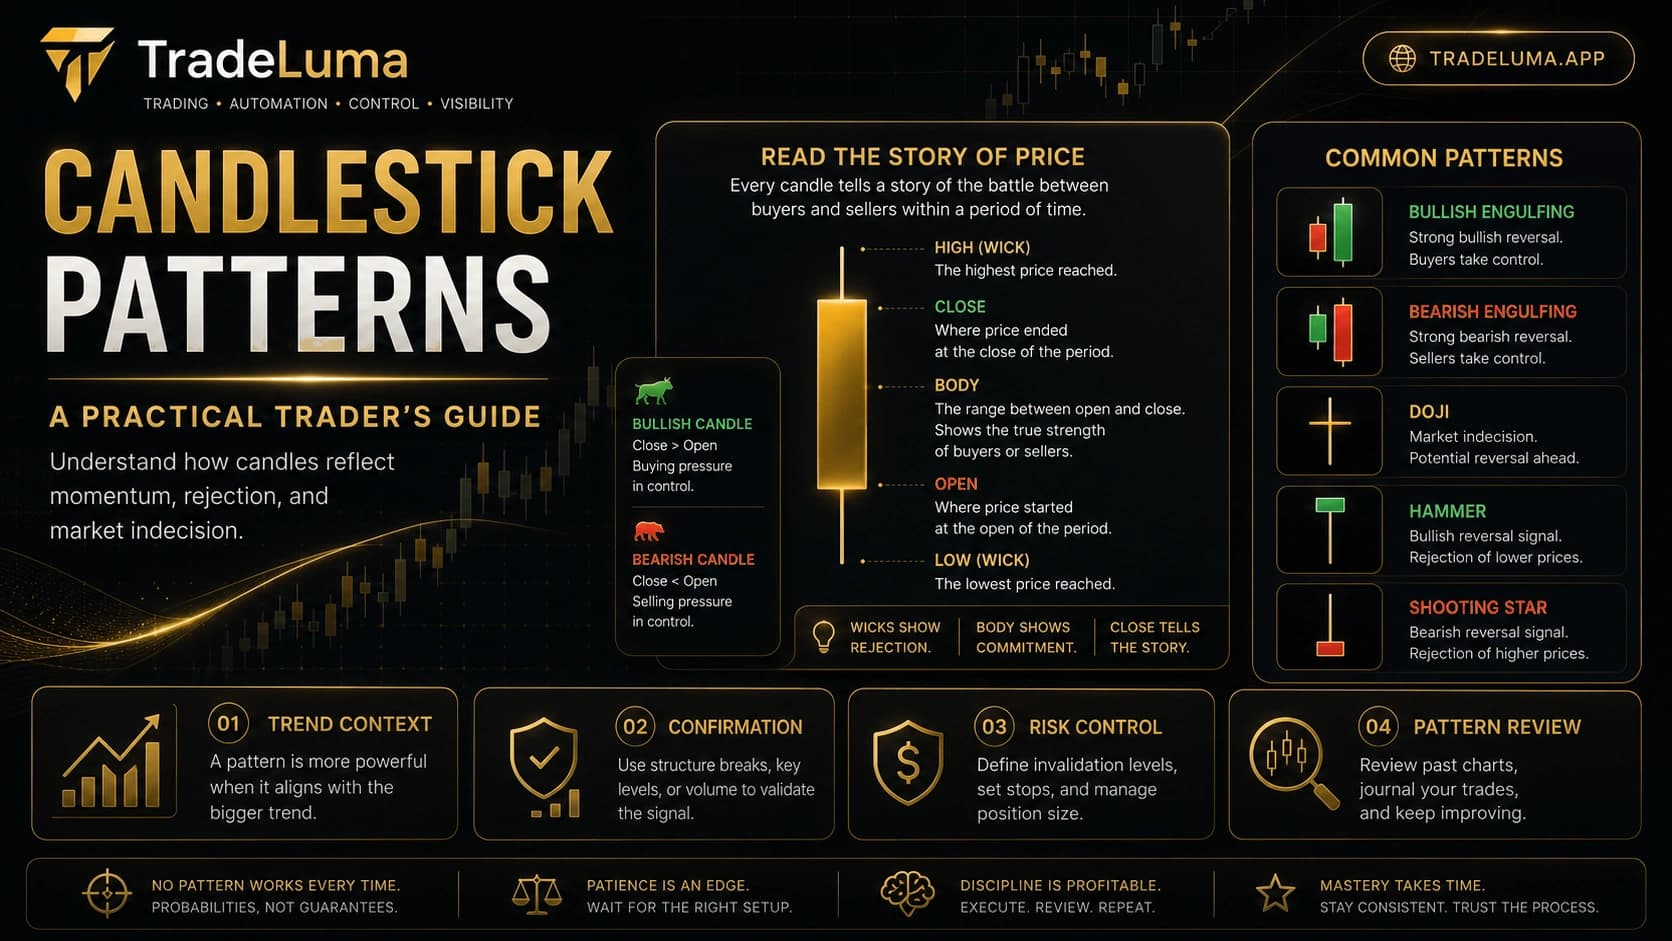
Understand the basics of candlestick patterns, what candle bodies and wicks mean, and how traders use pattern context, confirmation, and risk control.
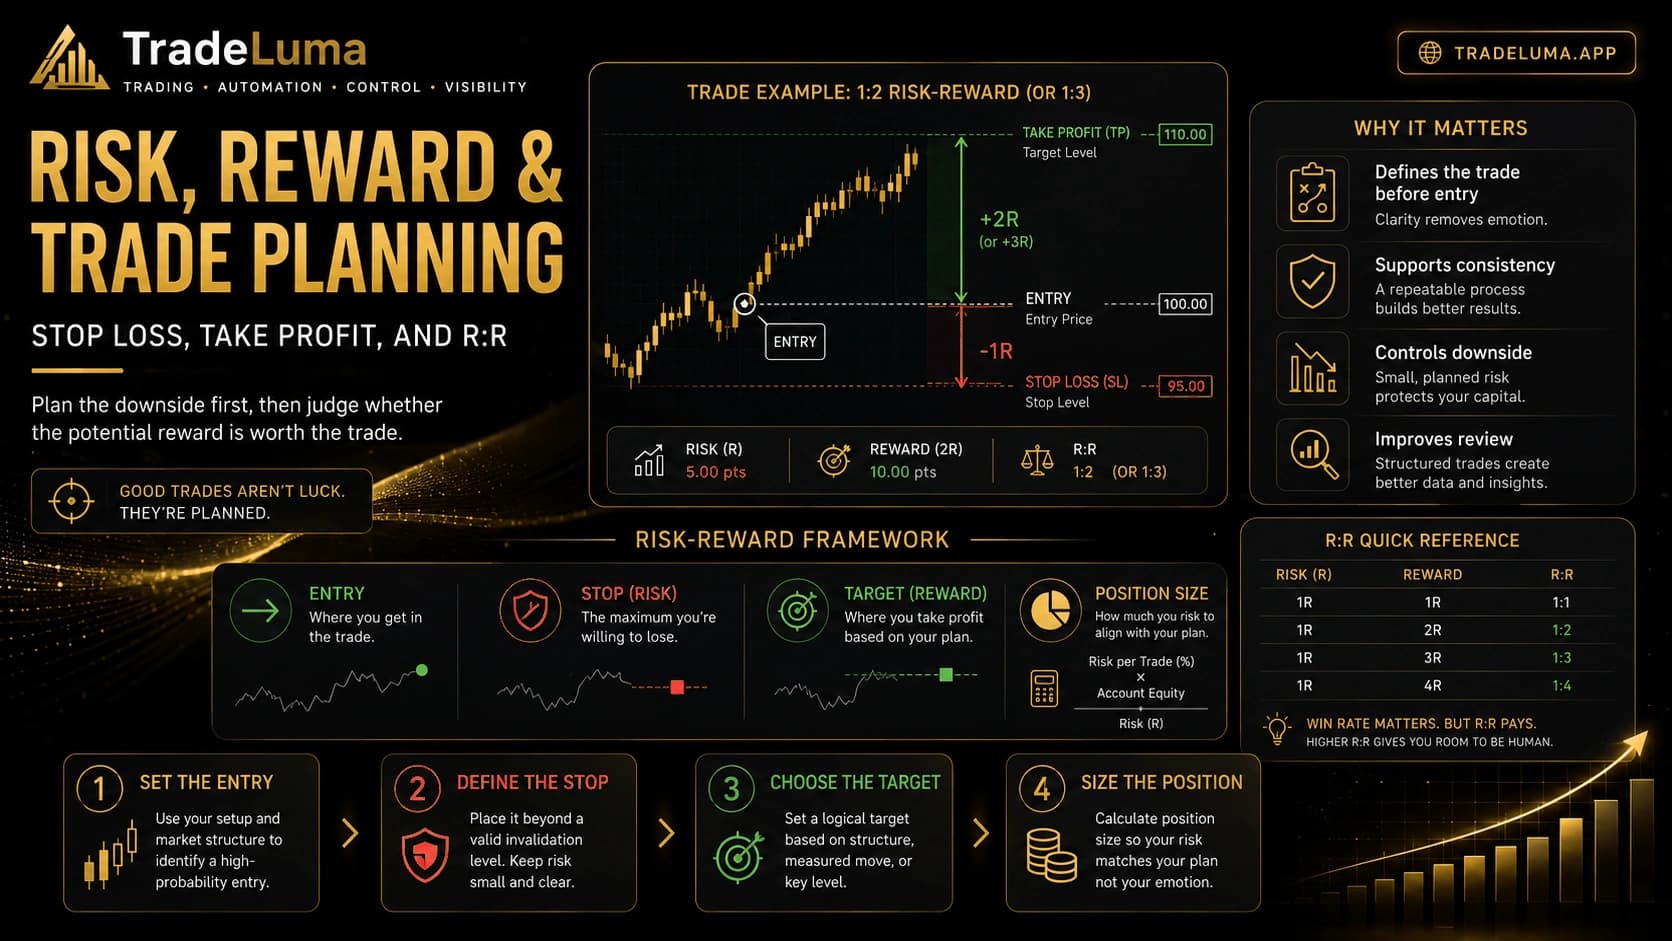
Learn how risk-reward ratio works, how traders use stop losses and take-profit targets, and why trade planning can improve consistency and review.
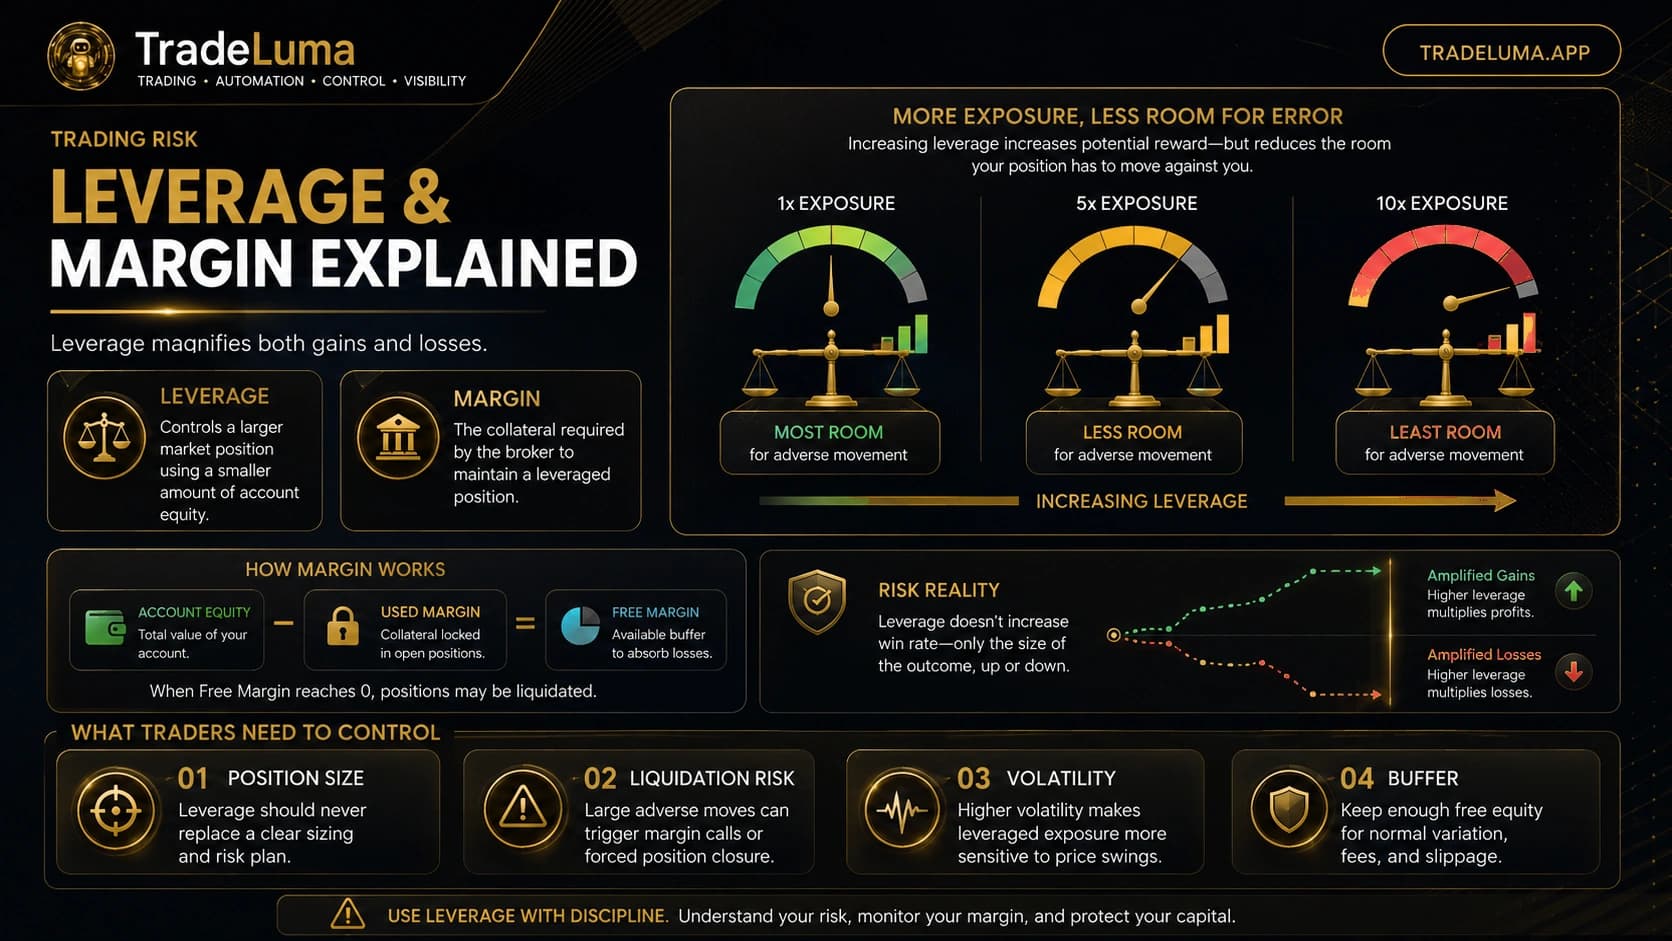
Understand leverage and margin trading, how buying power and margin requirements work, and why leveraged exposure can magnify both gains and losses.
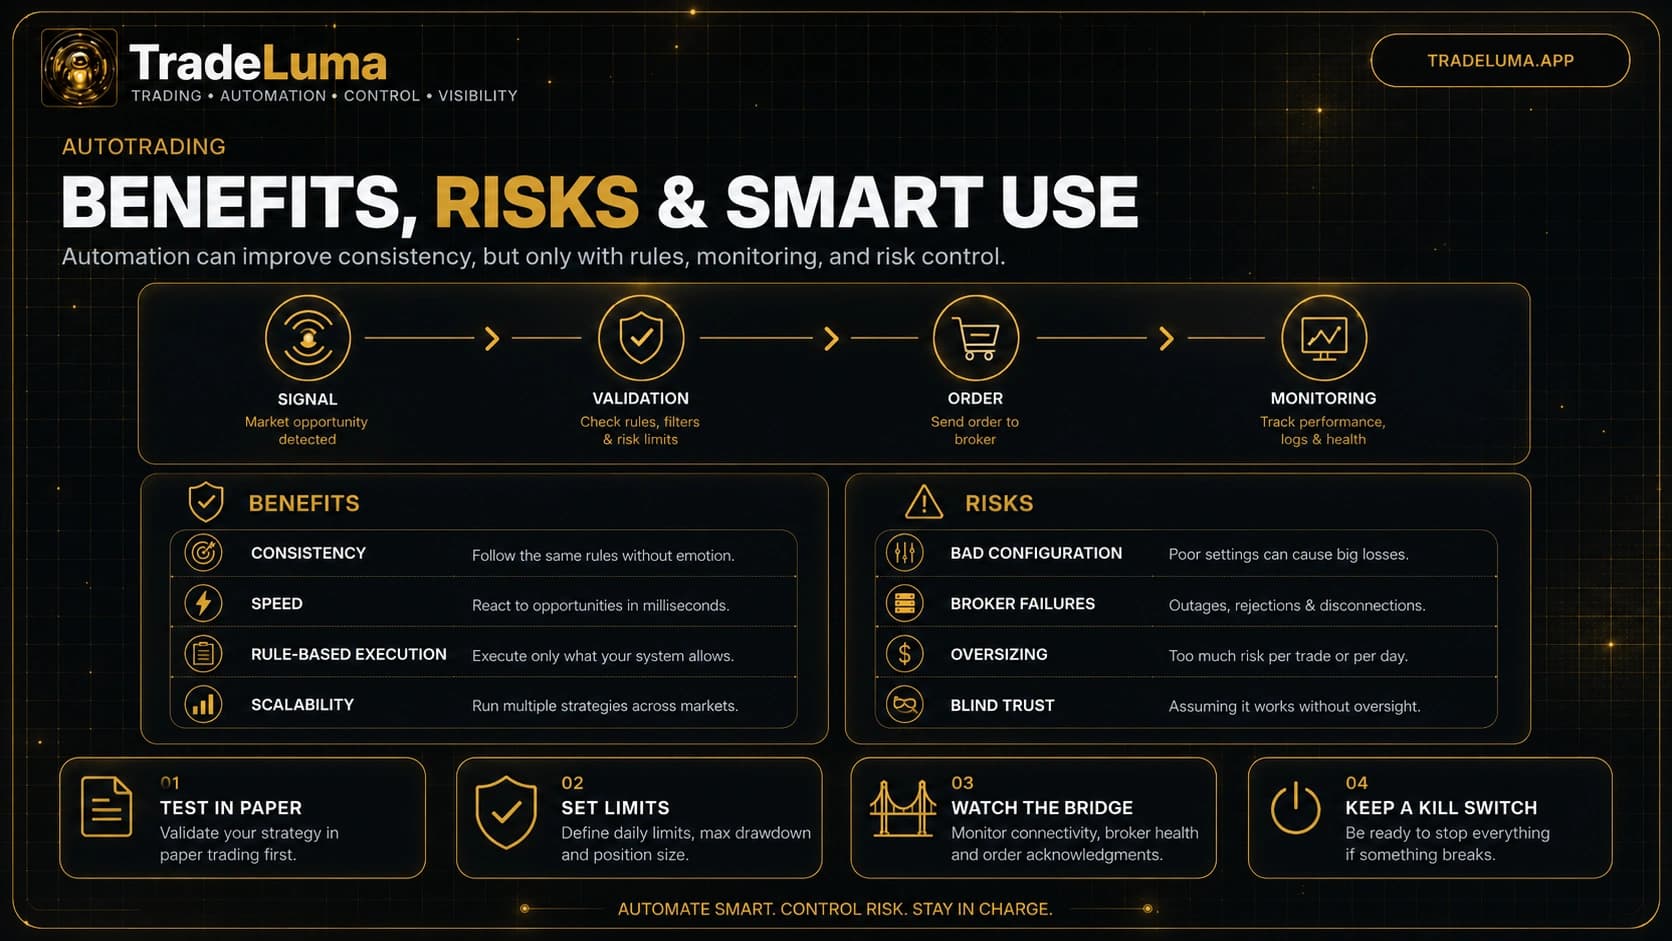
Explore the main benefits and risks of autotrading, from consistency and speed to configuration errors, broker failures, and the need for strong risk controls.
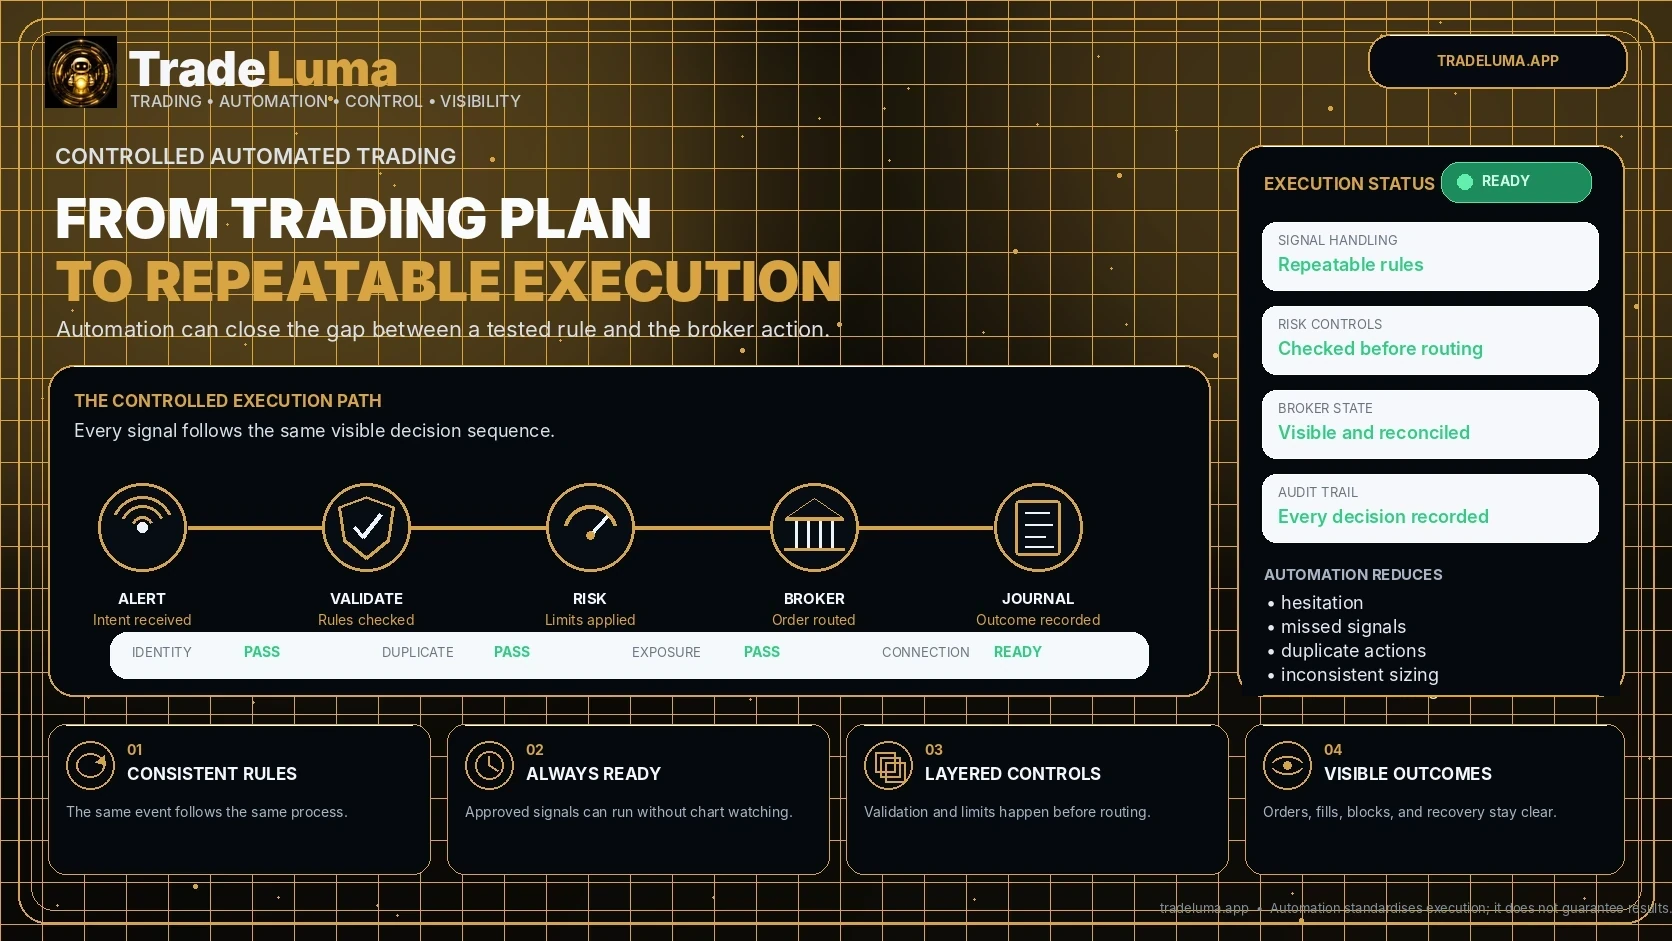
Learn how automated trading reduces hesitation, missed signals, duplicate orders, and inconsistent execution while preserving strategy and risk control.
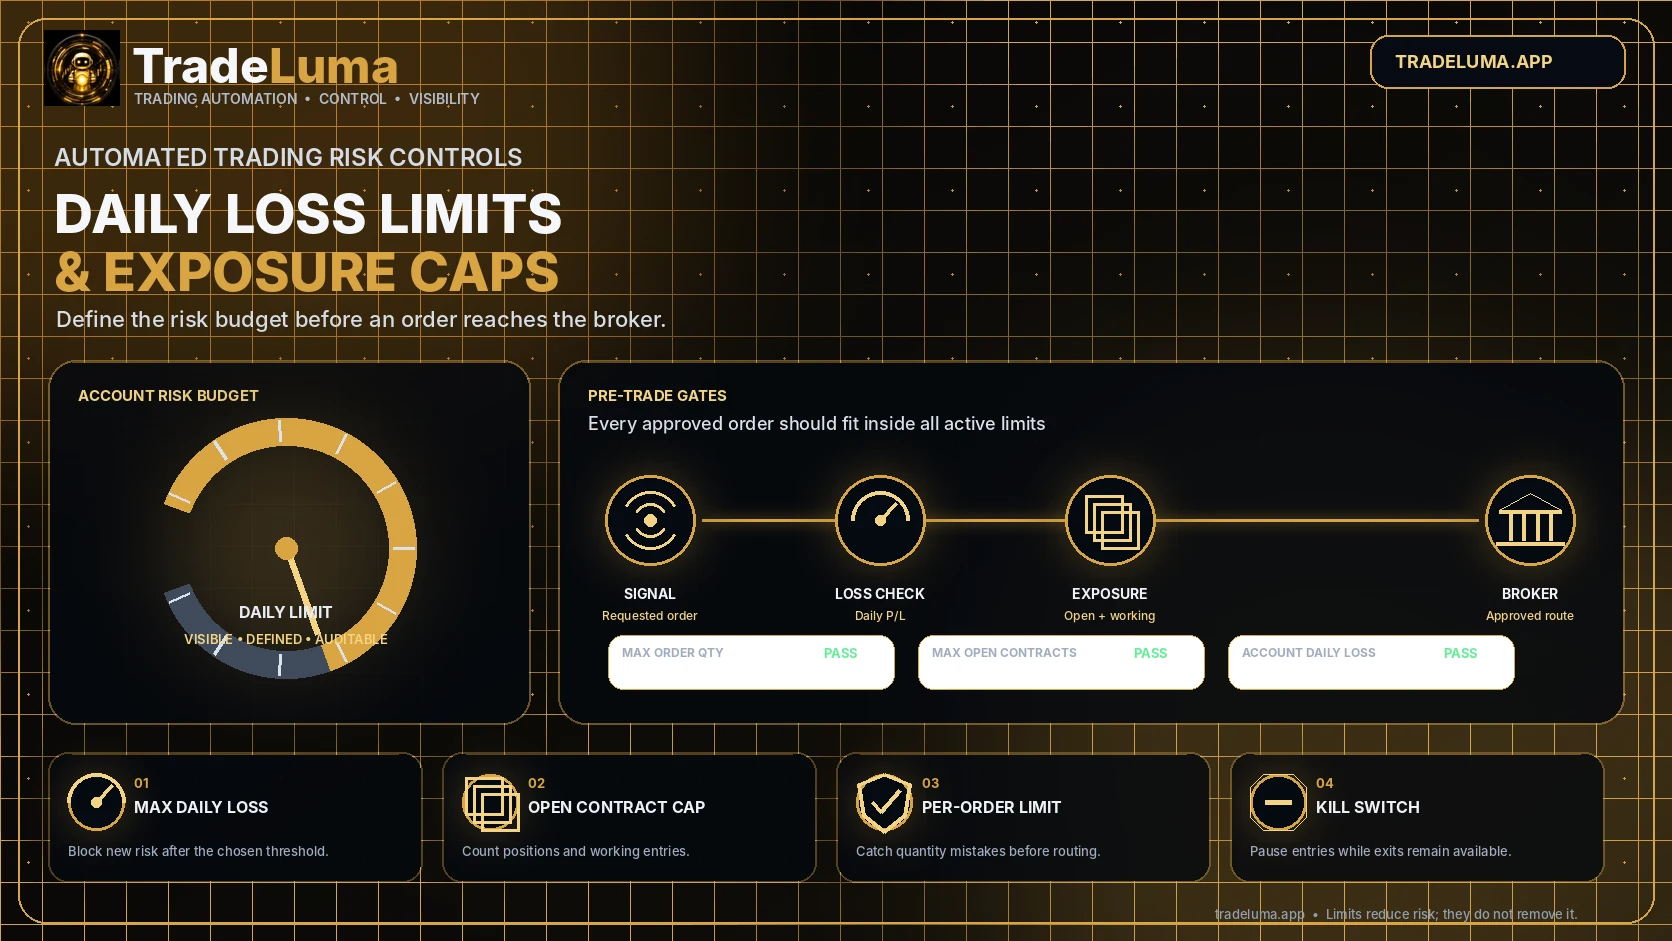
A practical guide to daily loss limits, maximum open contracts, per-order sizing, working-order exposure, and kill-switch design in automated trading.
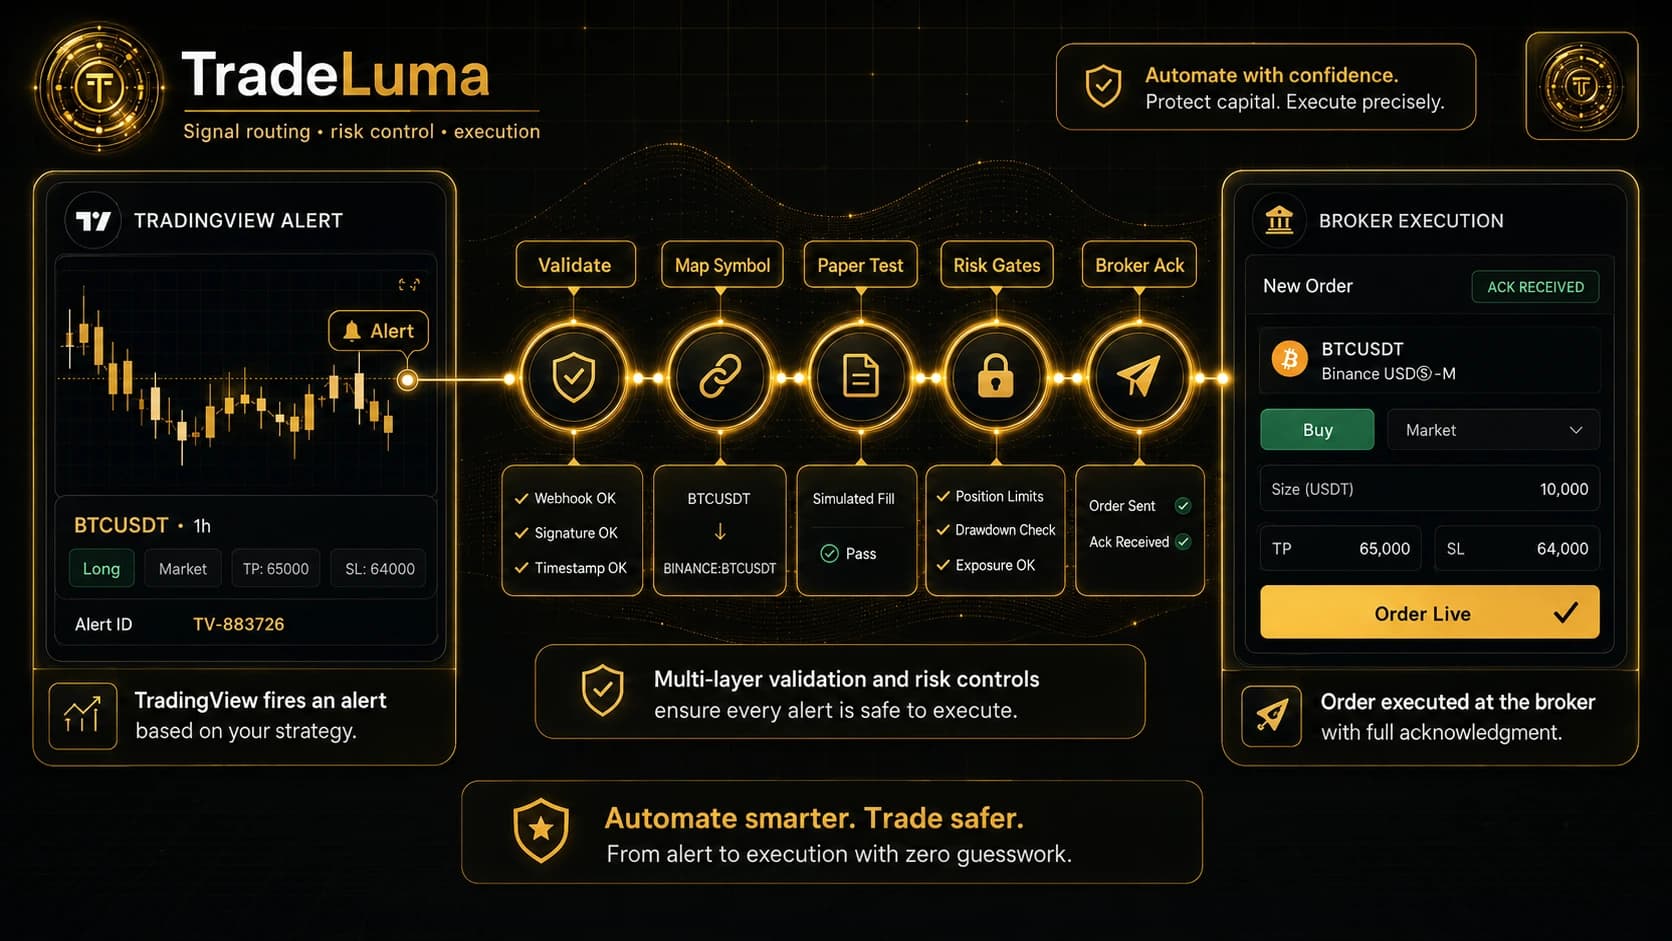
A practical TradingView automation guide covering webhook design, symbol mapping, paper testing, risk gates, broker acknowledgements, and recovery.

A complete educational framework for strategy rules, paper testing, secure alerts, risk limits, live approval, monitoring, and continuous review.
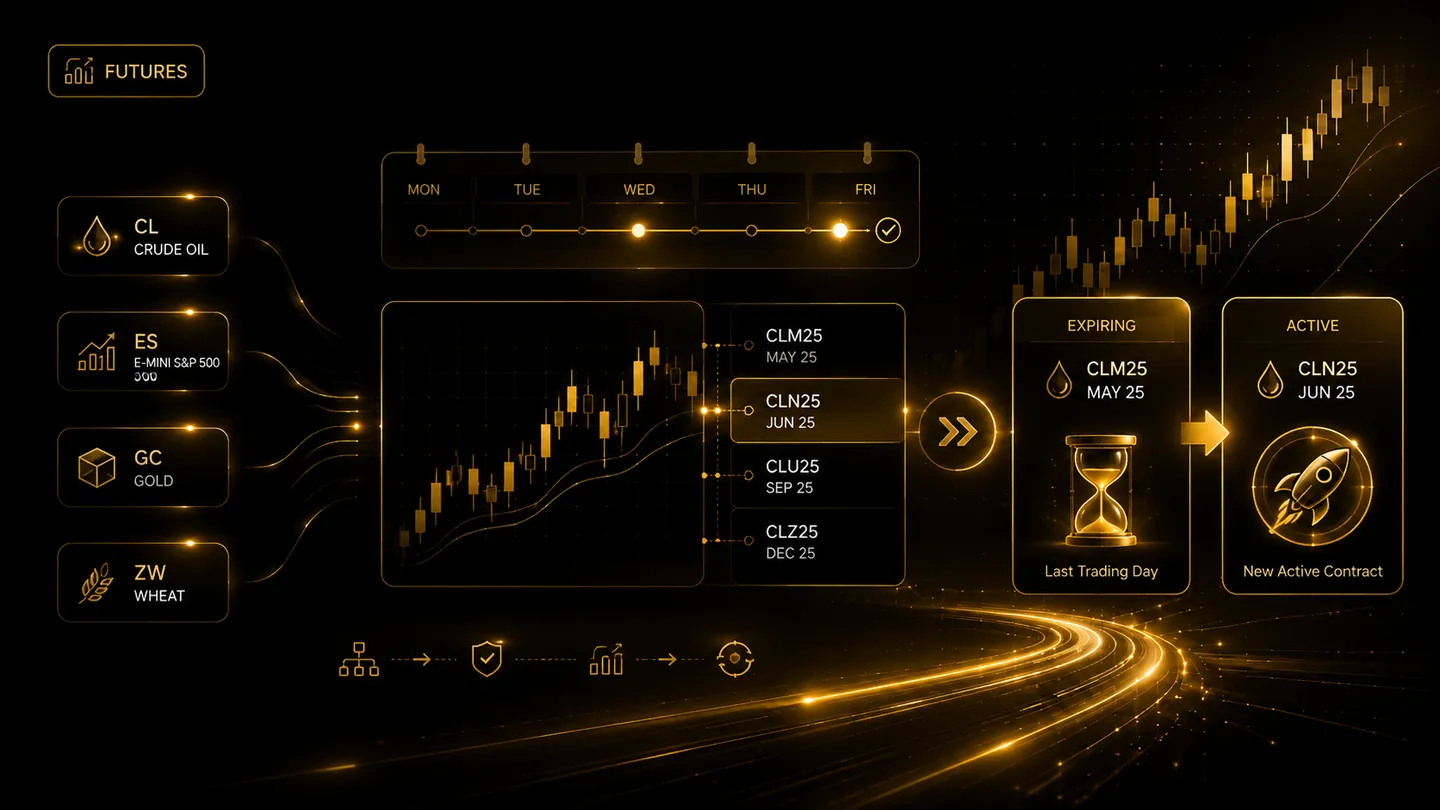
Understand expiry, liquidity migration, first notice, physical delivery risk, rollover mapping, and how automated futures workflows should respond.
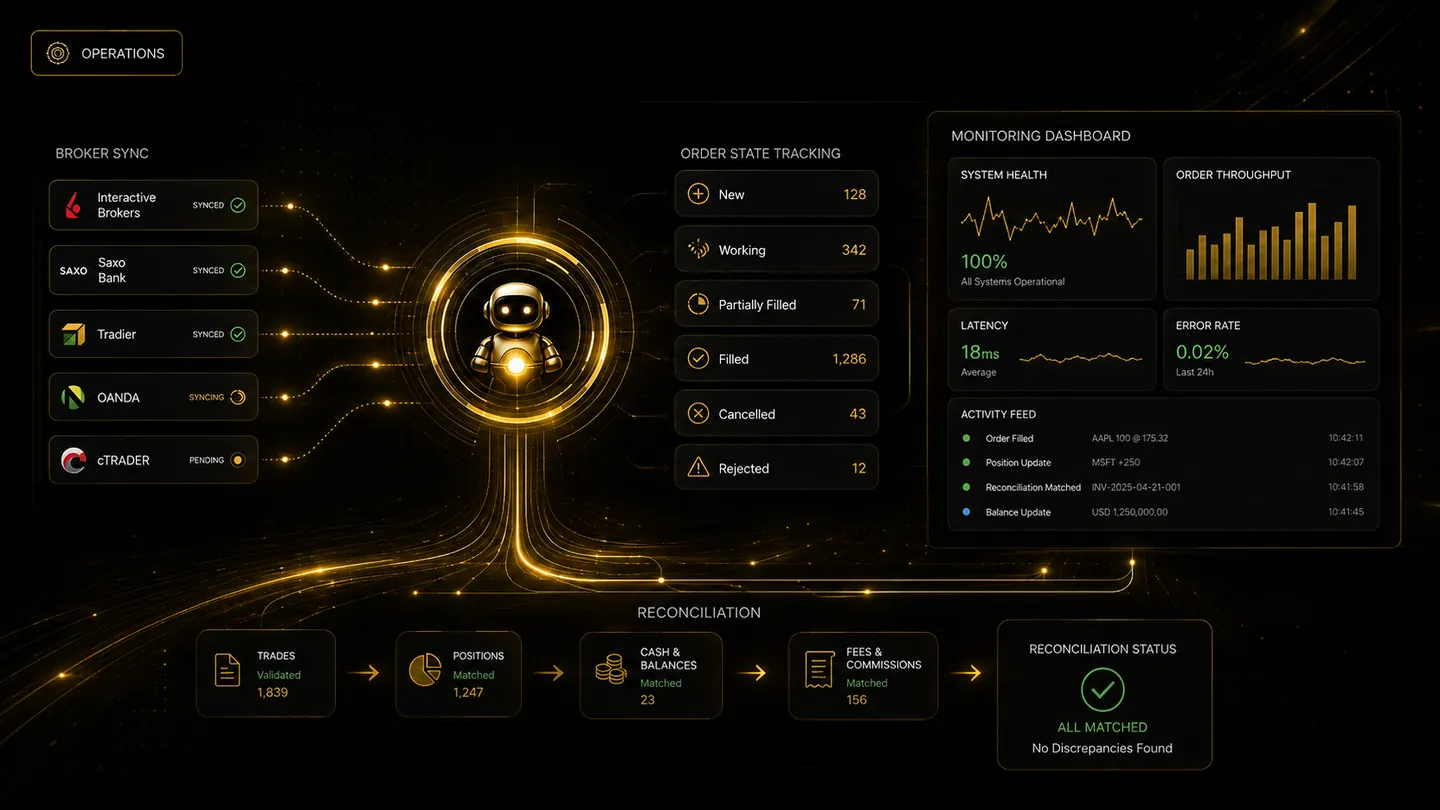
Learn why brokers reject orders, how to classify failures, when not to retry, and how to recover without creating duplicate exposure.
Learn how account-wide rules can manage opposing strategies, duplicate exposure, reversals, and simultaneous signals across one broker account.

Learn how common trading metrics work together and why no single number is enough to judge an automated strategy.
Learn how quantity rules, contract value, stop distance, margin, and account-wide limits work together in an automated trading risk plan.
Compare manual and automated trading workflows, including consistency, discretion, monitoring, execution speed, and operational risk.
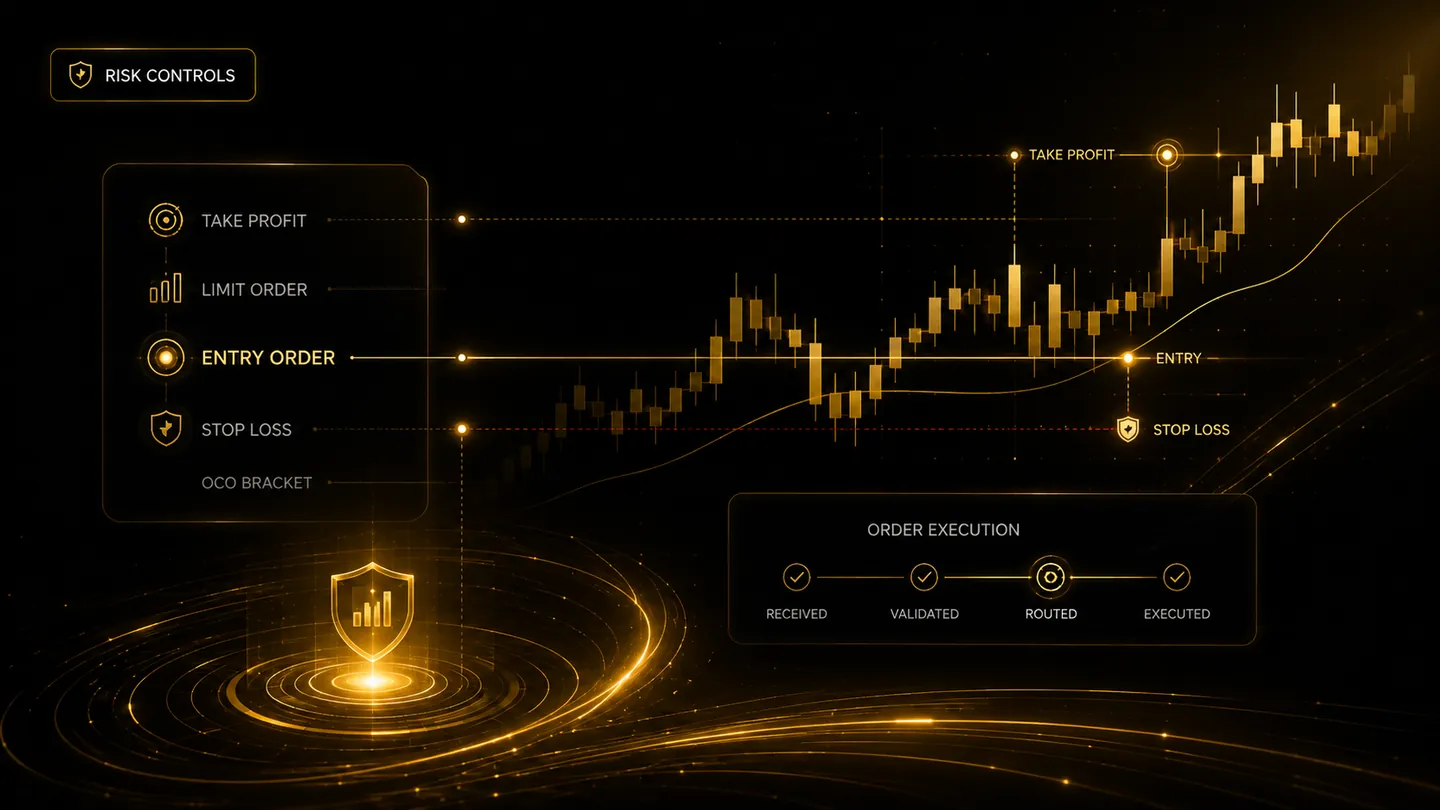
Understand parent orders, take-profit legs, stop-loss legs, and why bracket lifecycle control matters in automated trading.