
Automation·
Autotrading benefits and risks: what traders should know
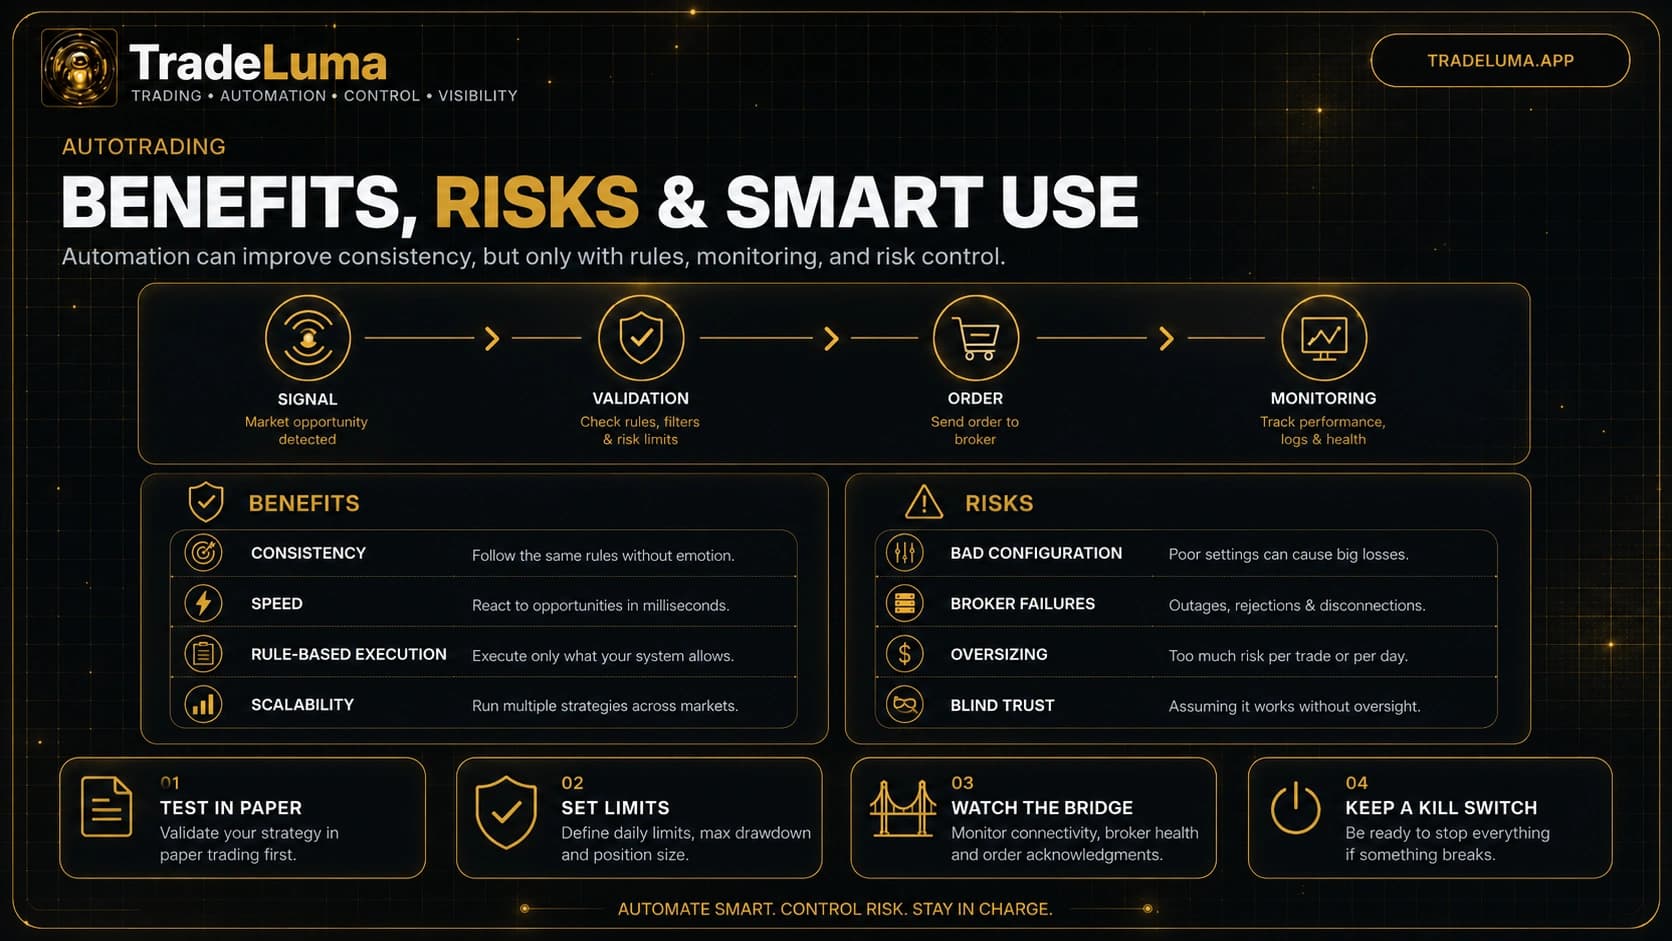
Explore the main benefits and risks of autotrading, from consistency and speed to configuration errors, broker failures, and the need for strong risk controls.
Automated trading
Learn automated trading infrastructure, live and paper broker execution, safety controls, monitoring, reconciliation, webhooks, and workflow validation.
Automated trading is more than sending a webhook. A reliable workflow has to receive the signal, validate it, route the correct order, monitor the broker response, and recover safely when something goes wrong.
Execution systems fail in operational ways as well as strategic ones: duplicate alerts, stale sessions, rejected orders, symbol mismatches, position conflicts, or a local record that no longer matches the broker.
Keep live execution observable, define hard safety limits, use paper mode to validate new or materially changed workflows, and treat reconciliation and recovery as part of the system rather than an afterthought.
Start here
Explore the main benefits and risks of autotrading, from consistency and speed to configuration errors, broker failures, and the need for strong risk controls.
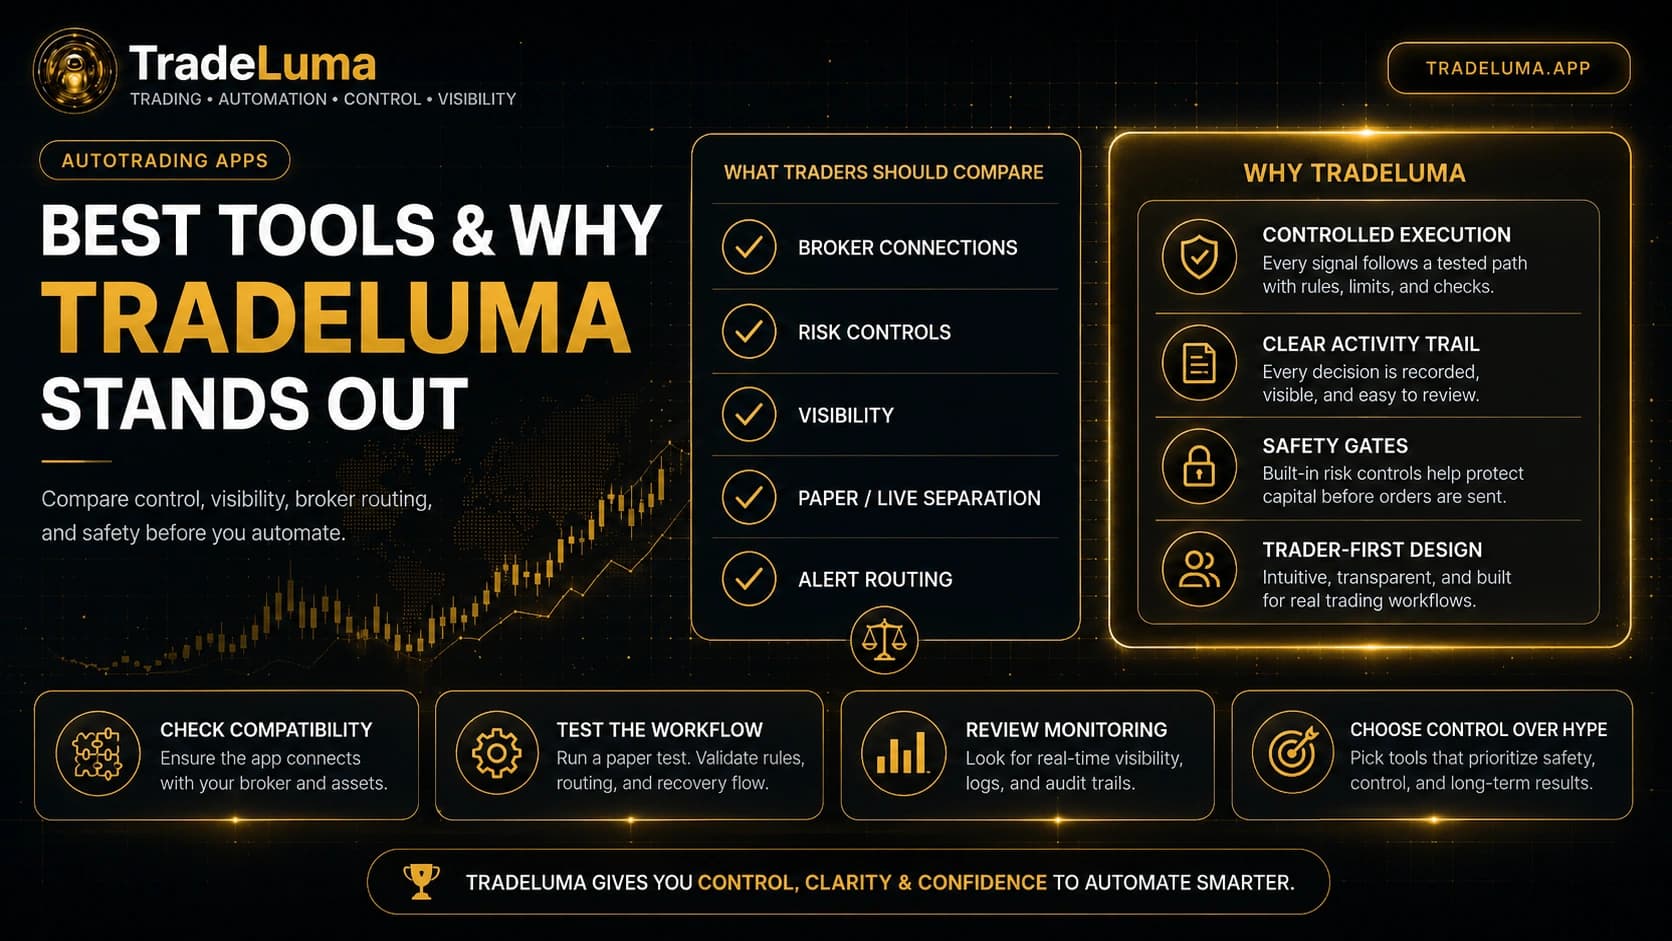
Learn how to compare autotrading apps and why TradeLuma stands out for controlled execution, clear visibility, trader-first design, and built-in safety.
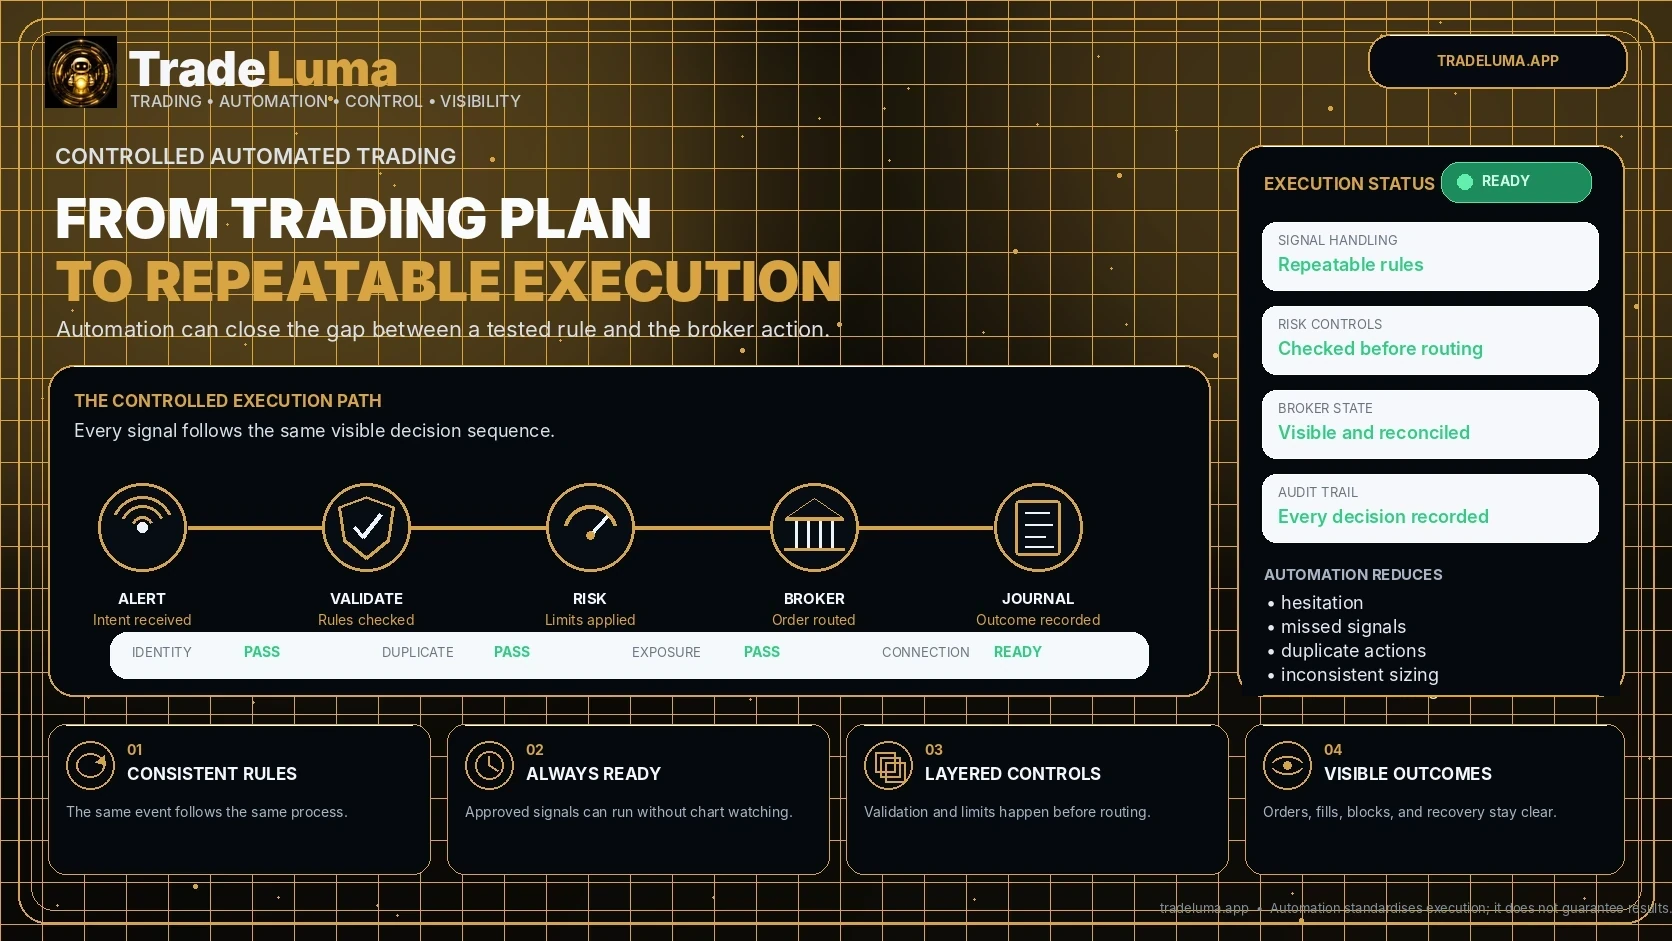
Learn how automated trading reduces hesitation, missed signals, duplicate orders, and inconsistent execution while preserving strategy and risk control.
Full library
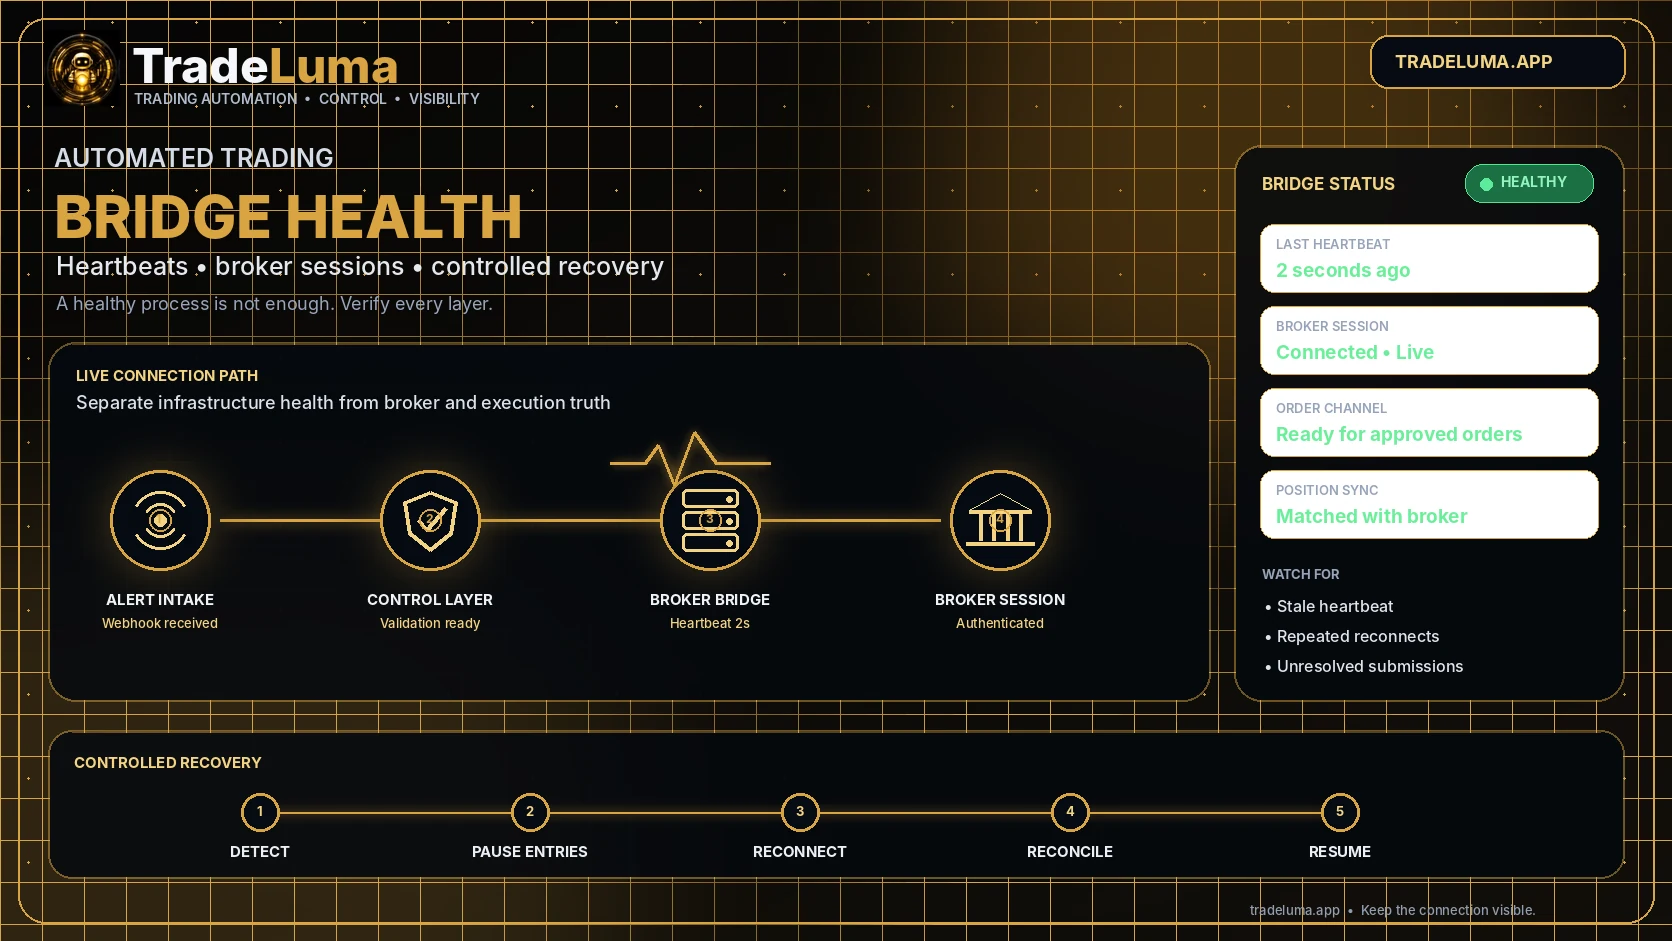
Learn how an automated trading bridge stays observable through heartbeats, broker-session checks, controlled reconnects, reconciliation, and safe recovery.
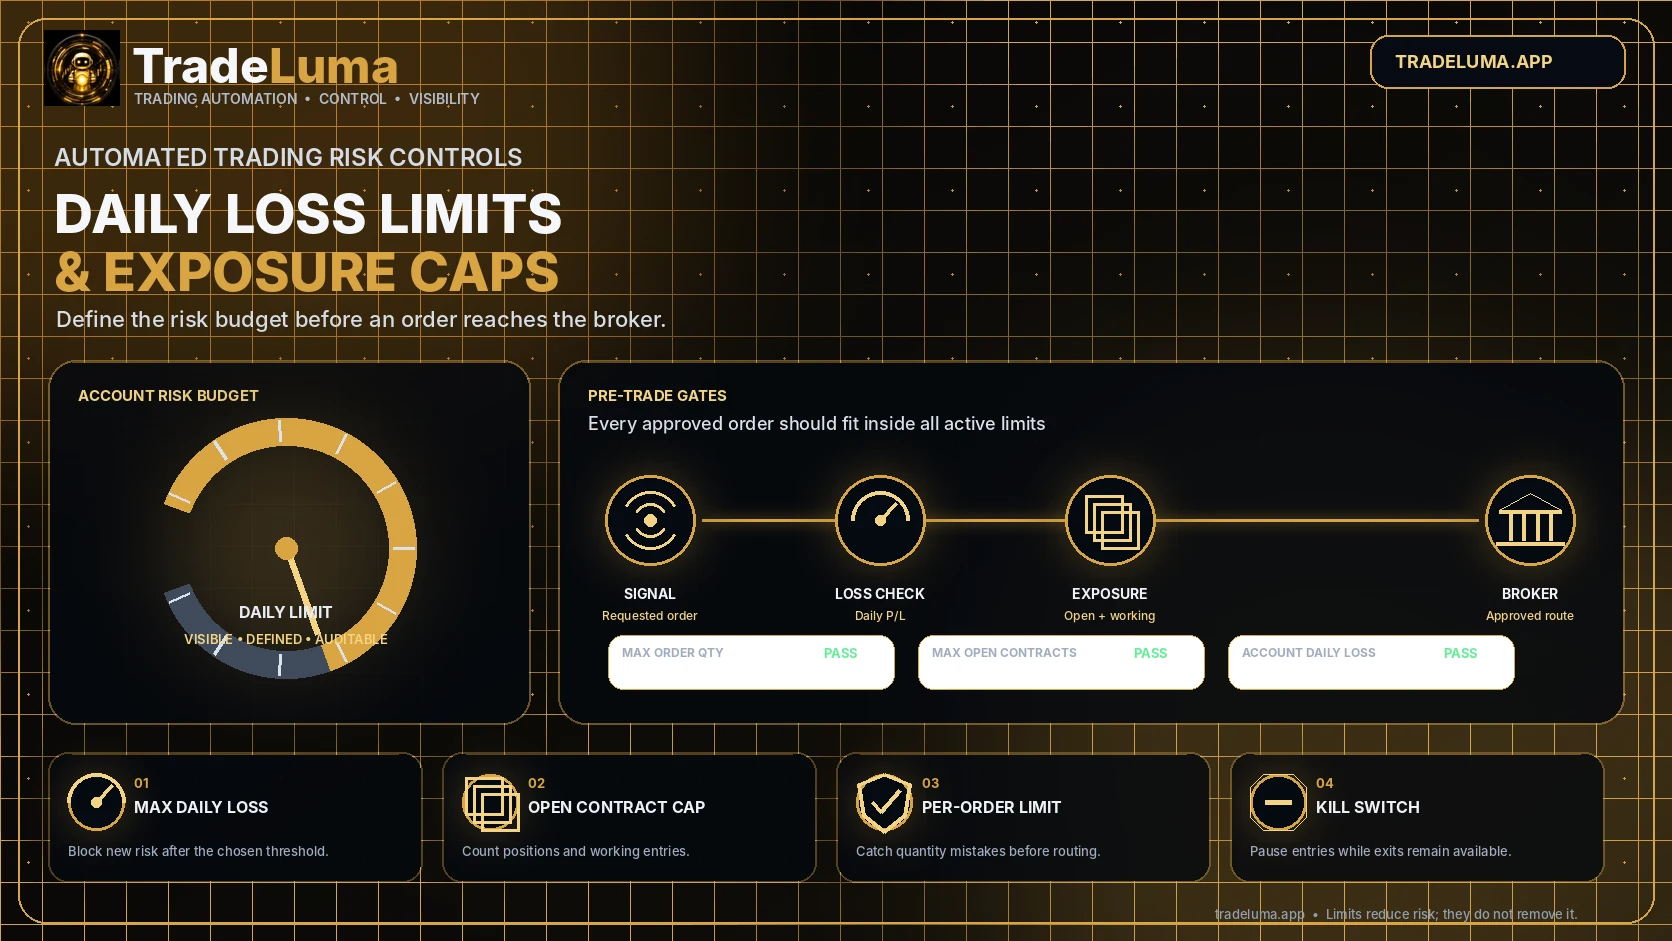
A practical guide to daily loss limits, maximum open contracts, per-order sizing, working-order exposure, and kill-switch design in automated trading.
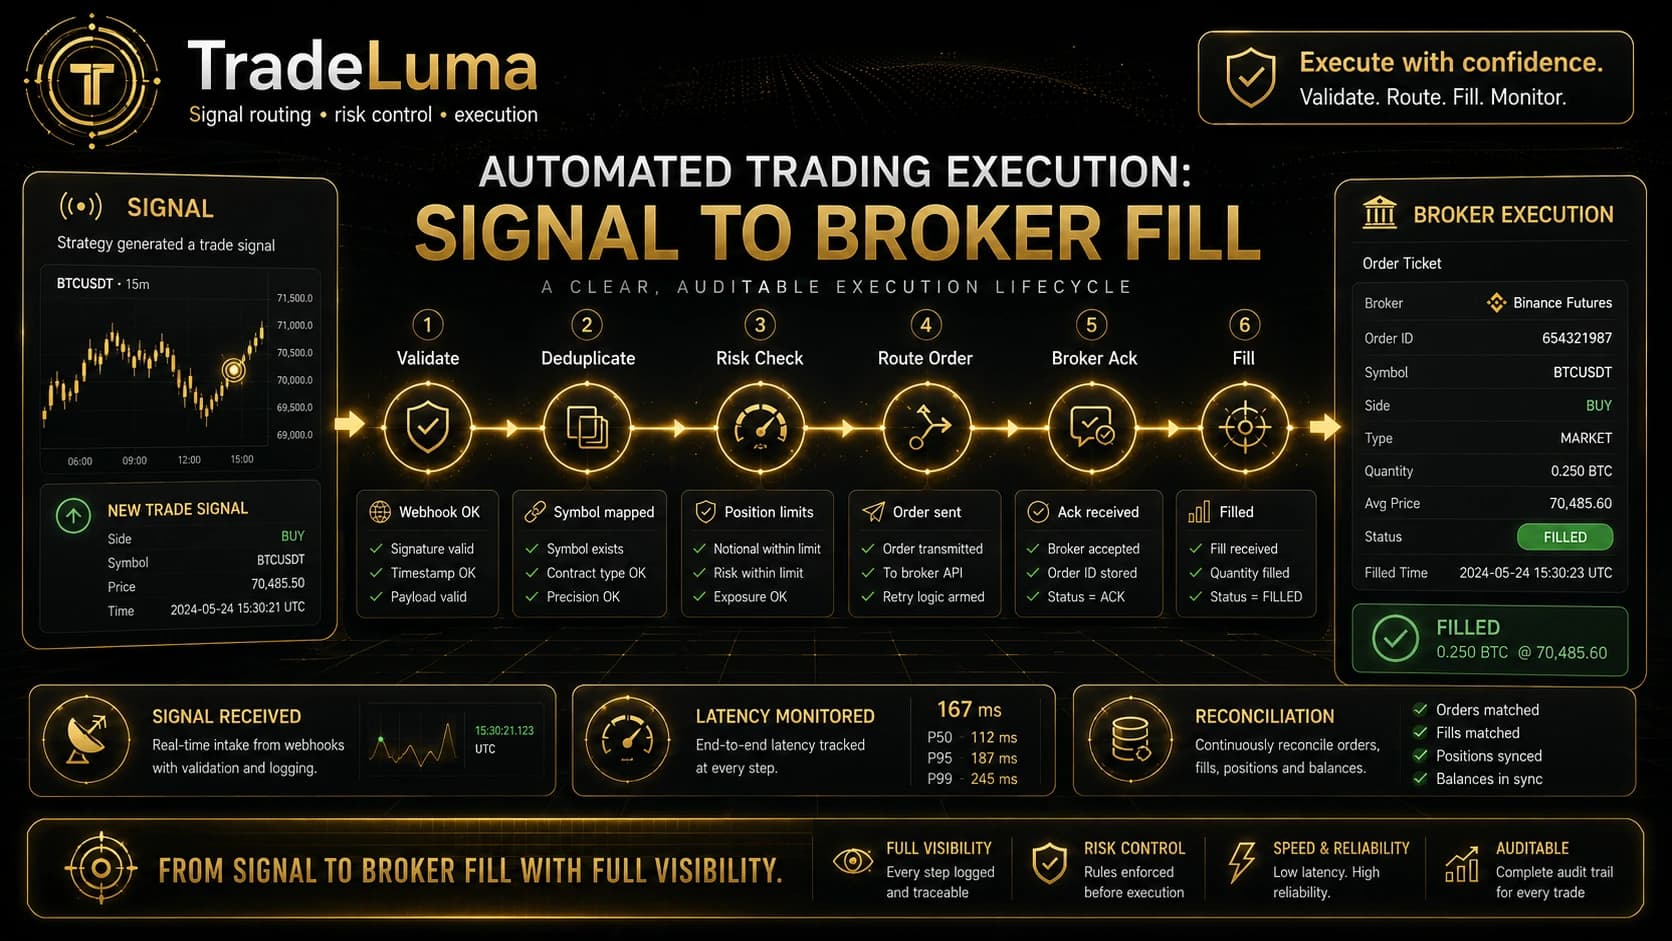
Follow the automated trading execution lifecycle from alert validation and duplicate control to broker submission, fills, reconciliation, and monitoring.
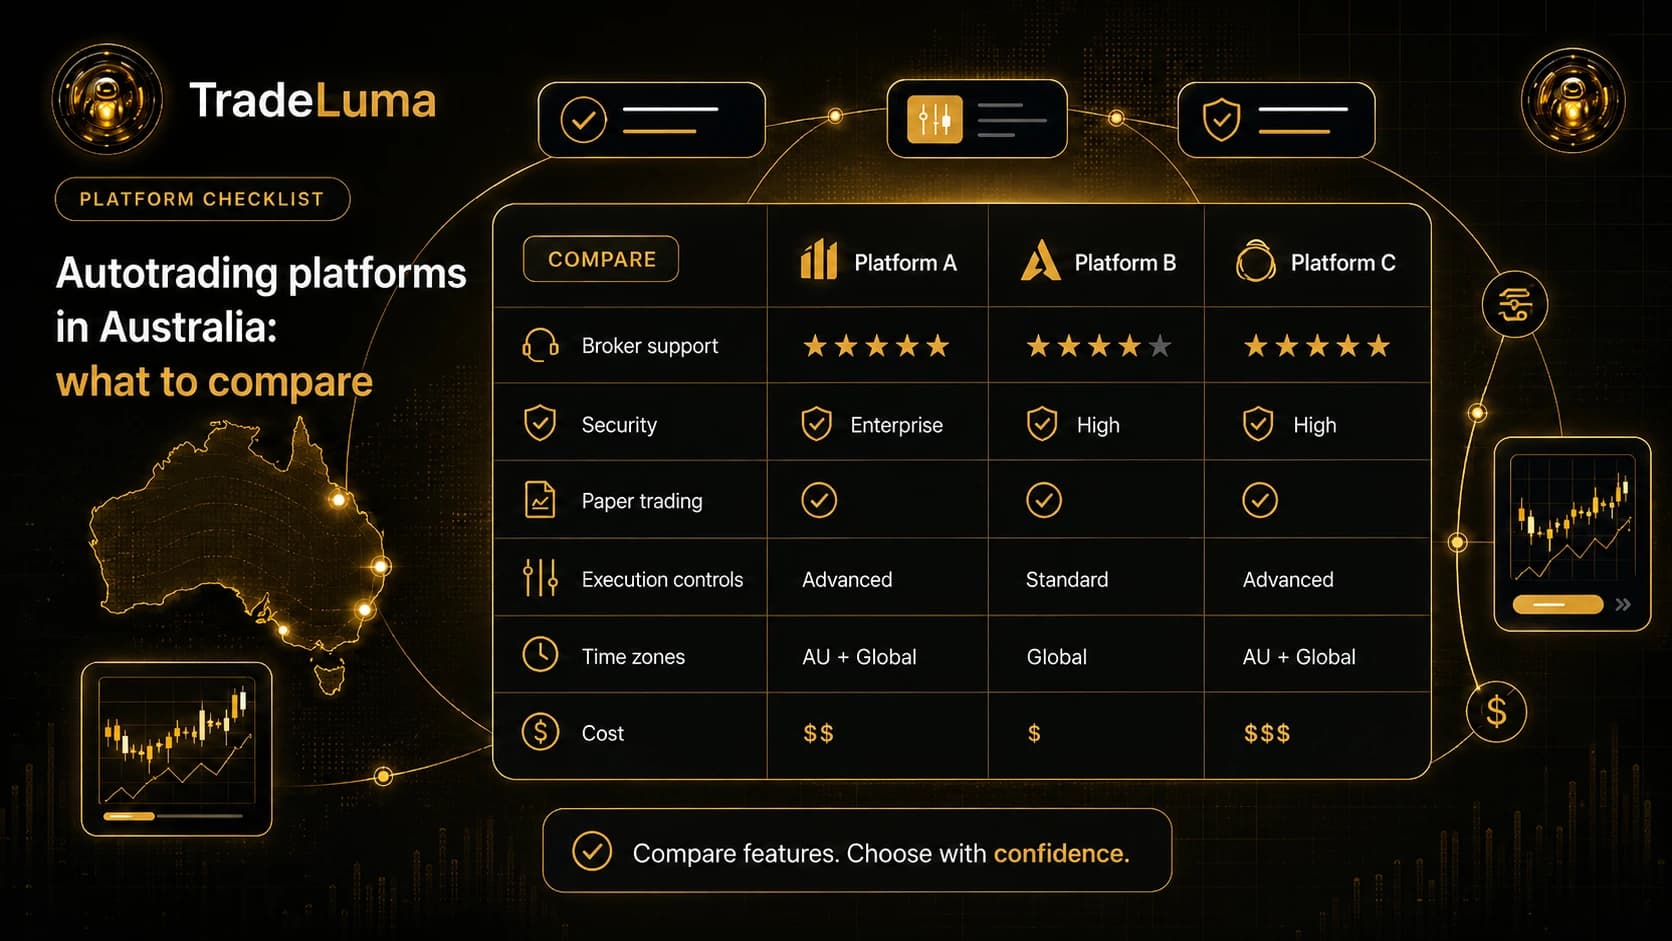
A practical checklist for Australian traders comparing autotrading platforms: broker support, time zones, paper testing, security, execution controls, and cost.
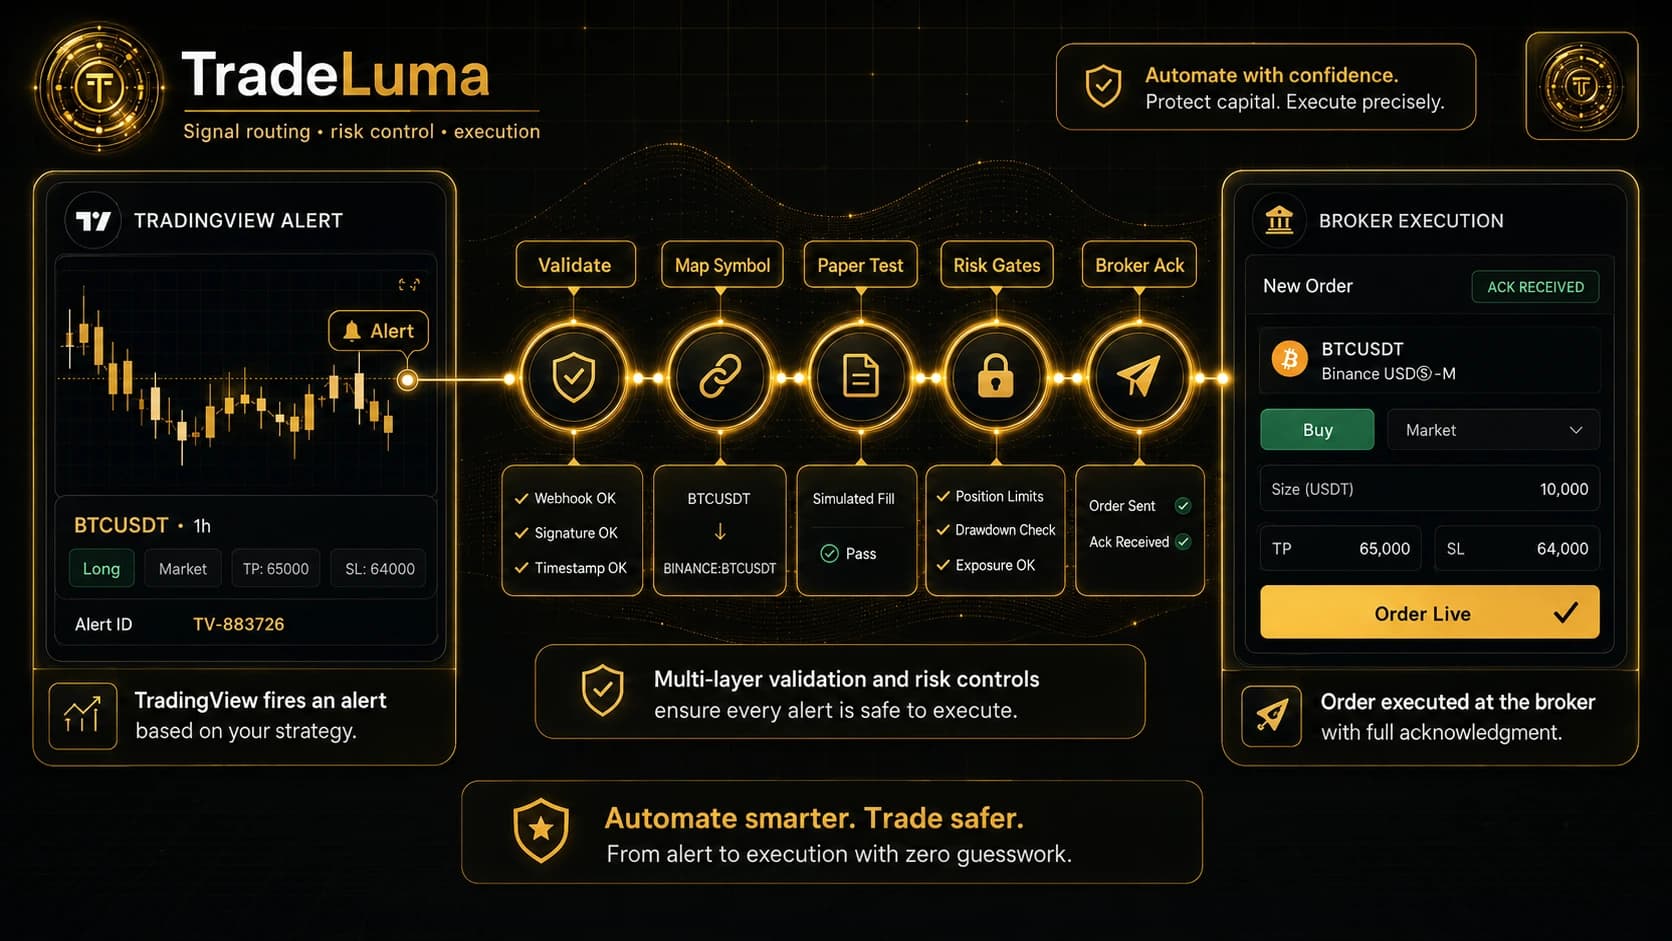
A practical TradingView automation guide covering webhook design, symbol mapping, paper testing, risk gates, broker acknowledgements, and recovery.
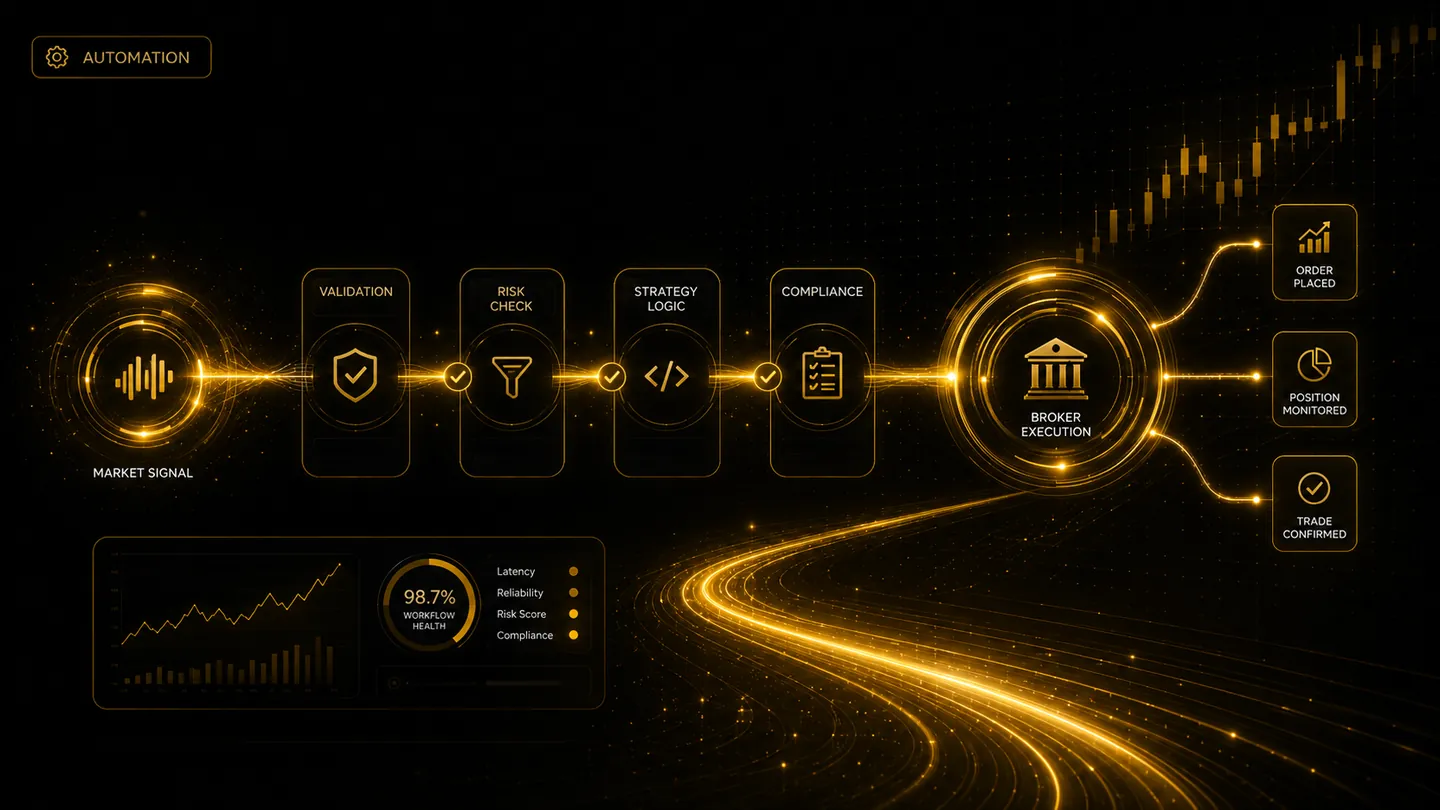
A complete educational framework for strategy rules, paper testing, secure alerts, risk limits, live approval, monitoring, and continuous review.
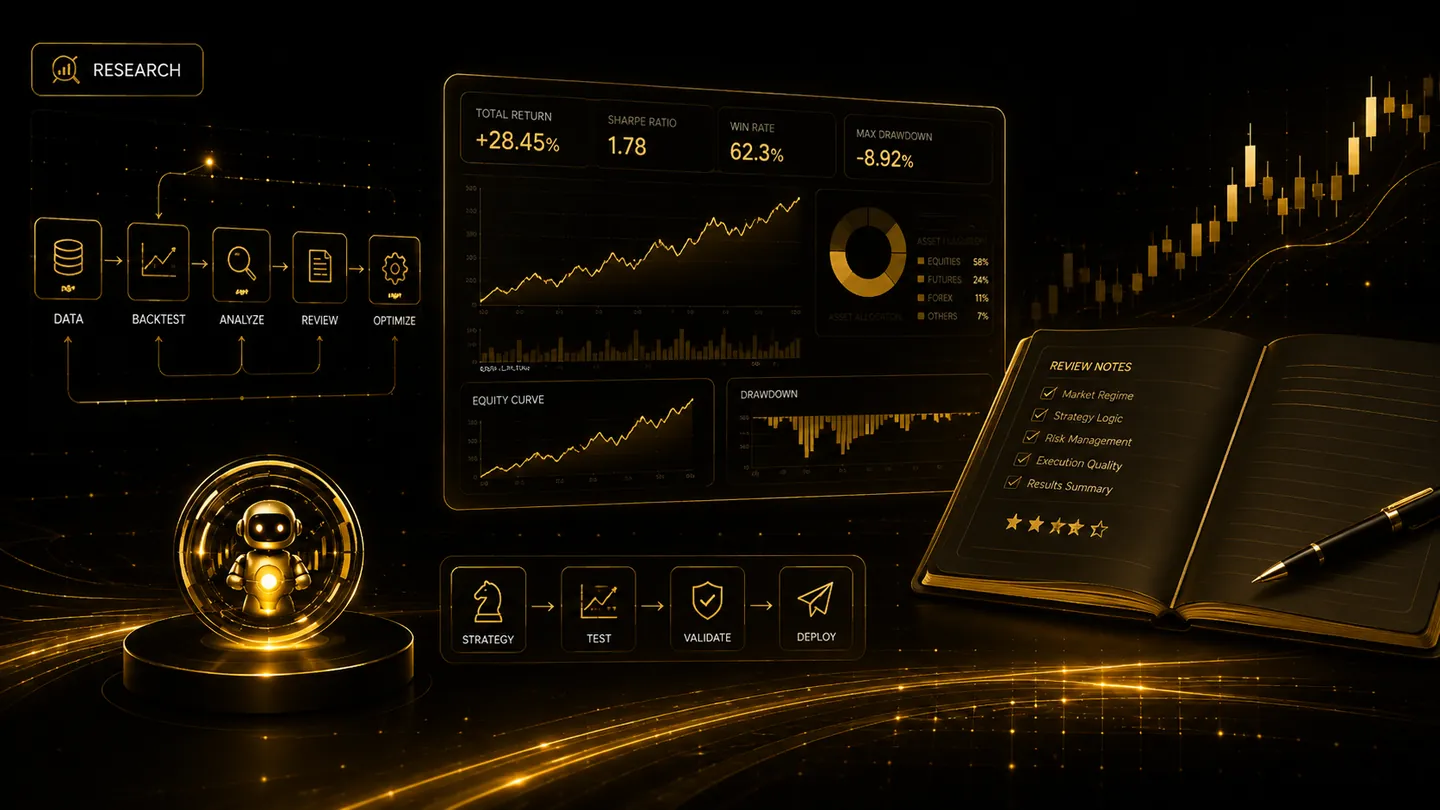
Create a useful trading journal by linking signals, orders, fills, costs, exits, screenshots, strategy versions, and review notes.

Protect automated trading workflows with secret management, signed requests, least privilege, rotation, rate limits, and careful logging.
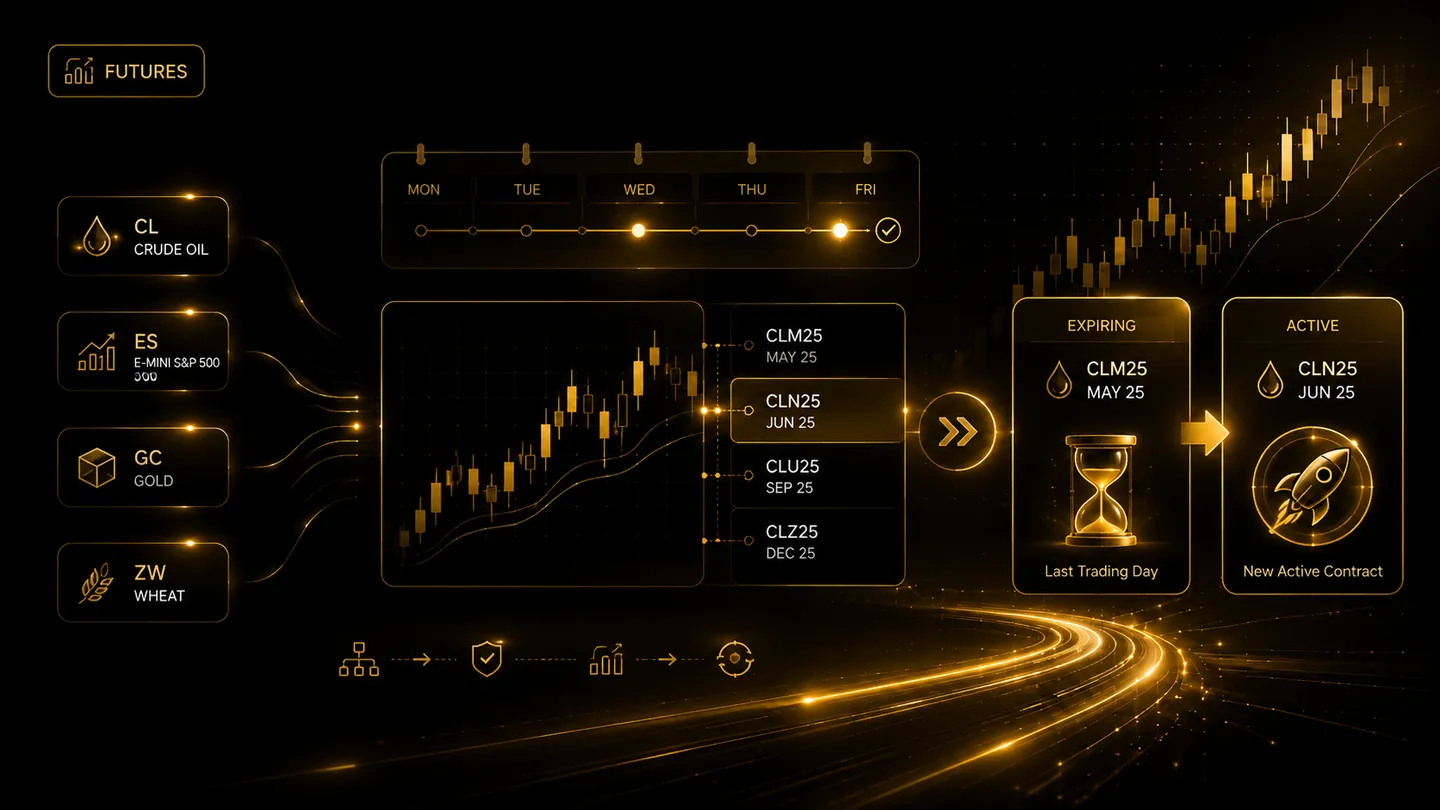
Understand expiry, liquidity migration, first notice, physical delivery risk, rollover mapping, and how automated futures workflows should respond.
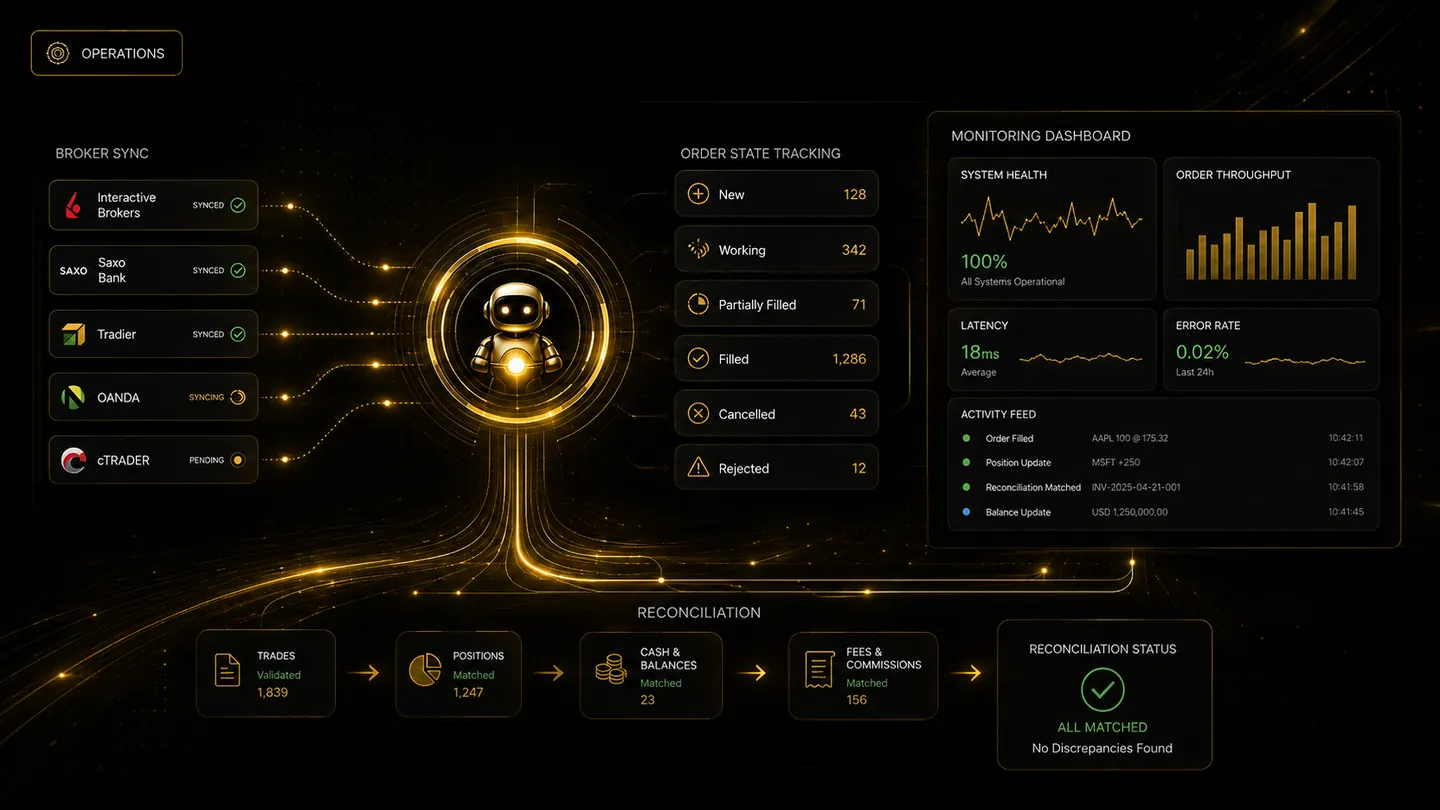
Learn why brokers reject orders, how to classify failures, when not to retry, and how to recover without creating duplicate exposure.
A practical guide to monitoring alerts, submitted orders, fills, rejections, positions, protective orders, and broker connection health.
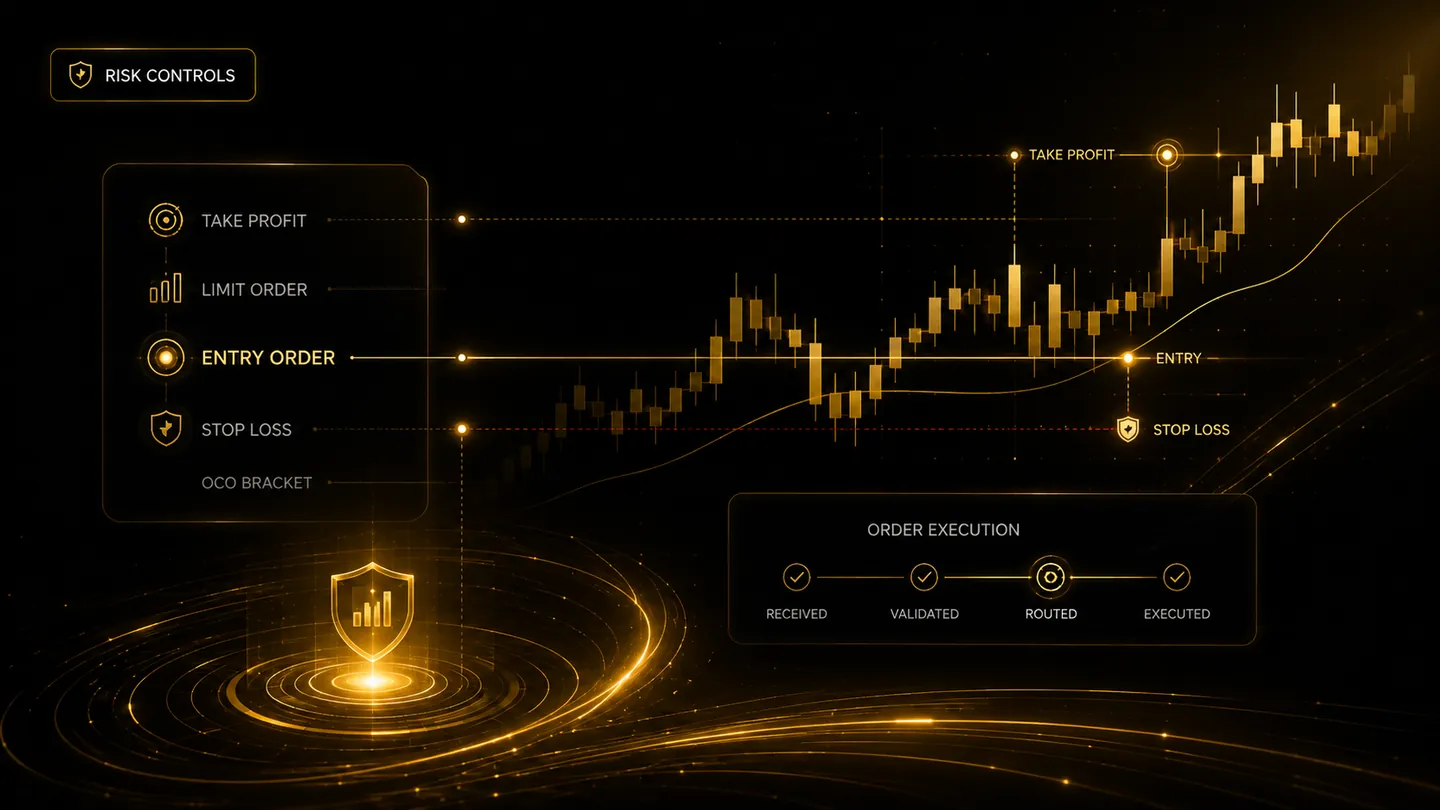
Design a practical emergency plan using pause controls, cancel-only mode, order cancellation, broker checks, and direct account access.
Learn how account-wide rules can manage opposing strategies, duplicate exposure, reversals, and simultaneous signals across one broker account.
Prevent timing errors by understanding exchange sessions, chart time zones, broker clocks, overnight markets, and daylight-saving changes.
Learn how in-sample, out-of-sample, forward, and walk-forward tests can reduce overfitting and reveal strategy instability.
Learn how quantity rules, contract value, stop distance, margin, and account-wide limits work together in an automated trading risk plan.
Learn how spread, liquidity, latency, and slippage affect the difference between a strategy signal, submitted order, and actual fill.
A clear guide to market, limit, stop, and stop-limit orders, including fills, price control, gaps, and common automation trade-offs.
Understand why chart symbols such as continuous futures are useful for analysis but live orders require a specific broker-tradable contract.
Use this practical readiness checklist to test signals, symbols, quantities, broker health, exits, failures, and monitoring before live automation.
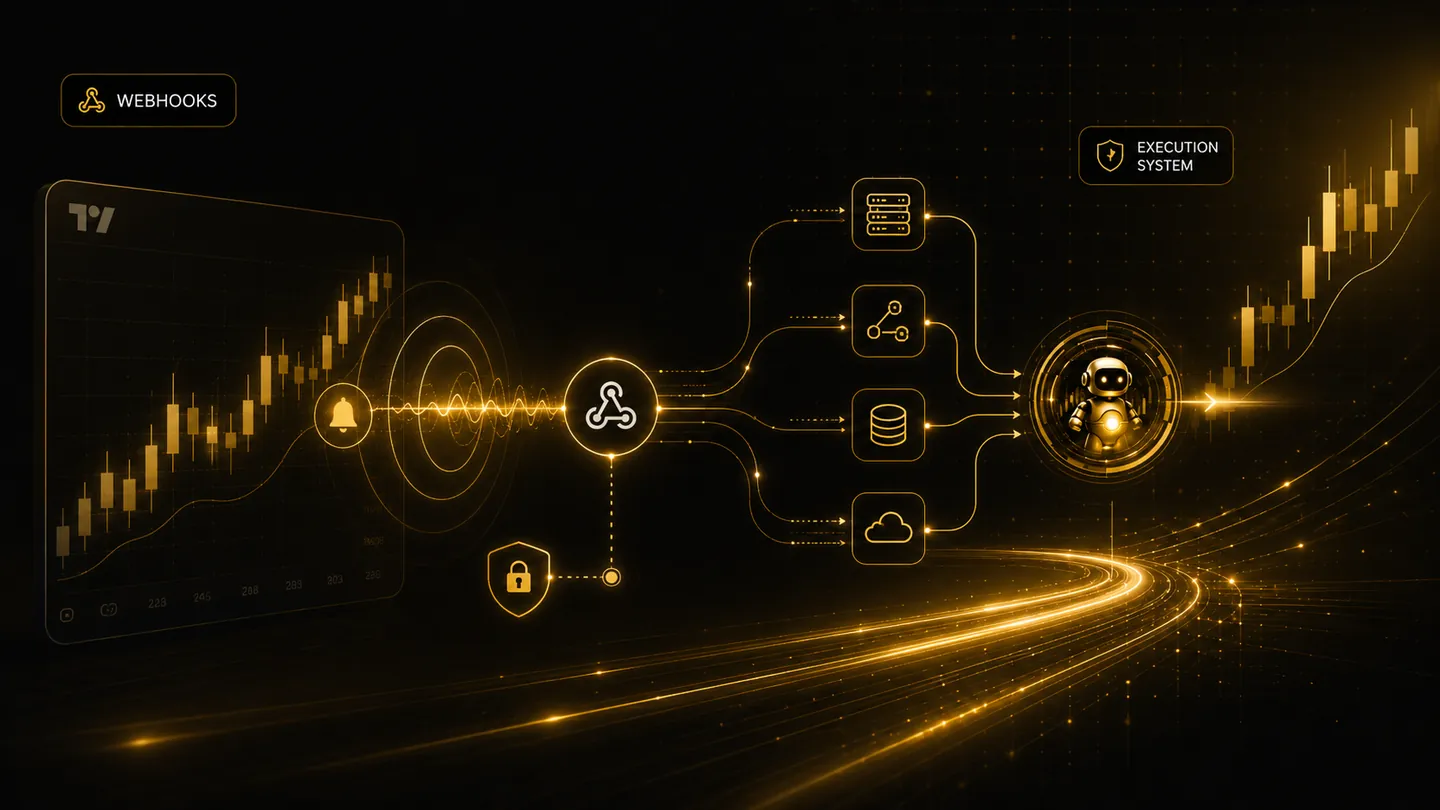
Learn the difference between a trading alert, webhook, bot, automation platform, and broker API—and how they fit together.
Compare manual and automated trading workflows, including consistency, discretion, monitoring, execution speed, and operational risk.
Understand what automated trading does, what it does not do, and the components needed to turn a trading rule into a controlled execution workflow.
Broker reconciliation compares local trading records with broker state, helping identify mismatches after fills, cancellations, partial fills, or manual broker actions.
Learn how secure broker connections, user authorization, provider permissions, data freshness, and polling discipline support safer trading automation.
Repeated alerts can create repeated orders. Learn how duplicate protection helps protect automated trading workflows.
Understand parent orders, take-profit legs, stop-loss legs, and why bracket lifecycle control matters in automated trading.
Paper trading is not just practice. It is the safest way to test alerts, broker mapping, quantity logic, and order lifecycle before live automation.
Learn how TradingView webhook trading works, what a secure alert should contain, and how TradeLuma controls execution before orders reach a broker.
A practical guide to automated trading infrastructure, broker routing, safety controls, and why execution visibility matters.