
Technical Analysis
Order Blocks in Trading: How Traders Mark, Validate and Test the Zones
Learn what order blocks mean in technical analysis, how bullish and bearish zones are marked, and how traders test displacement, retests, and invalidation.
On this page+
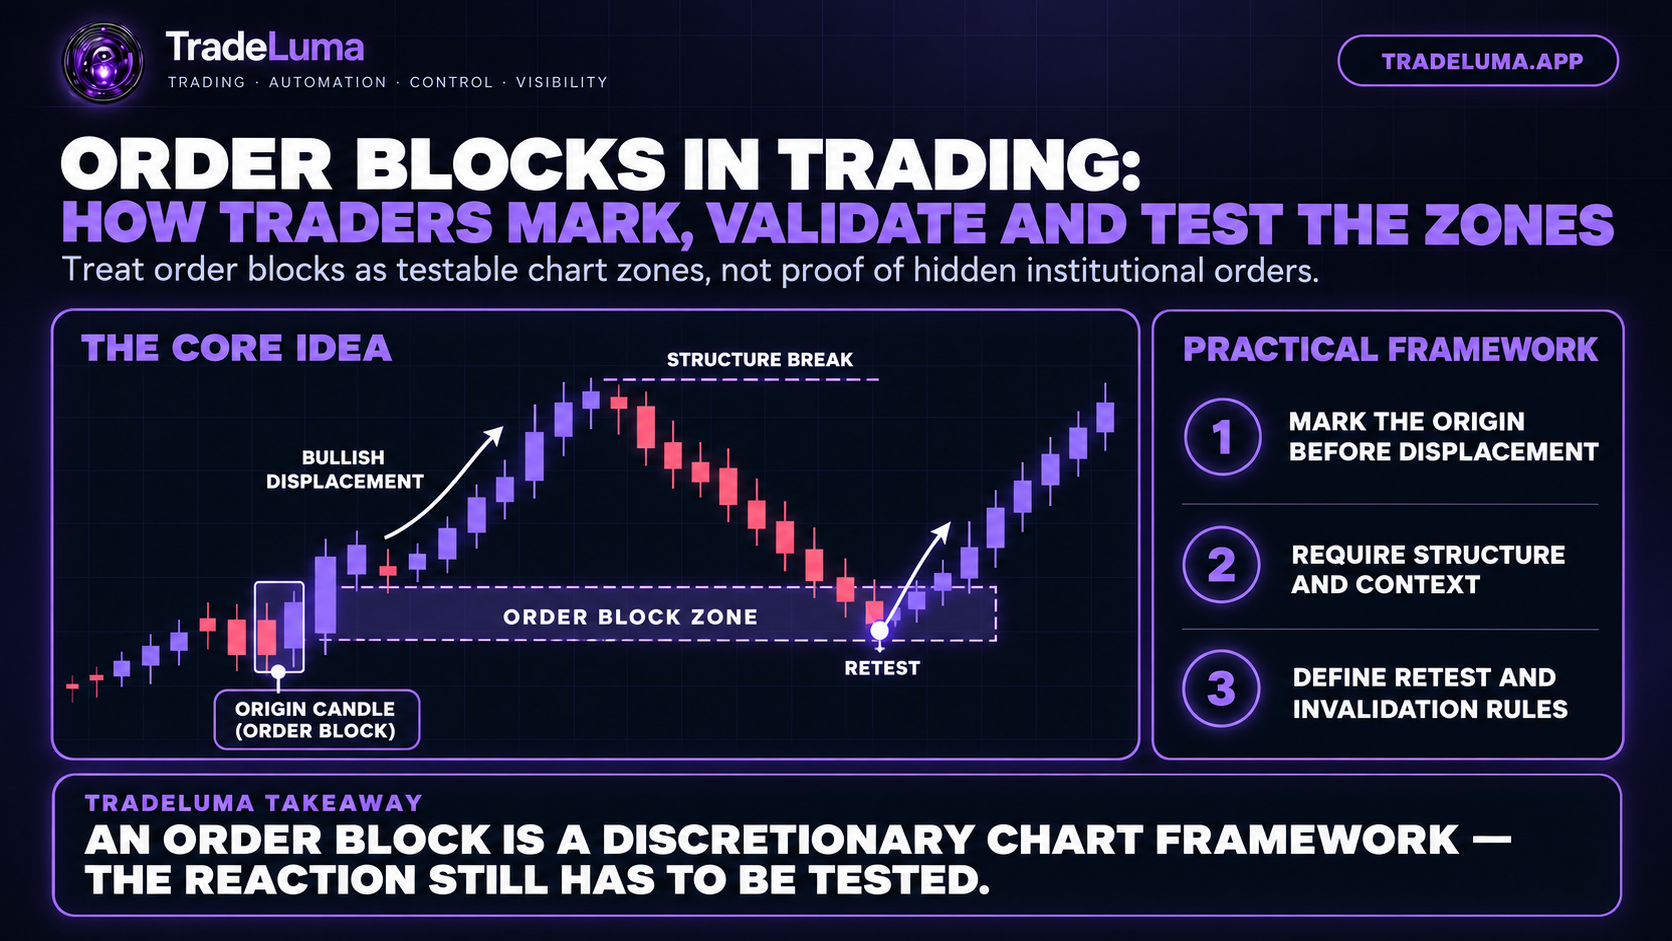
Order blocks are a widely discussed technical-analysis concept used to mark the origin of a strong directional move. A common definition identifies the last opposing candle, or small consolidation, before price accelerates and breaks an important structure level. Traders then watch the marked area for a possible reaction if price returns. The key limitation is important: a candlestick chart does not directly show who placed orders in that zone, so an order block should be treated as a testable price pattern rather than proof of institutional activity.
What is an order block in trading?
In modern technical-analysis language, an order block is usually a candle or small price zone immediately before a strong move away. A bullish order block is often marked around the final bearish candle before an impulsive rally, while a bearish order block is often marked around the final bullish candle before an impulsive decline.
The concept is especially common in Smart Money Concepts and ICT-style trading communities, where the zone is sometimes described as evidence of institutional order placement. A retail candlestick chart cannot confirm participant identity or remaining orders, so the safer interpretation is that an order block is a discretionary zone derived from visible price geometry.
Bullish and bearish order blocks
A bullish order block is usually associated with a rally that leaves the candidate zone behind and then breaks a prior high or changes the local market structure. Traders may mark the full high-to-low range of the final bearish candle, only its body, or a refined subsection depending on their rules.
A bearish order block uses the opposite logic: the final bullish candle or base before a strong decline becomes the candidate zone. The important point is consistency. If the zone is defined one way for a winner and another way for a loser, backtest results quickly become unreliable.
Why displacement matters
Many traders require clear displacement before they consider an order block valid. Displacement means price leaves the area with enough speed or range expansion to distinguish the move from ordinary back-and-forth noise. It may also coincide with a break of structure or a move through a prior swing.
This filter is useful because every chart contains countless opposing candles. Without a requirement for meaningful movement away, almost any candle can be labelled an order block after the fact. The displacement rule narrows the candidate set before the future retest is known.
Structure, location, and freshness
The same-looking zone can carry different significance depending on where it forms. An order block aligned with a higher-timeframe trend and near a meaningful breakout may receive more attention than one sitting in the middle of a broad range with no structural context.
Some traders also distinguish between fresh zones and zones that price has already revisited several times. That idea can be tested, but it should not be assumed. A useful plan defines what counts as a first touch, mitigation, partial penetration, and complete invalidation before reviewing the outcome.
Order blocks, FVGs, and liquidity
Order blocks are often analysed together with fair value gaps and liquidity sweeps because all three concepts try to describe different parts of a strong directional move. The order block marks an origin zone, the FVG highlights fast displacement, and a liquidity sweep may describe what happened around a prior high or low before the move.
Combining concepts can improve context, but it can also create hindsight if every winning example is allowed to collect multiple labels. A strategy should specify which conditions are required and which are only optional context.
How traders approach the retest
Some traders place a limit order inside the zone and accept the risk that price may cross it without reacting. Others wait for lower-timeframe confirmation, such as a rejection, structural reclaim, or momentum shift after price enters the area. A third approach uses the midpoint or a refined section of the block.
None of those methods is inherently superior. The trade-off is between earlier execution and additional confirmation. The best choice is the one that can be defined clearly, tested across enough examples, and executed consistently in real time.
Invalidation and risk management
The stop or invalidation level should represent the point where the order-block idea no longer fits the trader’s rules. This might be beyond the full zone, beyond the structural swing, or beyond a separate support or resistance level used in the setup.
Because order blocks are often narrow relative to the move that follows, they can create visually attractive reward-to-risk examples. That should not encourage oversized positions. Position size still needs to be based on the actual stop distance, instrument value, and predefined account risk.
Common order-block mistakes
The most common error is labelling every last opposing candle as an order block. Other mistakes include assuming the zone proves institutional activity, ignoring the higher-timeframe market, redrawing the rectangle after price reacts, and treating every return to the zone as a guaranteed entry.
A second problem is survivorship bias. Traders naturally remember clean textbook reactions and forget candidate blocks that were sliced through immediately. A journal should record all rule-qualified zones, not only the attractive screenshots.
How to backtest order blocks
A serious test needs an objective definition for the block, the displacement requirement, the structure condition, the maximum number of prior touches, the allowed retracement depth, the entry trigger, the invalidation point, and the target logic.
Useful statistics include the percentage of zones revisited, average time to retest, depth of penetration, win rate after the chosen confirmation, maximum adverse excursion, and performance in trend versus range conditions. The test should answer whether the rule set adds value — not whether the label can be drawn convincingly after the move.
Frequently asked questions
What is an order block in trading?+
It is a chart-defined candle or zone that traders mark near the origin of a strong directional move, commonly the last opposing candle before displacement.
Do order blocks prove institutional orders are present?+
No. A normal candlestick chart does not identify the participant behind each trade or prove that unfilled institutional orders remain in the marked zone.
What makes an order block stronger?+
Traders often look for clear displacement, a structural break, useful location, and a clean retest, but those filters should be tested rather than assumed.
Are order blocks the same as supply and demand zones?+
They overlap conceptually, but order-block definitions are often narrower and tied to a specific candle or base before displacement, while supply and demand zones can be marked more broadly.
Technical analysis
Continue with the topic hub.
Browse the related TradeLuma guides and build the topic from foundations through practical application.
Explore Technical analysis guides →Continue learning
Related guides.
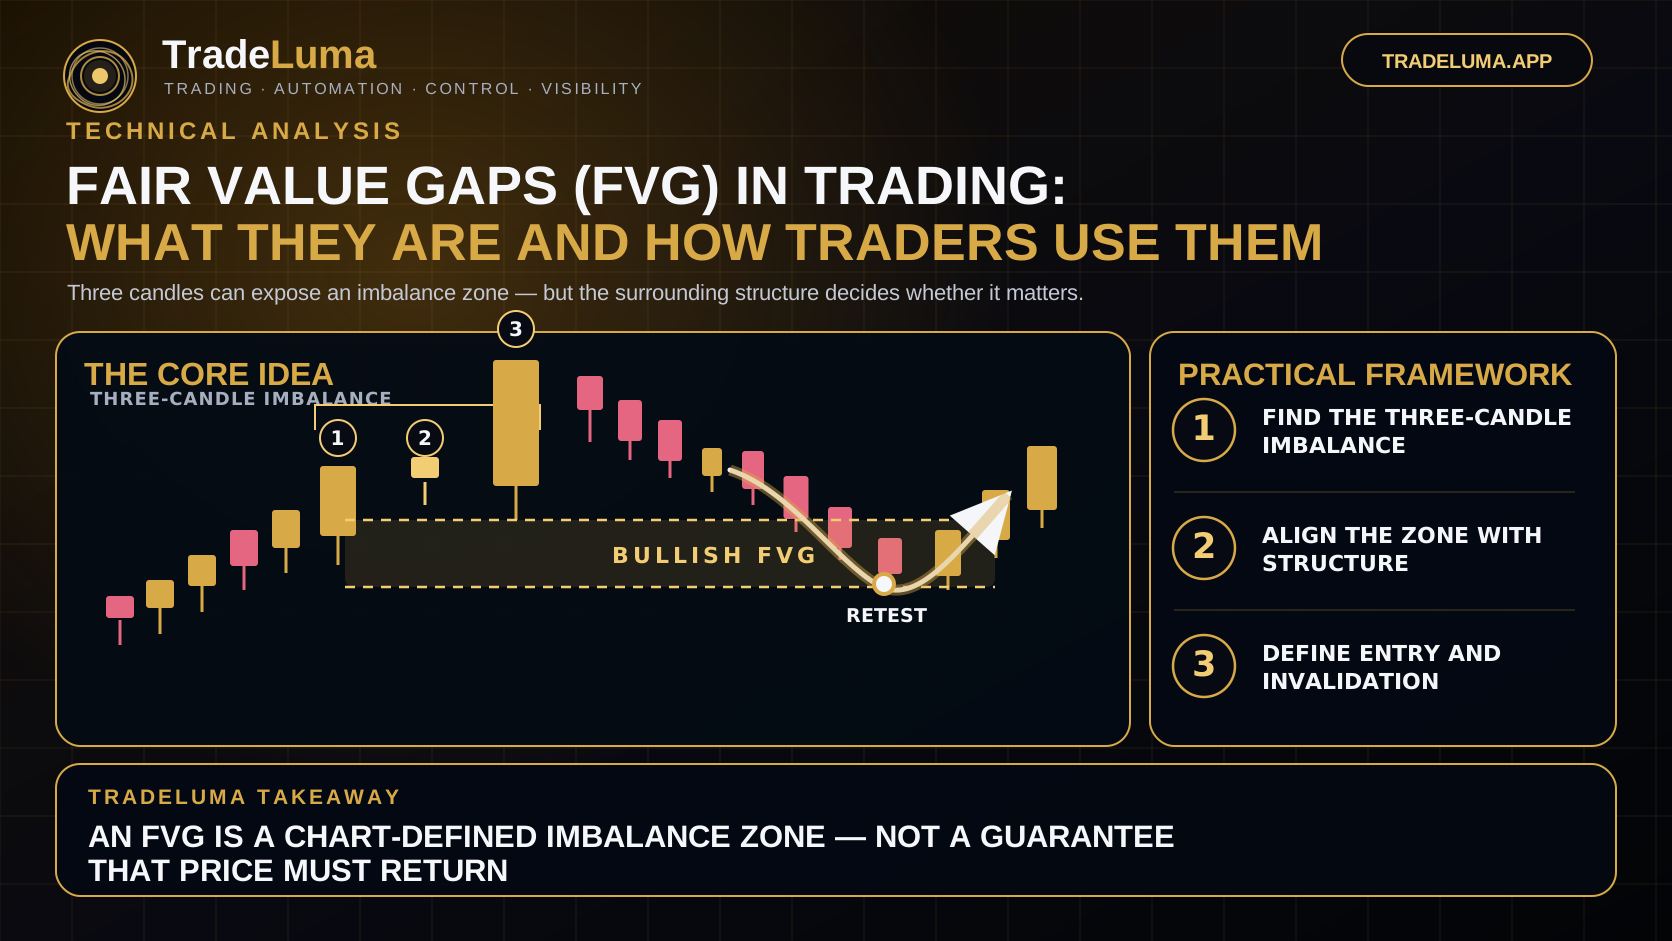
Fair Value Gaps (FVG) in Trading: What They Are and How Traders Use Them
Learn what fair value gaps are, how traders identify bullish and bearish FVGs, and how imbalance zones are combined with structure and risk.
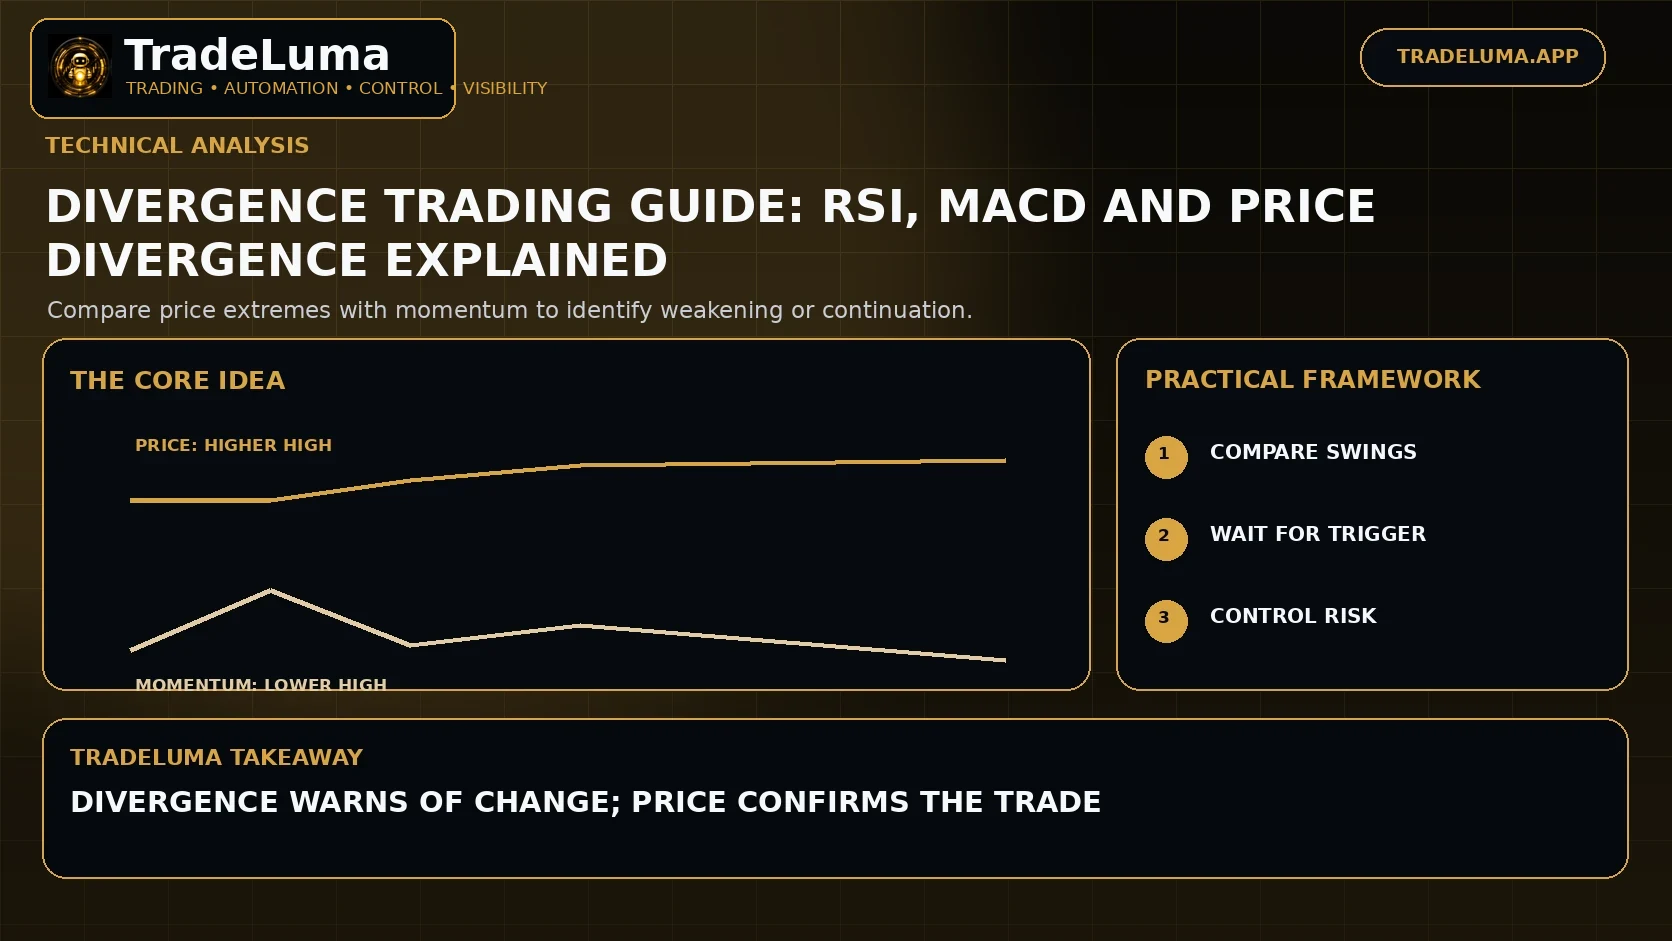
Divergence Trading Guide: RSI, MACD and Price Divergence Explained
Learn bullish and bearish divergence, hidden divergence, why momentum can diverge from price, and how to use confirmation instead of predicting reversals too early.
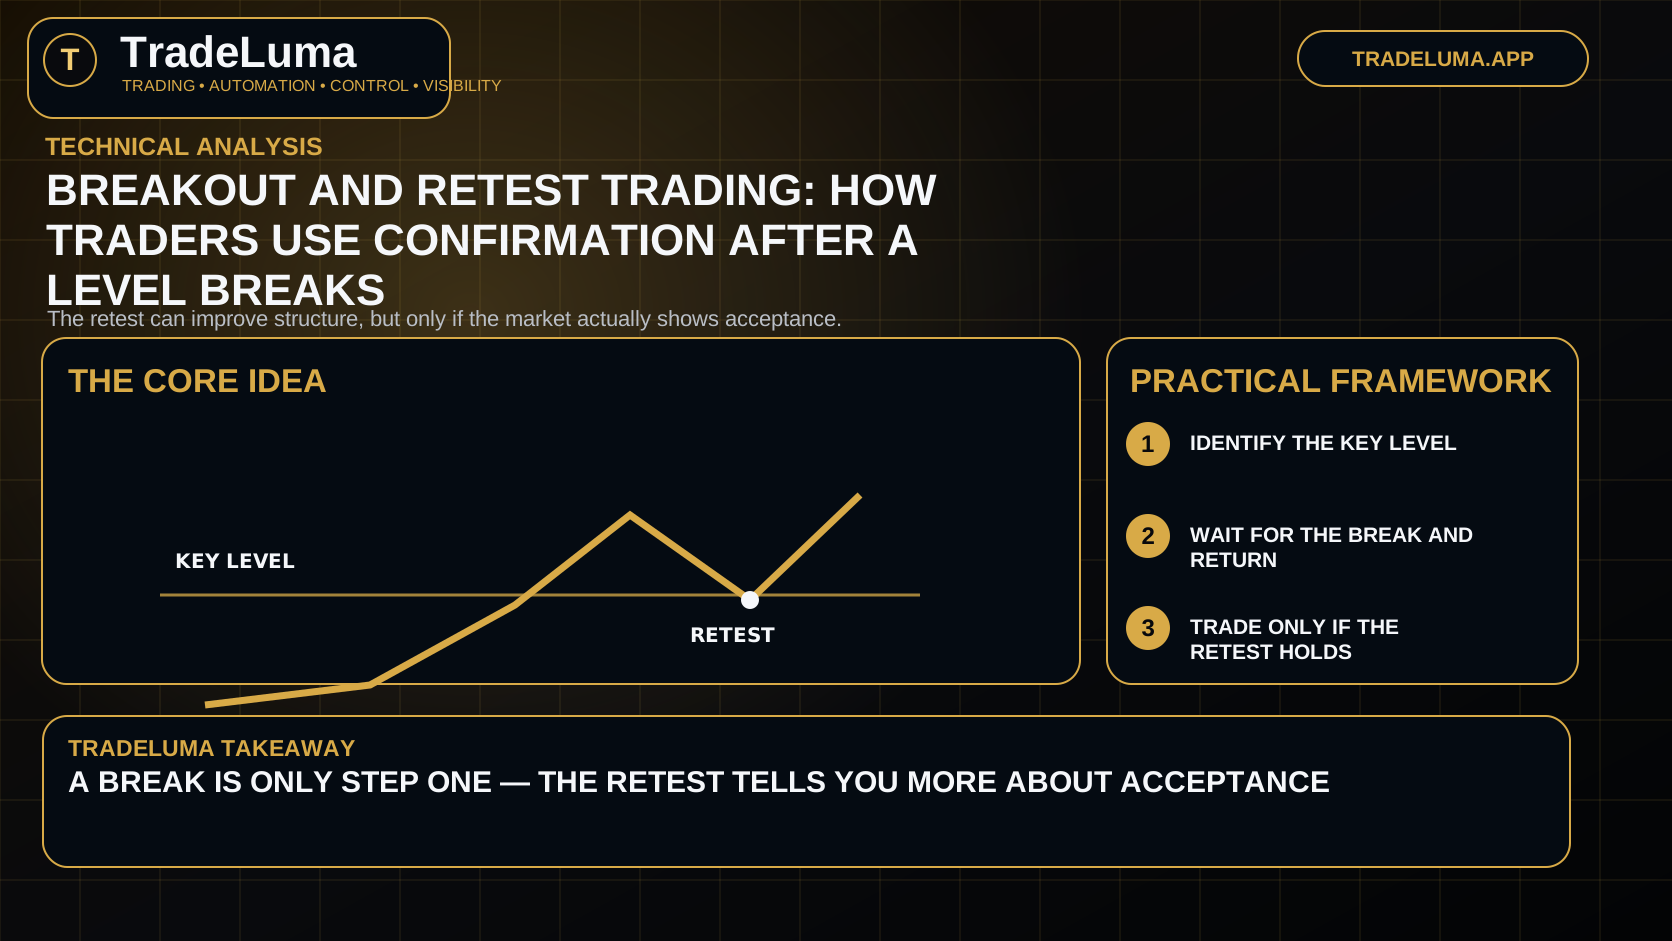
Breakout and retest trading: how traders use confirmation after a level breaks
Learn what a breakout and retest setup is, why many traders prefer it, and how to avoid confusing every pullback with confirmation.