
Trading Styles
Range Trading Strategy: How to Trade Sideways Markets
Learn how range trading identifies support, resistance, failed breakouts, and mean reversion when markets move sideways instead of trending.
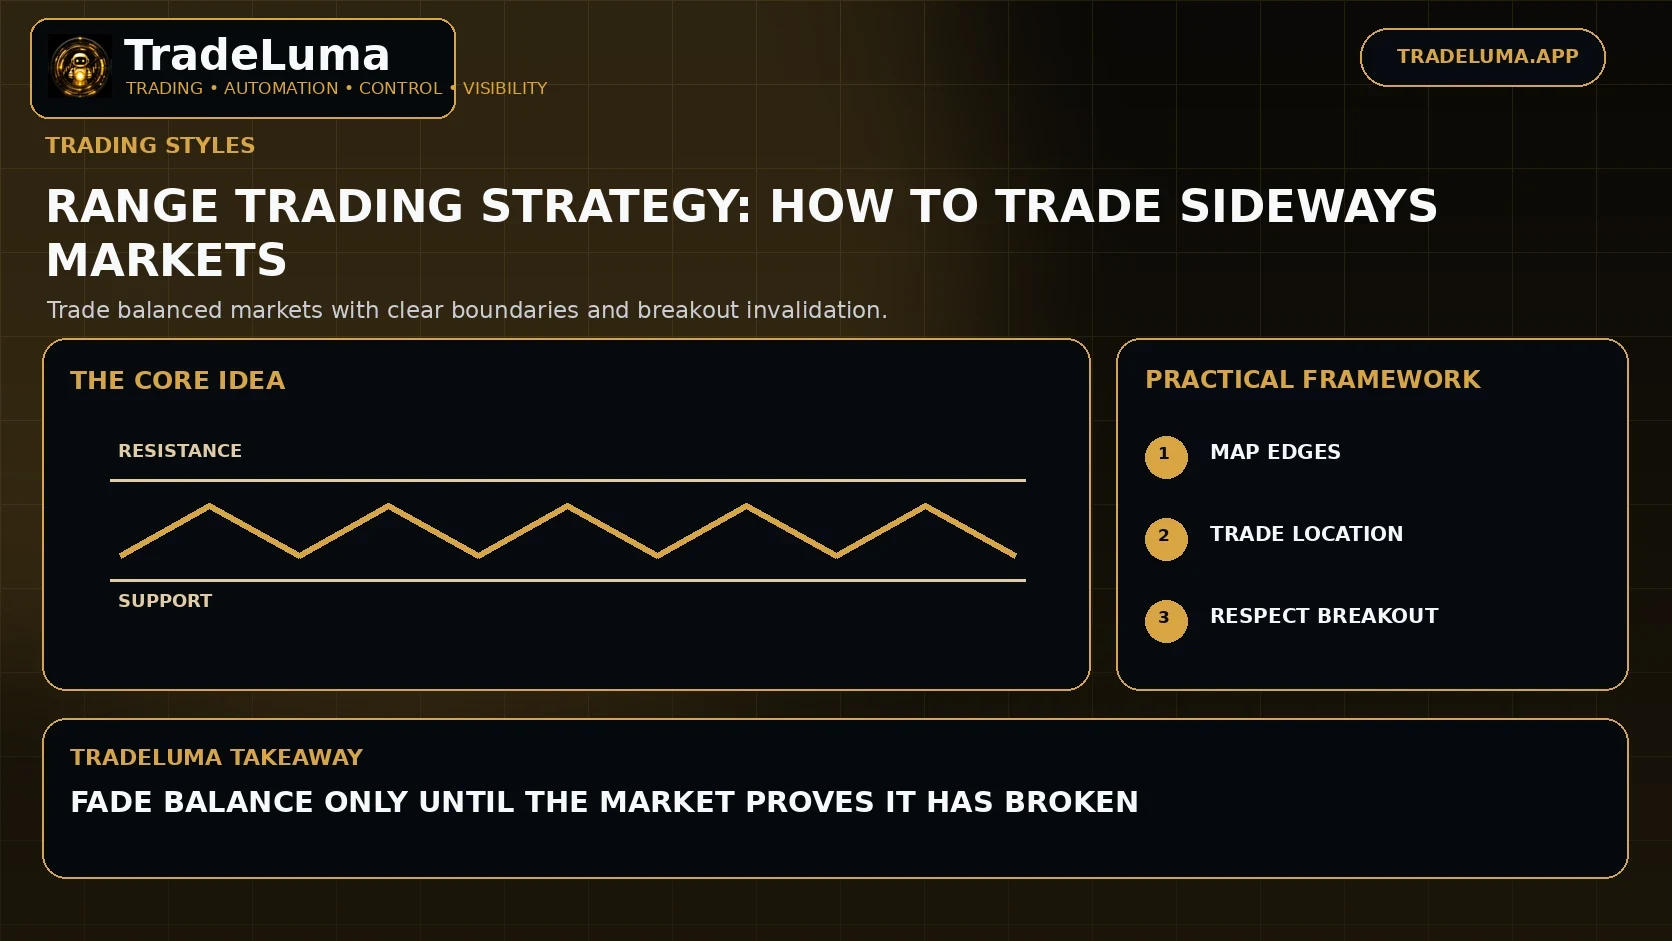
Range trading is designed for markets that repeatedly rotate between support and resistance instead of sustaining a directional trend. The approach can buy near the lower boundary, sell or exit near the upper boundary, or trade failed breakouts back into the range. Its biggest risk is regime change: eventually a range can break and become a trend, so every range strategy needs a clear condition that tells it to stop fading the boundary.
What defines a trading range
A range forms when price repeatedly finds buyers near a lower area and sellers near an upper area without either side sustaining a breakout. Swings overlap and directional moves often reverse before creating a clean sequence of new highs or lows.
The boundaries should be treated as zones rather than perfect lines because markets rarely turn at exactly the same price on every test.
Finding support and resistance zones
Look for repeated reactions, failed pushes, prior closes, volume concentration, or obvious swing clusters. The more often the market has responded around an area, the more relevant it may become as a reference.
However, repeated tests can also consume available liquidity. A level that has held many times is not guaranteed to hold again.
Trading from the edges
Range trades generally have better structure when entries occur near an outer boundary and targets point back toward the middle or opposite side. Entering in the centre gives less room to the target while often requiring a similar stop.
Confirmation can include rejection candles, a lower-timeframe structure shift, oscillator recovery from an extreme, or a failed attempt to close outside the range.
Using the middle of the range
The midpoint is useful because it separates relatively expensive and relatively cheap locations within the range. It can act as a partial target, a decision area, or a place to reduce risk.
When price spends most of its time around the midpoint with little response at the edges, the range may be too noisy to offer a clean asymmetry.
Failed breakout setups
A failed breakout occurs when price moves beyond a boundary but cannot remain there and quickly returns into the prior range. That failure can trap breakout traders and create momentum back toward the centre.
A rules-based setup should define how far price may break, how quickly it must return, and what confirmation is required before taking the opposite side.
Knowing when the range has ended
A range trader needs a condition that disables new fade trades. Examples include a strong close beyond the boundary, multiple bars accepting outside the range, rising volume with directional expansion, or a successful retest from the other side.
Without a stop condition, the trader can repeatedly short a genuine upside breakout or buy a genuine downside breakdown.
Stops and targets
Stops can sit beyond the range boundary plus a volatility buffer, beyond the failed-breakout extreme, or beyond the structure that invalidates the mean-reversion idea. The buffer should be tested for the instrument rather than chosen arbitrarily.
Targets can use the midpoint, opposite edge, fixed reward-to-risk, or a partial-exit approach. The best target depends on how reliably the market completes full rotations.
Indicators that can support range trading
RSI, stochastic, Bollinger Bands, and VWAP can help describe stretched conditions, but they should be interpreted within the range. An oscillator can stay overbought during a real breakout, so the boundary and price response remain important.
The indicator should add information, not simply duplicate what price location already shows.
How to test a range strategy
Define how a range is identified, minimum number of boundary reactions, acceptable width, entry zone, breakout invalidation, stop, target, and maximum number of attempts. Include transaction costs because ranges can generate many trades.
Measure results separately for stable ranges and transition periods. The losses that occur when a range becomes a trend often determine whether the overall strategy is viable.
Frequently asked questions
What is range trading?
Range trading attempts to profit from repeated movement between identifiable support and resistance when the market is not sustaining a trend.
Which indicators are useful in a range?
RSI, stochastic, Bollinger Bands, VWAP, and simple price structure can help, but the range boundaries and invalidation rules are more important than any single indicator.
Where should a range trade stop go?
A stop is often placed beyond the boundary or failed-breakout extreme at the point where the mean-reversion thesis is no longer valid, with a tested volatility buffer if appropriate.
What is the biggest risk in range trading?
The biggest risk is continuing to fade the market after the range has ended and a genuine directional breakout has begun.
Continue learning
Related TradeLuma guides
Trading Styles
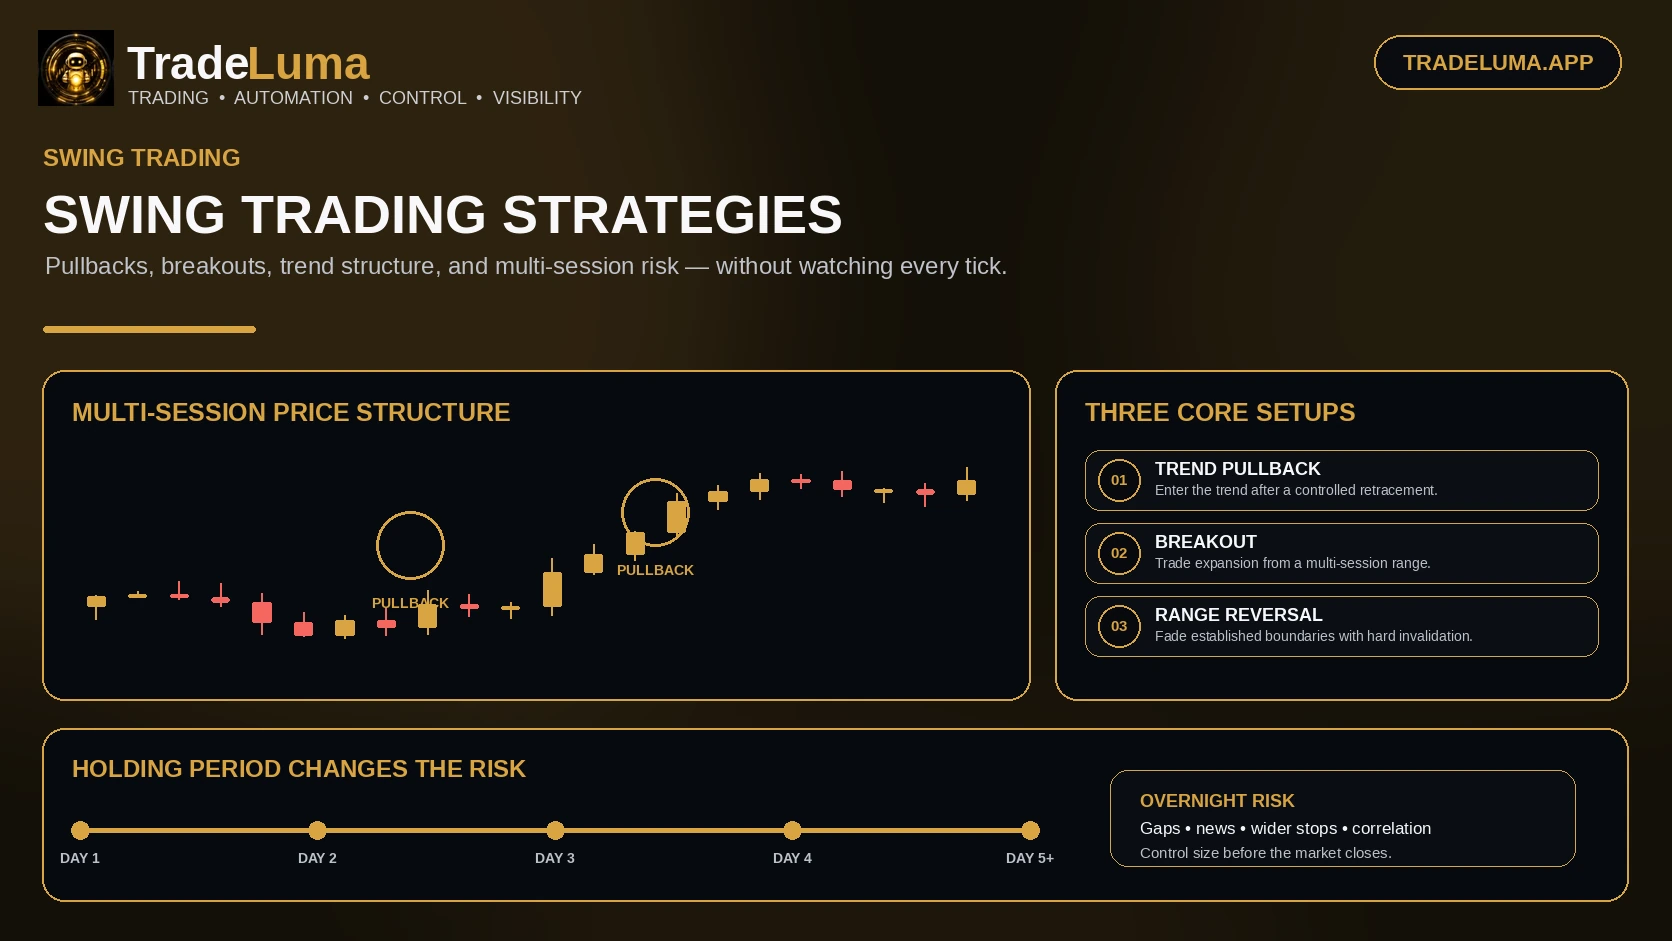
Swing Trading Strategies: Pullbacks, Breakouts and Trend Setups
14 Aug 2026 · 12 min read
Trading Styles
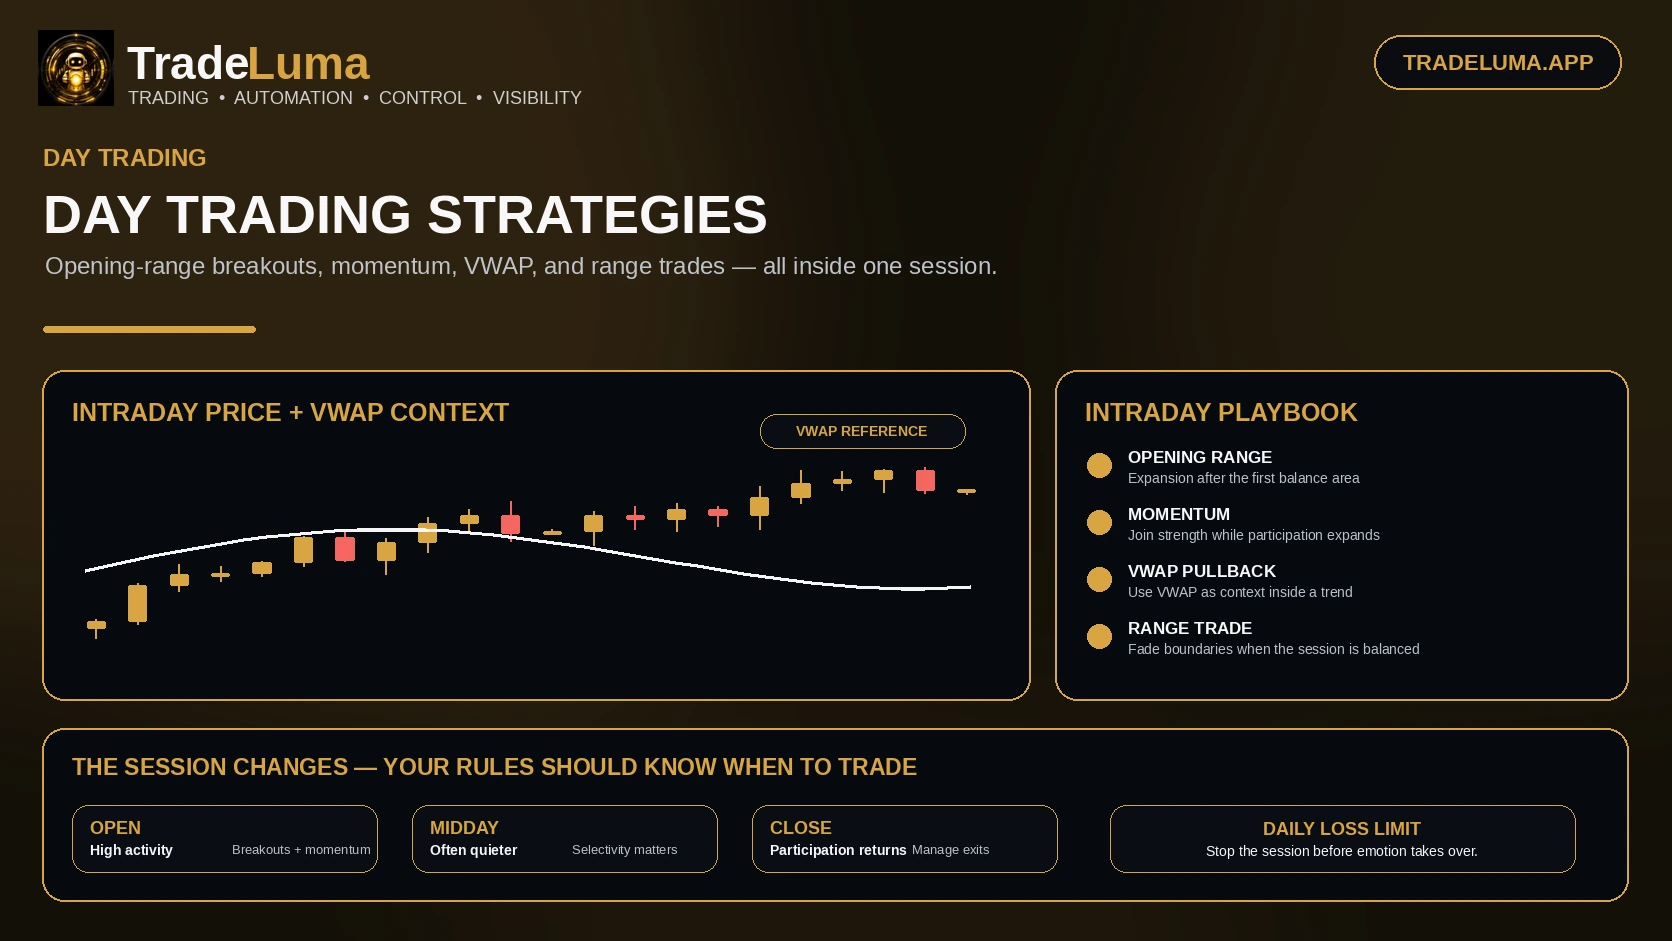
Day Trading Strategies: Breakouts, Momentum, VWAP and Range Trades
14 Aug 2026 · 13 min read
Trading Styles
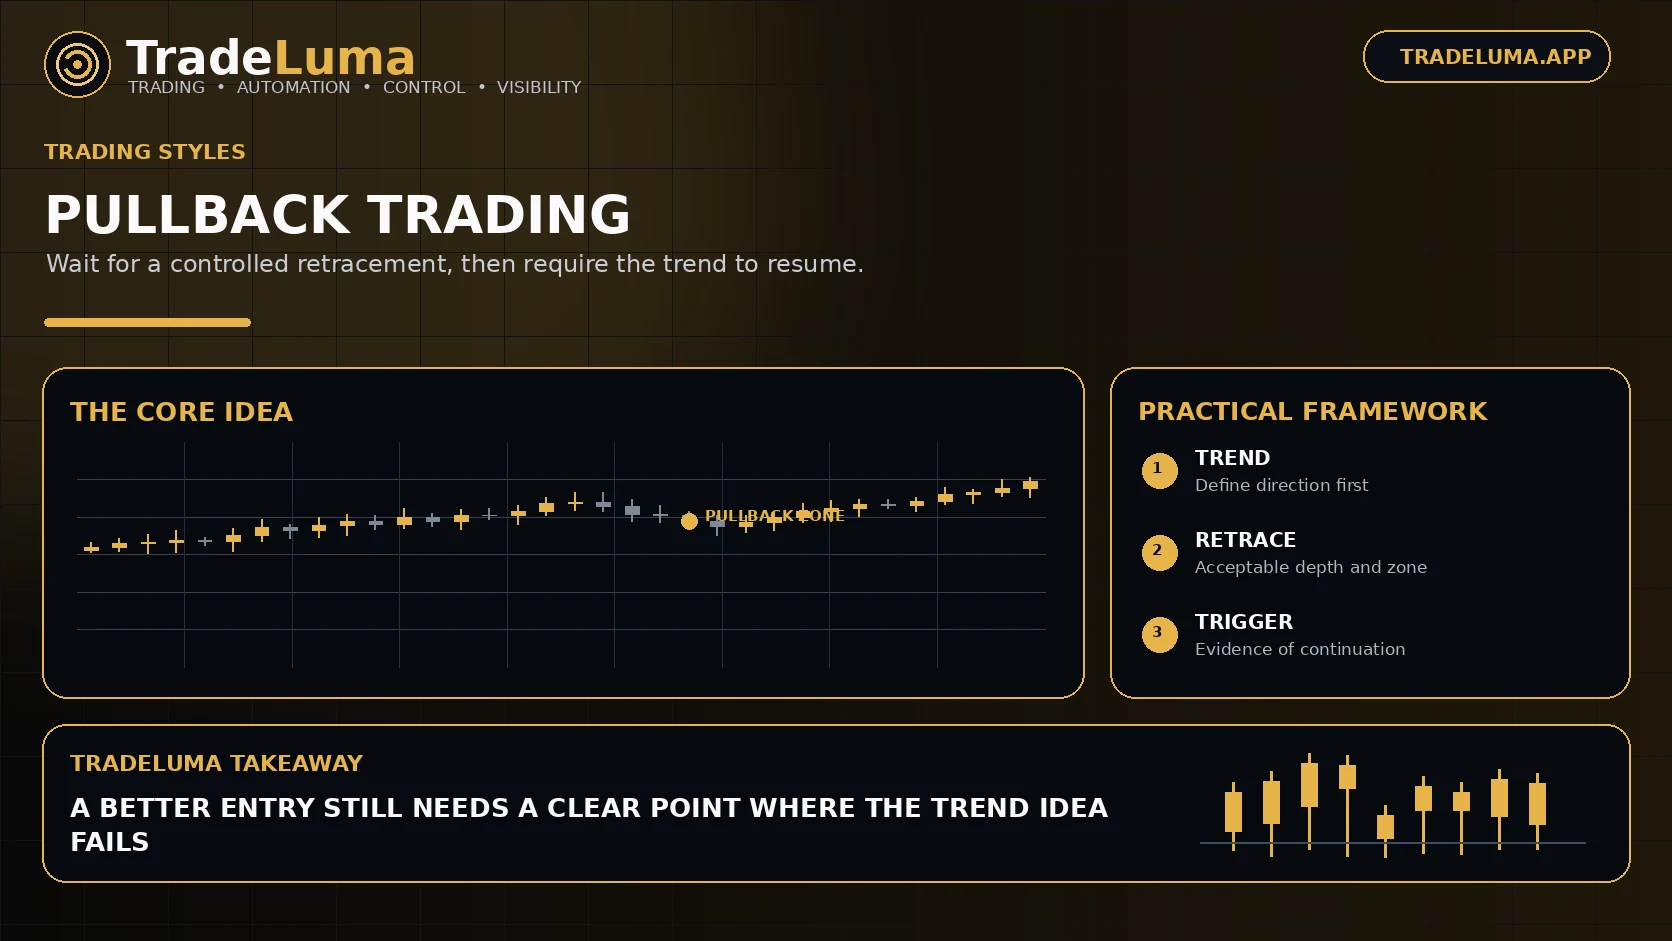
Pullback Trading Strategy Guide: Entries Within an Established Trend
29 Aug 2026 · 11 min read
Build a controlled automation workflow with TradeLuma
Configure alerts, test in paper mode, apply execution controls, and follow broker outcomes from one workspace.